
Last Updated on March 25, 2022
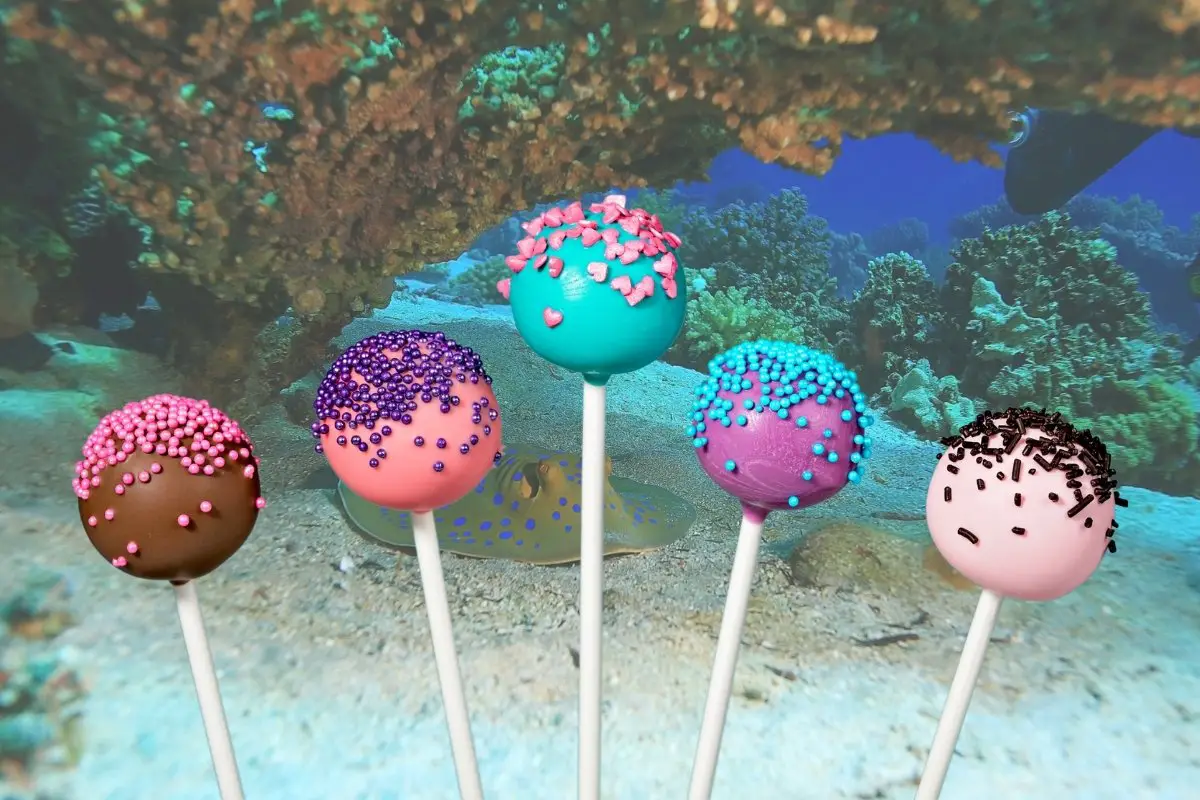
Many people grew up watching the Disney movie, The Little Mermaid. If you are a fan of this classic movie, you will love these amazing Little Mermaid cake pops. Not only are they absolutely adorable, but they taste delicious as well.
This recipe is simple to make and requires no prior baking experience. However, the decorations do require some patience and precision to do, but the end result is well worth it. They make a great favor at any Disney fan’s birthday party.
What You Need to Follow These Instructions
Ingredients
- 1 box cake mix (15.25-ounce), plus required ingredients
- 1 cup vanilla or chocolate frosting
- 30 ounces white candy melting wafers, divided
- Edible sugar pearls
- Blue food coloring
- Purple food coloring
Equipment
- 13×9-inch cake pan
- Large mixing bowl
- Wire rack
- Rubber spatula
- Plastic forks
- Small seashell candy mold
- Microwave safe bowl
- Baking sheet
- Parchment paper
- Three small bowls
- Little Mermaid cake decorations
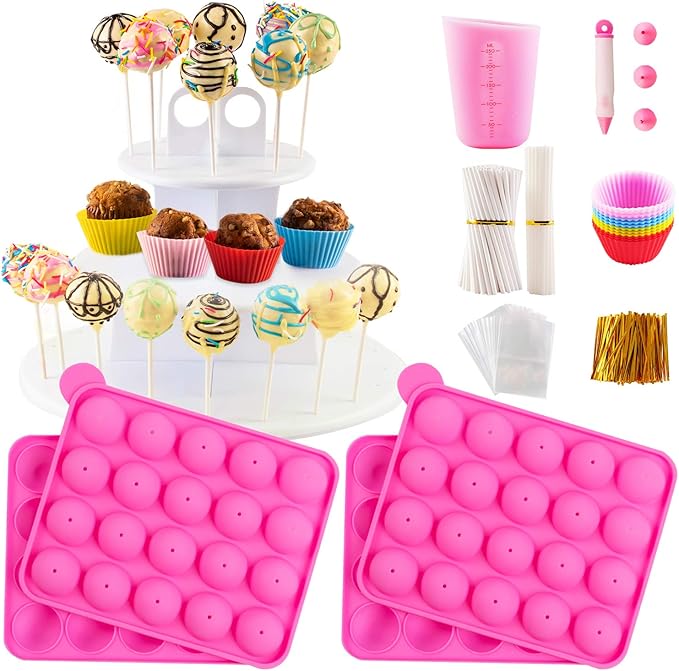
Cake Pop Maker Kit with 2 Silicone Mold Sets with 3 Tier Cake Stand
Step by Step Instructions
Step One: Bake Cake
Preheat your oven and grease your 13×9-inch cake pan. Prepare the cake mix according to the instructions on the box, using your choice of flavor. Bake the cake as the box says and allow it to fully cool on a wire rack.
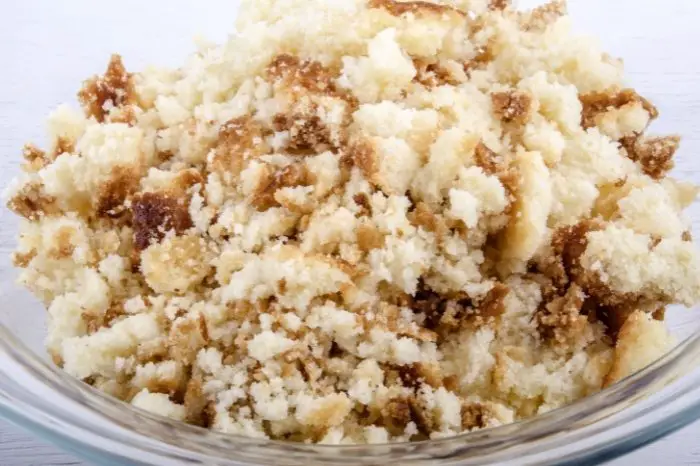
Step Two: Crumble Cake
Crumble your cake with your hands until it is in small pieces. Alternatively, you can crumble the cake using a food processor.
Step Three: Add the Frosting to the Cake
With the cake in a large bowl, add the frosting. Mix the frosting together with your hands or a rubber spatula. In addition, you can also use a food processor to mix in the frosting. Process for 30 seconds at a time until the mixture comes together.
Step Four: Form the Cake Balls
Using your hands, carefully from the cake mixture into balls. Make the cake balls about two tablespoons in size. Add them to a baking sheet lined with parchment paper and allow them to chill in the fridge for one hour.
Step Five: Make the Seashell Candies
In a microwave-safe bowl, melt 10 ounces of the candy melts. Microwave in 30 seconds water until the candy is fully melted, stirring between each interval. Divide the melted candy evenly into three bowls.
Add blue food coloring to one bowl and green food coloring to another bowl. Fill the candy tray with the blue, green, and white melted candy. Place the tray in the fridge to set.
Step Six: Dip the Cake Balls
Melt the remainder of the candy melts in a microwave-safe bowl. Dip the tips of the forks into the melted candy and then place the forks carefully into the cake balls. Let the cake balls sit for 10 minutes.
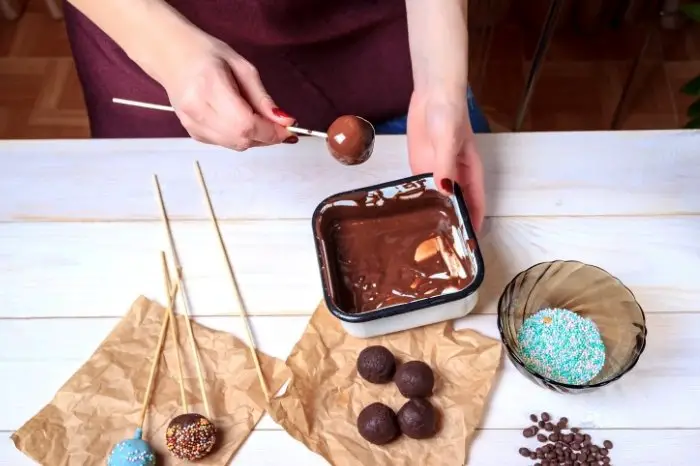
Divide the melted candy into three bowls, adding blue food coloring to one bowl and green food coloring to another. Carefully dip the cake bowls into the melted candy, alternating between colors. Place the cake pops on the parchment-lined baking sheets.
Step Seven: Decorate the Cake Pops
Right after dipping, add the sugar pearls and seashell candies to the cake pops. If desired, add Little Mermaid cake pop toppers. Let the cake pops set for 10-15 minutes.
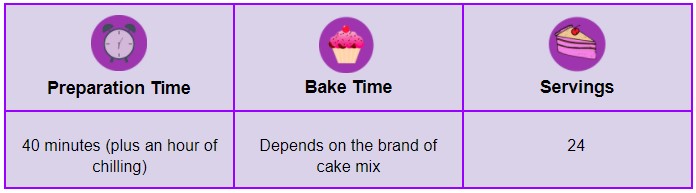
Servings and Preparation Time
Tips and Tricks
Cake pops are best stored in an airtight container at room temperature for two to three days. In addition, you can also keep them in the fridge for up to a week in an airtight container.
For easy storage, you can stick the cake pops in a styrofoam block. In addition, you can also use plastic wrap to cover the cake pops.
Cake pops can also be frozen for 2-3 months. Wrap them in plastic wrap and then place them in an airtight container. Let them thaw for one hour at room temperature before serving.
Read more about How Long Do Cake Pops Last?
Fun And Adorable Little Mermaid Cake Pops
These beautiful cake pops will be a hit with any Disney fan. They are great for serving at parties, as they are true show stoppers. They are especially great for serving at a kid’s birthday party, as children will love them.
Though it may take some time and patience, these cake pops are well worth it. The colors and decorations are beautiful and the forks are a nice reference to the movie.
Did you enjoy this tutorial on how to make Little Mermaid cake pops? If so, please share your thoughts on these cake pops in the comments and share this post with your friends and family.
Read more about Why Do Cake Pops Crack? X Reasons And The Best Way To Prevent Them
Amazing Lil Mermaid Cake Pops
Equipment
- 13×9-inch cake pan
- Large mixing bowl
- Wire rack
- Plastic forks
- Small seashell candy mold
- Baking sheet
- Parchment paper
- Three small bowls
- Little Mermaid cake decorations
Ingredients
- 1 box cake mix 15.25-ounce, plus required ingredients
- 1 cup vanilla or chocolate frosting
- 30 ounces white candy melting wafers divided
- Edible sugar pearls
- Blue food coloring
- Purple food coloring
Instructions
- Bake Cake - Preheat your oven and grease your 13×9-inch cake pan. Prepare the cake mix according to the instructions on the box, using your choice of flavor. Bake the cake as the box says and allow it to fully cool on a wire rack.
- Crumble Cake - Crumble your cake with your hands until it is in small pieces. Alternatively, you can crumble the cake using a food processor.
- Add the Frosting to the Cake - With the cake in a large bowl, add the frosting. Mix the frosting together with your hands or a rubber spatula. In addition, you can also use a food processor to mix in the frosting. Process for 30 seconds at a time until the mixture comes together.
- Form the Cake Balls - Using your hands, carefully from the cake mixture into balls. Make the cake balls about two tablespoons in size. Add them to a baking sheet lined with parchment paper and allow them to chill in the fridge for one hour.
- Make the Seashell Candies - In a microwave-safe bowl, melt 10 ounces of the candy melts. Microwave in 30 seconds water until the candy is fully melted, stirring between each interval. Divide the melted candy evenly into three bowls.
- Add blue food coloring to one bowl and green food coloring to another bowl. Fill the candy tray with the blue, green, and white melted candy. Place the tray in the fridge to set.
- Dip the Cake Balls - Melt the remainder of the candy melts in a microwave-safe bowl. Dip the tips of the forks into the melted candy and then place the forks carefully into the cake balls. Let the cake balls sit for 10 minutes.
- Divide the melted candy into three bowls, adding blue food coloring to one bowl and green food coloring to another. Carefully dip the cake bowls into the melted candy, alternating between colors. Place the cake pops on the parchment-lined baking sheets.
- Decorate the Cake Pops - Right after dipping, add the sugar pearls and seashell candies to the cake pops. If desired, add Little Mermaid cake pop toppers. Let the cake pops set for 10-15 minutes.
Notes

Ever since she was a young girl, Anna has been a lover of desserts. As an adult, she enjoys
baking a variety of desserts from cakes, cookies, brownies, bread, and more from scratch. She
enjoys sharing her passion for baking with others who also have a sweet tooth. From properly
measuring ingredients to making sure they are the correct temperature, Anna knows the
importance small details can make in baking. She wants to share her experience with others in
hopes they can make the most delicious baked goods. When she’s not busy blogging, Anna
enjoys trying new recipes in the kitchen.