
Last Updated on March 17, 2022
Melting candy melts has never been this easy! We have created a guide to help you efficiently melt these discs and get coating immediately!
The techniques we have listed in today’s articles are all tried and tested! And, you don’t even have to adjust the consistency or alter the mixture in any way! Simply melt and use!
What Are Candy Melts?
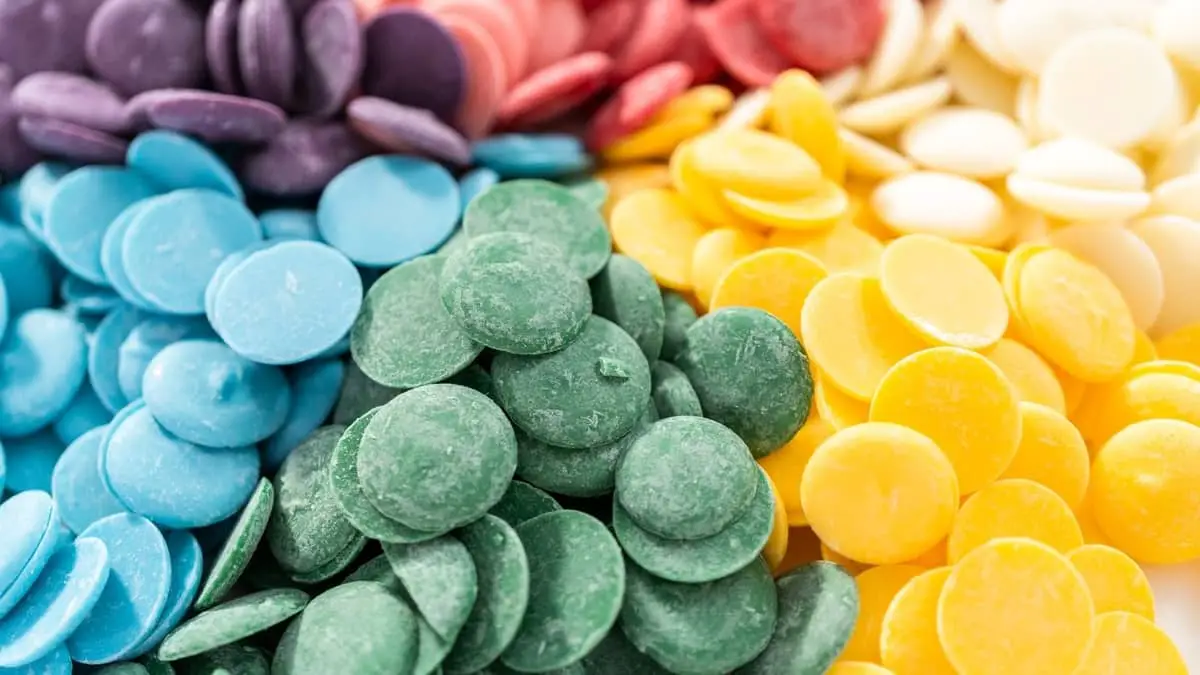
Candy melts are an extremely popular confectionery ingredient used to help decorate various items. They mainly work great as a coating or dipping ingredient.
These disc-shaped candies are made from a combination of sugar and oil. Then, they are also often colored and flavored. This means you can easily coat items in a rainbow of colors without having to prep a ton of ingredients first. And, you can also play around with flavors effortlessly!
These discs give you a quick and easy solution to perfectly evenly coated products without the hassle of adjusting the consistency or tempering the chocolate first.
Are candy melts made from chocolate?
As we have mentioned above, candy melts are made from a combination of sugar and oil. But, many people confuse them with chocolate because of their flavor, color, and consistency when they are melted. However, that is exactly why people love using these! They virtually mimic tempered chocolate exactly!
Candy melts can be flavored with chocolate extract, including white, milk, and dark percentages. Furthermore, they are often colored with flavoring to mimic the chocolate cocoa percentage. The higher the percentage the darker the shade of brown.
What are candy melts used for?
Candy melts are used to coat just about anything. You can use these discs to beautifully coat either homemade or store-bought treats. This luscious coating will elevate any item immediately, especially once you add some garnishes!
Here are some of the most common ways people used melted candy melts:
- Dip pretzels with candy melts and make a rainbow sweet and salty treat
- Coat candy apples and put a new twist on them, especially at themed parties
- Use candy melts as a fun coating for fresh-cut fruit and fruit slices
- Dip lollipops in candy melts for an extra coating or so you can decorate them with garnishes
- Use melts to make perfect drip cakes
- You can use the melted candy to completely coat cakes with
- Romantic chocolate covered strawberries
- Drizzle popcorn with candy melts for a touch of sweetness
- Dip marshmallows in candy melts
The Best Methods For Melting Candy Melts
Melting chocolate can be a headache for those who are not quite as experienced! But, this is what makes candy melts so easy to use! Because of the oil in the candy melts, they allow the discs to melt instantly and create an incredibly smooth mixture with no fuss!
So, what are the best techniques for easily melting candy melts?
The microwave
Simply add your candy melts to a microwave-safe bowl. Choose a larger bowl if you have a lot of discs to melt or if your dipped items are pretty big.
Heat the candy melts in the microwave for about 1 minute. The microwave should not be on a high-power setting. We recommend using only 40-50% power.
After a minute, stir the candy melts with a rubber spatula. Then, keep heating the candy melts in 30-second intervals, stirring between each until the candy melts are completely melted.
The double boiler
Bring a pot of water to a rolling boil. Then, place a bowl onto the pot of water and make sure it fits tightly. The bottom of the bowl shouldn’t touch the water.
Once the water is boiling, remove it entire setup from the heat and add the candy melts to your hot bowl. Slowly stir the melts until they are fully melted.
If they don’t want to melt, place the pot and bowl setup back onto the stovetop to add more heat.
Remember to keep stirring the candy melts frequently so the heat distributes evenly and the candy melts don’t get too hot.
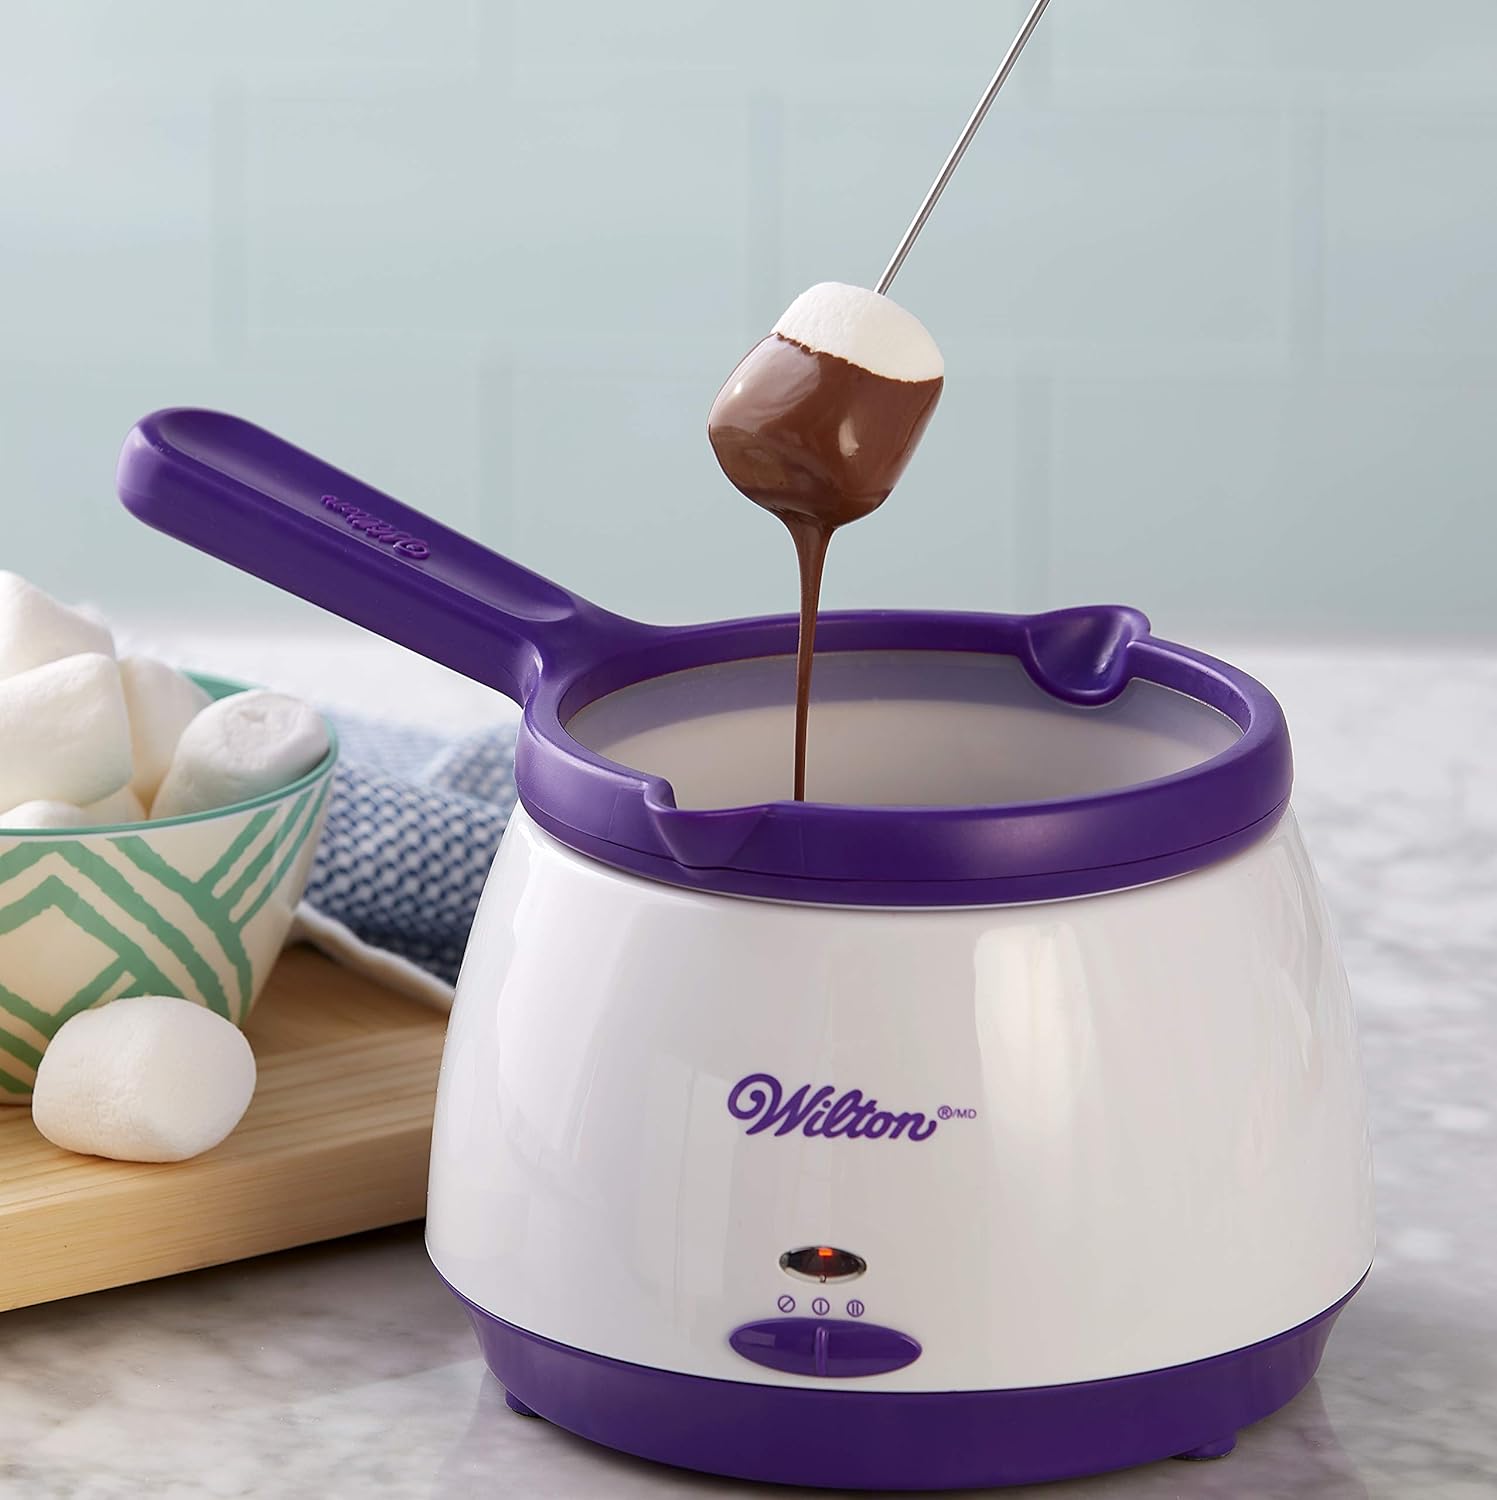
Candy melts melting pot
The candy melts melting pot makes melting these discs easy and hassle-free! Simply add the candy melts to the melting pot and switch it on. Choose the melt setting for the discs so that they can either melt or simply be kept from solidifying.
Why Isn’t My Candy Melts Melting?
Melting candy melts is easy, but sometimes things just don’t want to work! Here are a few reasons they might not be melting.
Expired melts
Make sure to check the packaging for expiration dates before trying to melt the candy melts. With age, the composition of the melts changes, and they may not have the same melting abilities as they used to.
Moisture
Too much moisture in the air will interfere with the melting abilities of the candies. This can also cause candy melts to seize, which gives them a grainy texture that will make it impossible to use.
Incorrect temperature
The temperature you are melting at may not be high enough. Try reheating the boiling water if you’re using a double boiler. If you’re using the microwave, try to up the microwaves’ power slightly.
If all else fails, try using the candy melts melting pot, as this is specifically designed to perfectly melt them.
Melting Candy Melts In A Decorating Bag – Can It Be Done?
Before attempting this, make sure your decorating bag is microwave safe!
Simply place your candy melts in the decorating bag and place it in the microwave. The open end should be sealed with a piece of string so the candy melts don’t ooze out once they start melting.
Microwave the candy melts on 40% power for 1 minute. Then, slightly roll the bag around to distribute the heat and microwave it again for 30 seconds. Continue the process until all the melts are completely liquefied.
Melting Candy Melts – How To Store Wilton Melts And Others After Being Melted
Once melted, these candy melts will solidify again after a while. And, if immediately placed in the fridge or freezer, this time frame will shorten drastically.
So, when storing melted candy melts, your best option is to either place them inside of a decorating bag or a plastic stain and odor-free container. Both are easy to reheat and use the melts again.
Keep the solidified melts at room temperature to prevent moisture from affecting the appearance of the melts.
Wilton Candy Melts Candy And Chocolate Melting Pot, 2.5 Cups
Final Thoughts
Melting candy melts makes coating and dipping items are much more fun and even easy! Gone are the days when you try tempering chocolate for hours or struggling to get the right glaze consistency. If you loved this article, please feel free to share it with your fellow baking community!
FAQs
Why are my candy melts not melting?
There are a couple of reasons that your candy melts may not be melting. They can either be too old or have been affected by moisture. Another surprisingly common reason is that you don;t use enough heat. So, make sure to keep reheating the mixture if the discs don;t want to properly melt.
How to melting candy melts in decorating bag?
First, make sure that the decorating bag is heat-proof and microwave-safe. Then, simply place the melts inside and tie down ends to that they don't run out when melting. Place the bag inside the microwave at 40% power for 1 minute. Remove the bag and roll it around a bit to distribute the heat. Melt in 30-second intervals until the mixture is smooth.
What is the best way to melt candy melts?
There isn't a better way when choosing techniques from our list. Whatever is most convenient for you will work perfectly! Just make sure to not overheat the candy melts to prevent them from seizing. The microwave method is definitely quick and easy, but a melting pot will keep them liquefied until needed.
How to store Wilton candy melts after melting?
This really goes for any type or brand of candy melts. You can simply place the melted mixture into a decorating bag (with the ends tied) or a plastic stain and odor-free container. Store the melts at room temperature to prevent any moisture from the fridge or freezer affecting from the melts.

Lindy Van Schalkwyk is a culinary specialist with a background in Advanced Cooking, Advanced Pâtisserie, Media Communications and Nutrition. She has gained invaluable experience in the culinary industry having worked in some of the top restaurants in Africa in 2016 and 2017. Her expertise in nutrition has enabled her to develop recipes for special dietary needs. In 2018, Lindy began working in the Food Media industry, focusing on recipe development, recipe writing, food writing and food styling.