
Last Updated on January 19, 2023
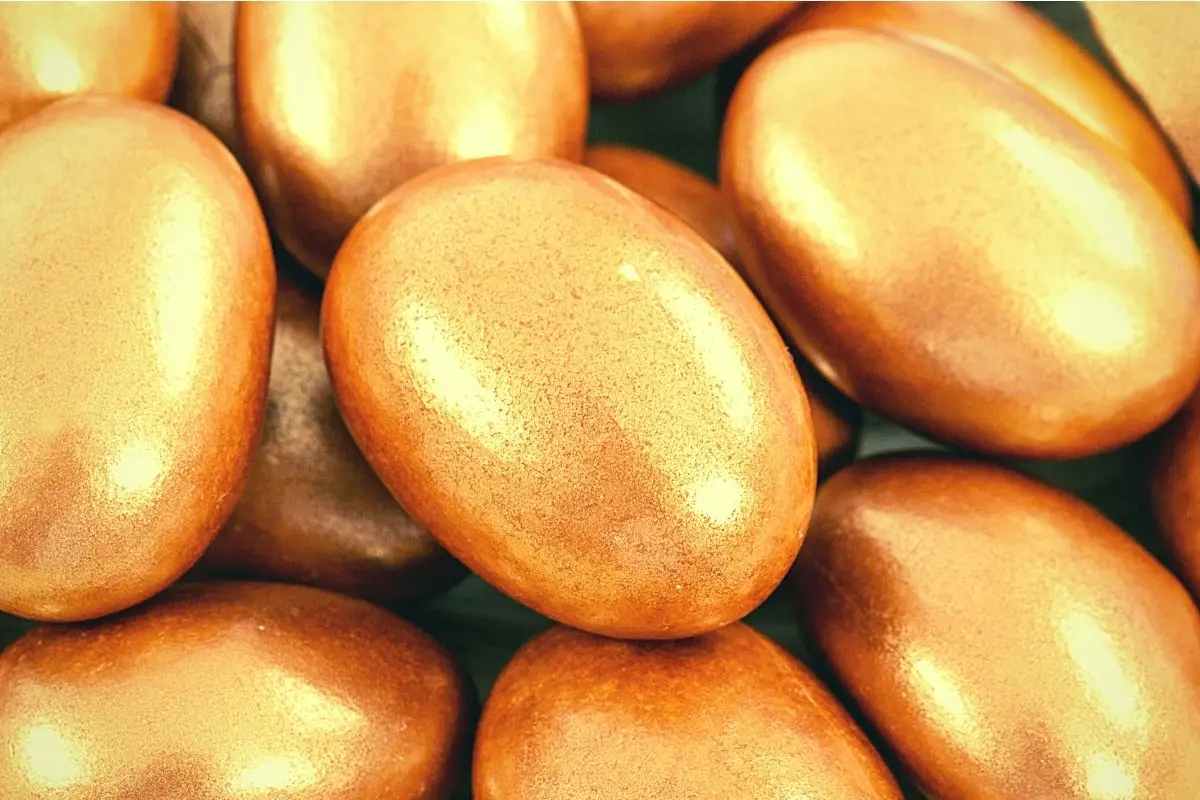
You may find yourself asking the question: can I make metallic gold toppers using candy melts? Yes, and I know you’d be amazed by metallic gold candy melts (how to use them and how to make them). Candy melts typically contain palm kernel oil rather than cocoa butter, making them easier to melt than pure white chocolate. They are available in various colors.
These perfect cake toppers are good for any occasion; birthdays, Easter, Christmas, New Year, and even Halloween. Try making this at home, and you can brighten your cakes and cupcakes with this recipe. Let’s take a look at how to make gold candy melts
What You Will Need: Metallic Gold Candy Melts
Ingredients
- 16 ounces of yellow-colored candy melts
- golden luster
- alcohol (vodka, gin)
Equipment
- paintbrush (new or preferably used for food, with plastic handle)
- small bowls
- glass jars
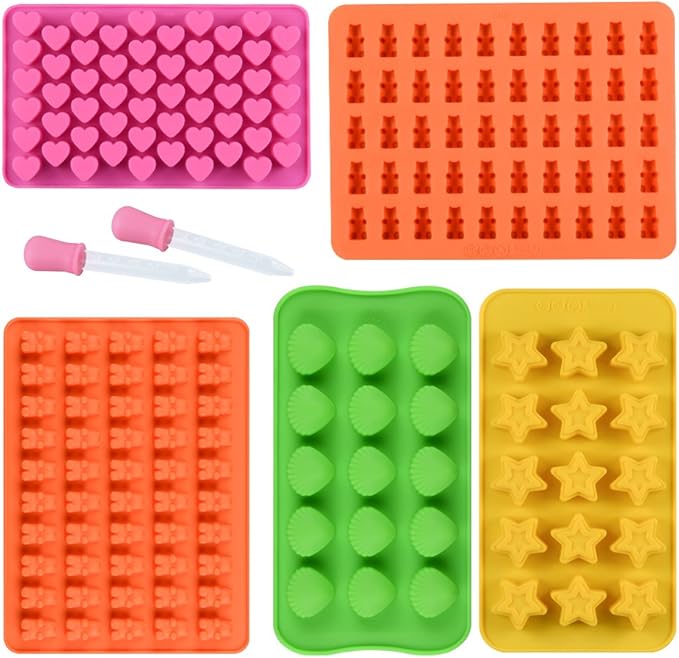
- candy molds
- saucepan
- mixing bowls
- rubber spatula
- baking sheets
- wax paper
Candy Mold and Silicone Ice Cube Tray Nonstick Including Hearts, Stars, Shells
Step by Step: Gold Candy Melts
When Using a Double Boiler
Step 1
Over low heat, place a saucepan with 1-inch water and place a bowl over the saucepan. But, make sure that the bottom of the bowl does not touch the water below.
Step 2
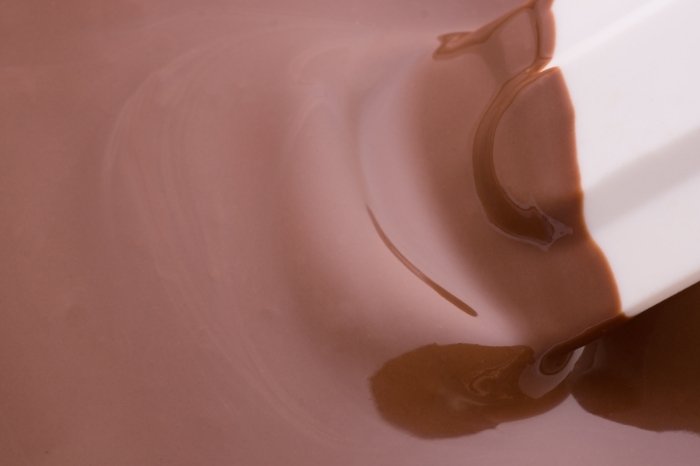
After that, pour the candy melts into the bowl and stir gently. Make sure not to raise the temperature of the heat because it may burn the candy melts. Melting the candy melts is a slow process. You will need patience.
Step 3
When the candy melts completely dissolves; let it rest for a minute and pour it into the candy molds. Go to Step 4.
When Using a Microwave for Melting the Chocolate
Remember that every microwave is different, so the candy melts will melt depending on how many you will use. These guidelines are for 2 cups or 16 ounces of candy melts.
Step 1
Using a microwave-safe bowl, add the candy melts, and put them into the microwave for 30 seconds on high power.
Step 2
Remove the bowl from the microwave and stir with a rubber spatula. Microwave for another 30 seconds; take it out when done, and stir it again. You will observe that the candy melts are starting to melt. Keep repeating the process until the candy melts completely.
Step 3
When the candy melts completely, let it rest for a minute, and pour it into the candy molds.
When Candy Melts are Firm and Cooled Down
Step 4
Then, remove the molded candy melts, and spread them on a baking sheet with wax paper.
Step 5
Pour some alcohol (vodka) into a small bowl and add the golden luster/dust. Then, using a clean and dry brush, dip it in the alcohol mixture. After that, begin painting the molded candy melts in metallic gold color.
Step 6
Let the candy melts rest. Afterward, let it become completely dry, and then you can place it on your cakes or cupcakes.
Tips and Tricks for Gold-Colored Chocolate
If you think your candy melt mixture is too thick, add a small pinch of paramount crystals and stir. Continue doing so until you can achieve your desired consistency. Paramount crystals are solid palm kernel oil flakes, which will thin out the thick candy melts mixture. In addition to that, it will allow the candy melts to harden properly.
Candy melts contain vegetable oil; typically palm kernel oil. It melts easier and has a nice flavor, though it is not as creamy and rich as pure chocolate. It is also cheaper than pure chocolate.
It’s best to avoid using old or stocked candy melts. New store-bought candy melts are always the best option for recipes that require candy melts. However, the longer you stock it, the thicker they get when you melt it. Another factor is that it may have been through drastic temperature changes.
Several factors cause the candy melts mixture to be too thick. The first factor is that you heat it at a very high temperature. Second, you did not store it properly. It is best if you do not store candy melts in damp and moist places. Third, it should be away from direct sunlight. Finally, make sure to store it far from any heat vents.
How to Make Golden Cake Pops
Now you know how to make gold candy melts, you may be wondering how you can use them in your baking. If you are, we have the perfect recipe for you. Take a look at how to make the most dazzling golden cake pops.
The ingredients you’ll need for this recipe are:
- 1/2 cup of butter
- 3/4 cup of caster sugar
- 2 eggs
- 3 tablespoons of milk
- 1 1/2 cups of self-raising flour
- 3/4 cup of frosting (vanilla is best)
- 1 1/4 cups of white candy melts
- gold luster dust
- vodka/lemon juice
- 18 lollipop sticks
Now all you need to do is:
- Gather all of the ingredients you need for this recipe and preheat the oven to 350F. You’ll also need to line a cake pan with parchment paper and grease lightly.
- Grab a mixing bowl and add the following ingredients: butter and sugar. Cream together until fluffy. Individually add the eggs; only add the next egg once the previous one is fully combined.
- Alternately add around 1/2 of the milk, and 1/2 of the flour to the mixture. Keep mixing until the ingredients are fully combined.
- Pour the batter into your prepared cake pan and bake in the center of your oven for around 40 minutes. Once baked, leave to cool before using.
- Once cooled, add the cake to a bowl and crumble it with your hands. Add the frosting and shape it into balls. This should make around 18 cake balls. Place on a baking sheet and chill for around an hour. Once chilled, insert a lollipop stick into each one.
- It’s best to melt the candy using the double boiler method. Add around an inch of water to a saucepan and add a heat-proof bowl over the top (it shouldn’t touch the water).
- Add the candy to the heat-proof bowl, and on low heat, melt your candy. Stir often throughout to avoid your candy burning. Low and slow is the best way to melt your candy.
- Once melted, remove from heat and dip each cake pop into the melted candy. Ensure they’re coated entirely and leave any excess to drip from the cake pop before leaving to set.
- Once set, you can now paint your cake pops. Add a few drops of vodka (or lemon juice) to a small amount of luster dust. Mix well and then use a small paintbrush to coat your cake pops with the gold coloring. Alternatively, you can use edible spray gold glitter.
- Allow to dry and serve. Enjoy!
Conclusion
I hope this post has helped you to become more familiar with how to make gold candy melts. Working with candy melts can take some patience and get used to, but once you learn, you’ll be using them for everything! Do you have any tips or tricks when it comes to making and using gold candy melts? If so, please feel free to let me know in the comments below. Sharing is caring!

Zarah is an experienced pastry chef whose creations have delighted countless customers. With a passion for baking, Zarah has developed a unique style that combines classic techniques with modern flavors. Her desserts are consistently crafted with the finest ingredients, and her attention to detail is evident in the stunning and delectable results. Zarah has a wealth of experience in the pastry kitchen, and loves to share her knowledge with others. Whether it is teaching a class or creating a custom cake for a special occasion, Zarah is committed to making sure every customer is satisfied.