Last Updated on October 30, 2021
It is Pate Sucree vs Pate Sablee. Which one is better? Keep in mind that both are the most popular shortcrust pastry doughs. That is why it is best if you knew a thing or two about them. Also, doing so will help you decide which one to use in your recipes.
Pate Sucree Vs Pate Sablee
Essentially, the primary distinction between Pate Sucree and Pate Sablee is dough texture when you bake them. For that reason, Pate Sucree produces a flaky and light crust. On the other hand, Pate Sablee yields a sand-like and crumbly texture.
Pate sucree definition
Pate Sucree is similar to Pate Brisee with regards to how you make it. Because of this, you first need to combine the dry ingredients with the butter. Afterward, ensure to add the liquids.
In contrast, it is best to use cold ingredients in this type. The main reason is that it produces a dough you can work much faster. Additionally, it indeed complements fillings like ganache, mousses, fruit fillings, and pastry cream.
Ultimately, Pate Sucree is unique due to its immense quantity of sugar compared to other short crusts. Not only that, but also it prevents gluten formation. As a result, it produces a tender and soft crust, best to use for tarts.
What is pate sablee?
For starters, Pate Sablee has a richer taste compared to Pate Sucree. Not only that but also, it has a higher fat ratio and sugar. For these reasons, it is more fit for desserts like fruit tarts.
Moreover, you can make Pate Sablee by using the creaming method. Because of that, you should prepare all the ingredients in advance, and they should all be at room temperature. In this regard, ensure to cream the butter with icing sugar. Afterward, add your eggs. Next, put the almond flour and salt.
Keep in mind that the final dough should be soft. In addition to that, it should be slightly hard to work with, considering that you did not chill it. However, you must place room temp ingredients in the refrigerator for more hours. Doing so will make them set correctly.
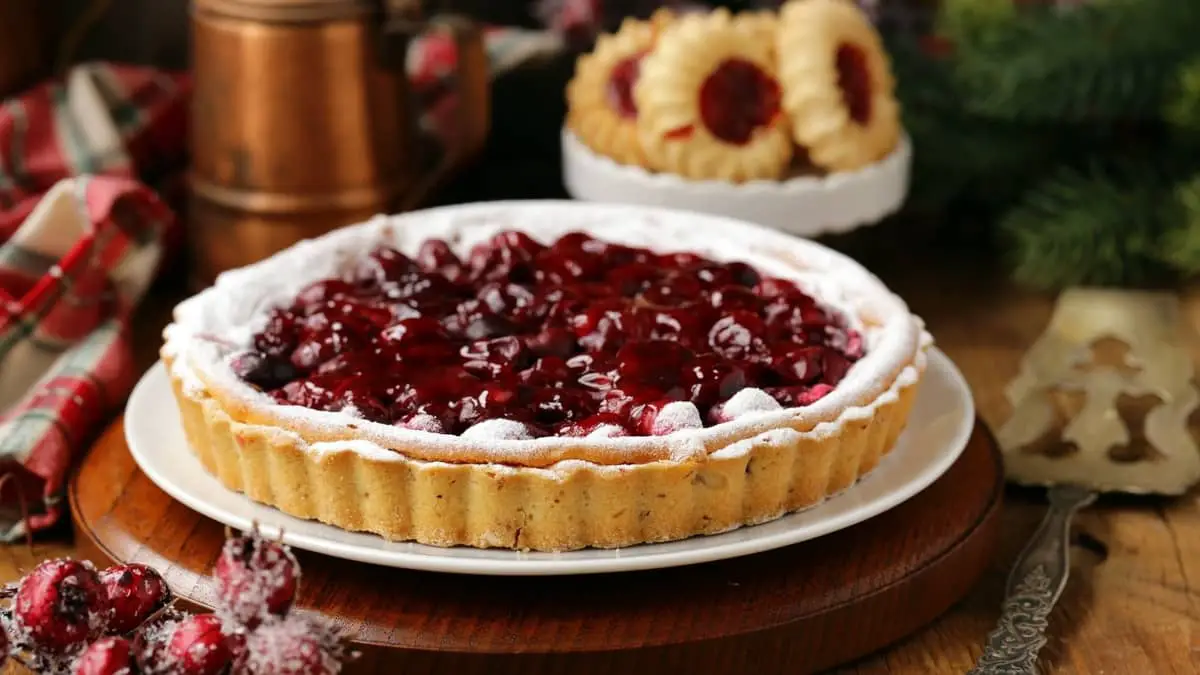
Furthermore, Pate Sablee possesses a more desirable texture. In that regard, it is indeed sandy and crumbly. In addition to that, it melts in the mouth, and it is effortless to bite into it. So with that, it would be best to use Pate Sablee for desserts such as tarts, biscuits, and pies.
Pate Sablee Recipe: Pate Sucree Vs Pate Sablee
Before anything else, you should know when to use Pate Sablee. In this regard, it is the dough you use to make the traditional tart’s shell. Likewise, it is for the pies that use this tender. Not only that but also you usually fill it with pastry cream. Then, top it with fresh fruits.
Moreover, you can use it as a lemon tart’s base, including almond frangipane tarts and chocolate tarts. With that, make sure to bake the tart crust thoroughly. After that, be sure to fill it with whatever you crave.
What You Will Need For Pate Sablee For Traditional Tarts
Ingredients
- 1pc of egg (egg yolk)
- 1 tbsp of milk or cream
- 8 tbsp of room temp unsalted butter
- 1/2 tsp salt
- 1 1/4 cups of all-purpose flour
- 1/3 cup powdered sugar
Equipment
- Measuring spoons and cups
- Rolling pin
- Stand mixer
- 9-inch tart pan
- Parchment foil or paper
- Pie weights or beans
- Wax paper
- Saran wrap
Step by step instructions
Step 1
First and foremost, make sure to beat the powdered sugar and butter in the stand mixer’s bowl. With that, make sure to do it till it is creamy. Keep in mind that it must combine effortlessly with powdered sugar. The main reason is that the butter is soft.
Step 2
Next, beat in the egg yolk. And make sure to keep mixing till the egg yolk combines well. After that, stop the mixer. Then, scrape down the bowl’s bottom and sides.
Step 3
Afterward, beat in the flour and salt. With that, ensure that the mixer is at a low speed. Also, make sure to beat till the dough comes together. In addition to that, there should be no more visible flour.
Step 4
Then, dump the mixer bowl’s contents on a piece of plastic wrap. After that, collect the dough together. And make sure to press it into a round disk. After that, wrap in saran wrap. And be sure to chill it for approximately an hour or up to two days.
Step 5
When it is ready to roll, make sure to remove the dough from the refrigerator. Afterward, let it soften on the counter.
Step 6
After that, ensure to roll the dough between two pieces of wax paper. Doing this will stop it from becoming sticky.
Step 7
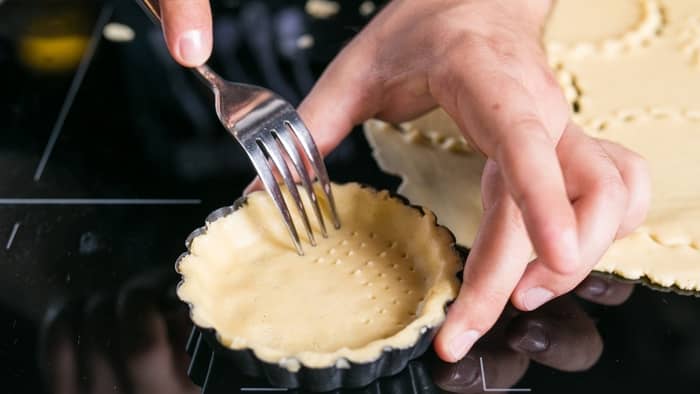
Then, ensure to transfer the dough to the tart pan.
Step 8
Make sure to wrap the pan loosely in plastic. Keep in mind that you must chill it for about thirty minutes.
Step 9
Next, ensure to preheat your oven to 375 degrees Fahrenheit.
Step 10
Afterward, ensure to line the chilled dough with some aluminum foil or parchment paper. With that, be sure to fill the inside with pie weights. And make sure to bake till the edges start to brown. Likewise, till the crust’s middle is golden.
Tips And Tricks
It would be best to chill the prepared dough in the fridge. With that, you can do so for approximately two to three days. Also, make sure to do it before you bake it.
When freezing the prepared dough, it will last for about a month. However, before using it, be sure to thaw overnight in the fridge. Aside from doing that, you can indeed freeze the tarts after you rolled them out.
Furthermore, it is best to bake the tart crust in advance, like a day or two. Also, always ensure to cool the unfilled tart shell. Then, be sure to wrap it in plastic. Likewise, you can transfer the mini tarts to a sealed container. Afterward, you can keep it at room temperature till you are ready to fill it.
Additionally, it would help if you wrapped it in aluminum foil. Then, you put it in a big zip-top bag. Likewise, you can store it in a plastic-lidded container. So with that, you can freeze it for around a month. Also, be sure to thaw baked, frozen shells in the fridge. Make sure to do this before you add the filling.
What You Will Need For Pate Sablee For Traditional Tarts
Equipment
- Measuring spoons and cups
- Rolling Pin
- 9-inch tart pan
- Parchment foil or paper
- Pie weights or beans
- Wax paper
- Saran wrap
Ingredients
- 1 pc of egg (egg yolk)
- 1 tbsp of milk or cream
- 8 tbsp of room temp unsalted butter
- 1/2 tsp salt
- 1 1/4 cups of all-purpose flour
- 1/3 cup powdered sugar
Instructions
- First and foremost, make sure to beat the powdered sugar and butter in the stand mixer’s bowl. With that, make sure to do it till it is creamy. Keep in mind that it must combine effortlessly with powdered sugar. The main reason is that the butter is soft.1/3 cup powdered sugar, 8 tbsp of room temp unsalted butter
- Next, beat in the egg yolk. And make sure to keep mixing till the egg yolk combines well. After that, stop the mixer. Then, scrape down the bowl’s bottom and sides.1 pc of egg (egg yolk)
- Afterward, beat in the flour and salt. With that, ensure that the mixer is at a low speed. Also, make sure to beat till the dough comes together. In addition to that, there should be no more visible flour.1/2 tsp salt, 1 1/4 cups of all-purpose flour
- Then, dump the mixer bowl’s contents on a piece of plastic wrap. After that, collect the dough together. And make sure to press it into a round disk. After that, wrap in saran wrap. And be sure to chill it for approximately an hour or up to two days.
- When it is ready to roll, make sure to remove the dough from the refrigerator. Afterward, let it soften on the counter.
- After that, ensure to roll the dough between two pieces of wax paper. Doing this will stop it from becoming sticky.
- Then, ensure to transfer the dough to the tart pan.
- Make sure to wrap the pan loosely in plastic. Keep in mind that you must chill it for about thirty minutes.
- Next, ensure to preheat your oven to 375 degrees Fahrenheit.
- Afterward, ensure to line the chilled dough with some aluminum foil or parchment paper. With that, be sure to fill the inside with pie weights. And make sure to bake till the edges start to brown. Likewise, till the crust’s middle is golden.

Zarah is an experienced pastry chef whose creations have delighted countless customers. With a passion for baking, Zarah has developed a unique style that combines classic techniques with modern flavors. Her desserts are consistently crafted with the finest ingredients, and her attention to detail is evident in the stunning and delectable results. Zarah has a wealth of experience in the pastry kitchen, and loves to share her knowledge with others. Whether it is teaching a class or creating a custom cake for a special occasion, Zarah is committed to making sure every customer is satisfied.


