
Last Updated on March 25, 2022
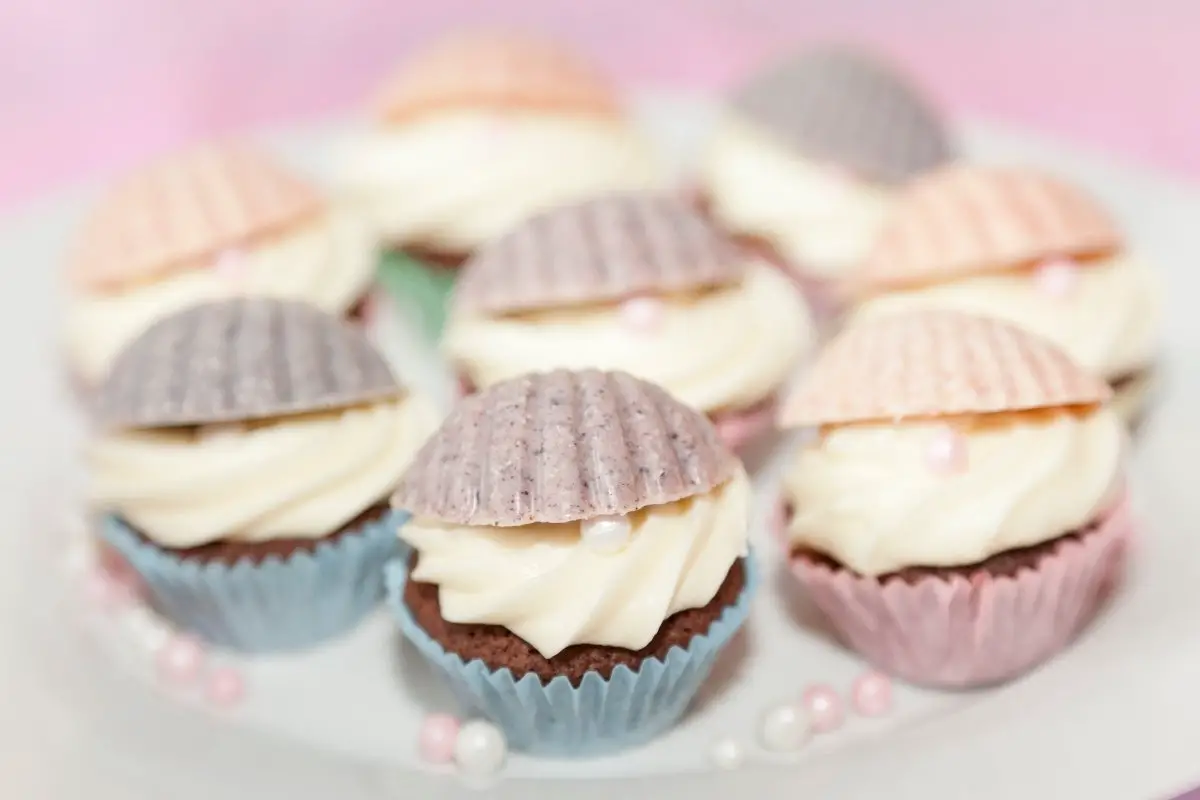
If you are looking for a fun idea for a beach-themed party, you will want to know how to make edible seashells. Edible seashells make for a fun and cute decoration for seashell cakes, cupcakes, brownies, and cookies. They are a great way to make any beach-themed or summer party more festive.
These edible seashells are simple to and are an adorable touch to any cake. You can make them in a variety of different colors depending on your desire. Your guests will love how cute these seashells look on your homemade desserts.
What You Will Need To Make Edible Seashells For Cakes
Ingredients
For Edible Seashells Made from Candy Melts
- 12-ounce bag of candy melts, any color
- Edible color mist
For Edible Seashells Made with Sugar
- 2 cups sugar
- 1/2 cup water
- 1/4 cup corn syrup
- 1/4 teaspoon cinnamon extract (optional)
- Gel-paste food coloring
Equipment
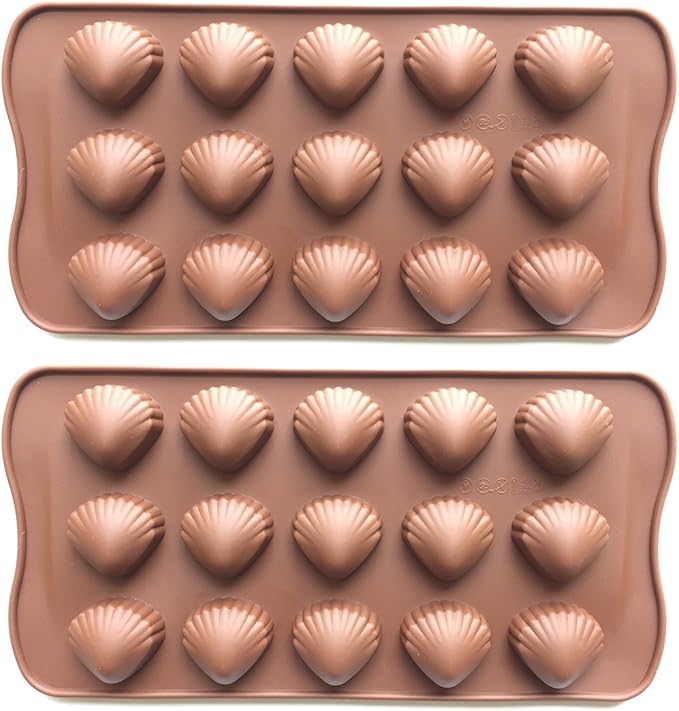
- Seashell candy molds
- Microwave-safe bowl
- Whisk
- Piping bag
- Small saucepan
- Liquid measuring cup
- Candy thermometer
- Rubber spatula
- Color mist (optional)
- Paper towels
2pcs Silicone Shells Chocolate Molds for Baking/Candy/Cookies
Step by Step Instructions
Candy Melt Seashells
Step One: Melt the Candy Melts
In a microwave-safe bowl, melt your candy melts. Microwave them in 30-second intervals at 50% power until fully melted and smooth. Avoid overheating the candy melts.
Step Two: Pour Candy Melts Into Mold
Using a spoon, carefully pour your candy melts into the seashell mold. Alternatively, you can use pour the melted candy melts into a piping bag and pipe the candy melts into the molds. If desired, you can swirl different colors of candy melts together.
Gently smack the filled mold a couple of times on the counter to ensure the candy is smooth. Place the molds in the fridge for 10-15 minutes to allow them to set.
Step Three: Decorate With Color Mist
Once the melts have hardened, carefully take them out of the seashell mold. Lay them out on paper towels and use color mist to give them a shiny finish. Place the finished shells on your cake.
Sugar Seashells
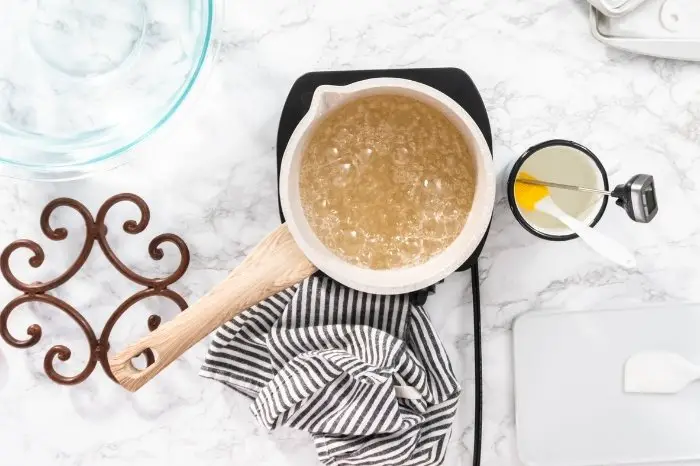
Step One: Boil the Sugar, Water, and Corn Syrup
In a small saucepan, bring the sugar, water, and corn syrup to a boil over medium-high heat. Heat the sugar mixture until it reaches 300 degrees Farenheit. Use a candy thermometer to regularly check the temperature.
Step Two: Add the Extract
Remove the sugar mixture from the heat. Add the cinnamon extract and mix well. You can also use vanilla, orange, or almond extract.
Step Three: Add the Food Coloring
Add 2-4 drops of food coloring to the sugar mixture. Use a rubber spatula to thoroughly mix in the food coloring.
Step Four: Transfer Mixture to a Liquid Measuring Cup
Carefully pour the sugar mixture from the small saucepan into a liquid measuring cup. Allow the bubbles to settle for about 15 seconds. Use caution when transferring, as the sugar mixture will be hot.
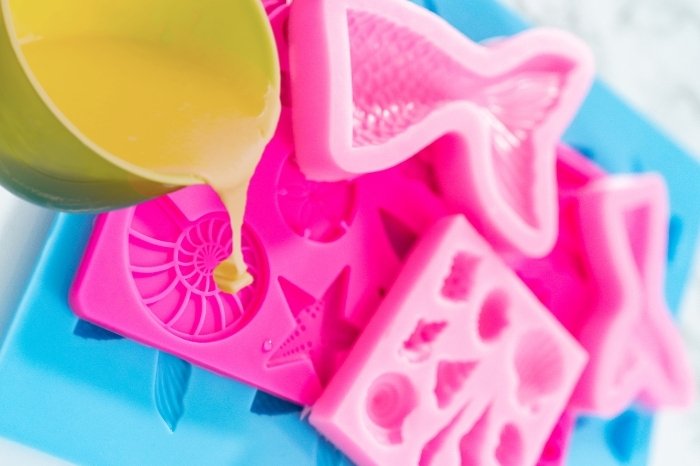
Step Five: Transfer the Sugar Mixture to the Mold
Carefully pour the sugar mixture into the molds.
Step Six: Allow the Sugar to Harden
Allow the sugar to harden at room temperature for about 30 minutes at room temperature. Once hardened, carefully remove the sugar seashells from the candy molds. If desired, spray the seashells with color mist and add to your desserts.
Servings and Preparation Time
Tips and Tricks on How to Make Edible Seashells
When using candy melts or sugar, you can use any color you want or use multiple colors as well. If you want, you can even swirl colors together. You may also use milk or dark chocolate as well to make the seashells.
The seashells, both candy melts or sugar, can be kept at room temperature for up to one week. Avoid keeping the edible seashells somewhere warm or in direct sunlight. Heat can cause them to melt and ruin their shapes.
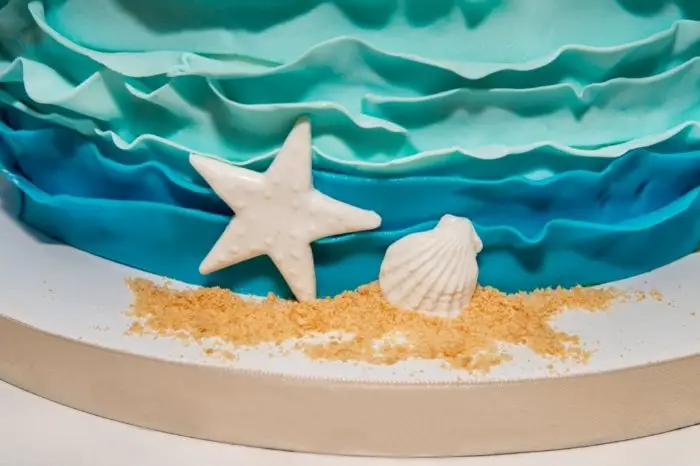
To make your seashell cake have a beach theme, you can use light blue frosting. Brown sugar works wonderfully to imitate sand. Sprinkle some brown sugar on your cake, cupcakes, or brownies, and then add your seashells for a beachy look.
In addition to brown sugar, crumbling vanilla wafer cookies can also work for sand. You can also use graham crackers crumbs as well.
Color mist is a great way to add a shiny coating to your candies. It comes in many different colors and adds a nice, professional finish to your shells.
For a more textured look, you can add coarse sugar. In addition, edible glitter can be a wonderful touch to your shells as well. Sugar pearls also add a nice touch when you are decorating your baked goods with seashells.
In addition to using a piping bag to fill the mold with candy melts, you can also use a squeeze bottle as well. This will help you have more control over the melts when you add them to the molds.
How To Make Edible Seashells
Equipment
- Seashell candy molds
- Piping Bag
- Small saucepan
- Liquid measuring cup
- Candy thermometer
- Color mist (optional)
- Paper towels
Ingredients
For Edible Seashells Made from Candy Melts
- 12- ounce bag of candy melts any color
- Edible color mist
For Edible Seashells Made with Sugar
- 2 cups sugar
- 1/2 cup water
- 1/4 cup corn syrup
- 1/4 teaspoon cinnamon extract optional
- Gel-paste food coloring
Instructions
Candy Melt Seashells
- Melt the Candy Melts - In a microwave-safe bowl, melt your candy melts. Microwave them in 30-second intervals at 50% power until fully melted and smooth. Avoid overheating the candy melts.
- Pour Candy Melts Into Mold - Using a spoon, carefully pour your candy melts into the seashell mold. Alternatively, you can use pour the melted candy melts into a piping bag and pipe the candy melts into the molds. If desired, you can swirl different colors of candy melts together.
- Gently smack the filled mold a couple of times on the counter to ensure the candy is smooth. Place the molds in the fridge for 10-15 minutes to allow them to set.
- Decorate With Color Mist - Once the melts have hardened, carefully take them out of the seashell mold. Lay them out on paper towels and use color mist to give them a shiny finish. Place the finished shells on your cake.
Sugar Seashells
- Boil the Sugar, Water, and Corn Syrup - In a small saucepan, bring the sugar, water, and corn syrup to a boil over medium-high heat. Heat the sugar mixture until it reaches 300 degrees Farenheit. Use a candy thermometer to regularly check the temperature.
- Add the Extract - Remove the sugar mixture from the heat. Add the cinnamon extract and mix well. You can also use vanilla, orange, or almond extract.
- Add the Food Coloring - Add 2-4 drops of food coloring to the sugar mixture. Use a rubber spatula to thoroughly mix in the food coloring.
- Transfer Mixture to a Liquid Measuring Cup - Carefully pour the sugar mixture from the small saucepan into a liquid measuring cup. Allow the bubbles to settle for about 15 seconds. Use caution when transferring, as the sugar mixture will be hot.
- Transfer the Sugar Mixture to the Mold - Carefully pour the sugar mixture into the molds.
- Allow the Sugar to Harden - Allow the sugar to harden at room temperature for about 30 minutes at room temperature. Once hardened, carefully remove the sugar seashells from the candy molds. If desired, spray the seashells with color mist and add to your desserts.
Notes
Beautiful Seashells Cake With Edible Seashells
These edible seashells are the perfect touch for any summer or beach-themed party. They are simple to make, whether you are using candy melts or sugar. There are so many great colors you can use as well to make it fit your theme.
These shells not only look adorable, but they also taste great as well. They are a fun way to spruce up any cake and would be an especially nice touch for a beach wedding cake. Though they require no experience to make, they will look like a professional made them.
Add some brown sugar and blue frosting to complete your beach look. Your friends and family will adore how your seashell cake looks. It is a fun addition to your next outdoor party or BBQ.
If you enjoyed this tutorial on how to make edible seashells, please share your thoughts in the comment section below. In addition, please share this post with your friends and family so they can make these fun and cute cake decorations too.

Ever since she was a young girl, Anna has been a lover of desserts. As an adult, she enjoys
baking a variety of desserts from cakes, cookies, brownies, bread, and more from scratch. She
enjoys sharing her passion for baking with others who also have a sweet tooth. From properly
measuring ingredients to making sure they are the correct temperature, Anna knows the
importance small details can make in baking. She wants to share her experience with others in
hopes they can make the most delicious baked goods. When she’s not busy blogging, Anna
enjoys trying new recipes in the kitchen.