
Last Updated on January 2, 2023
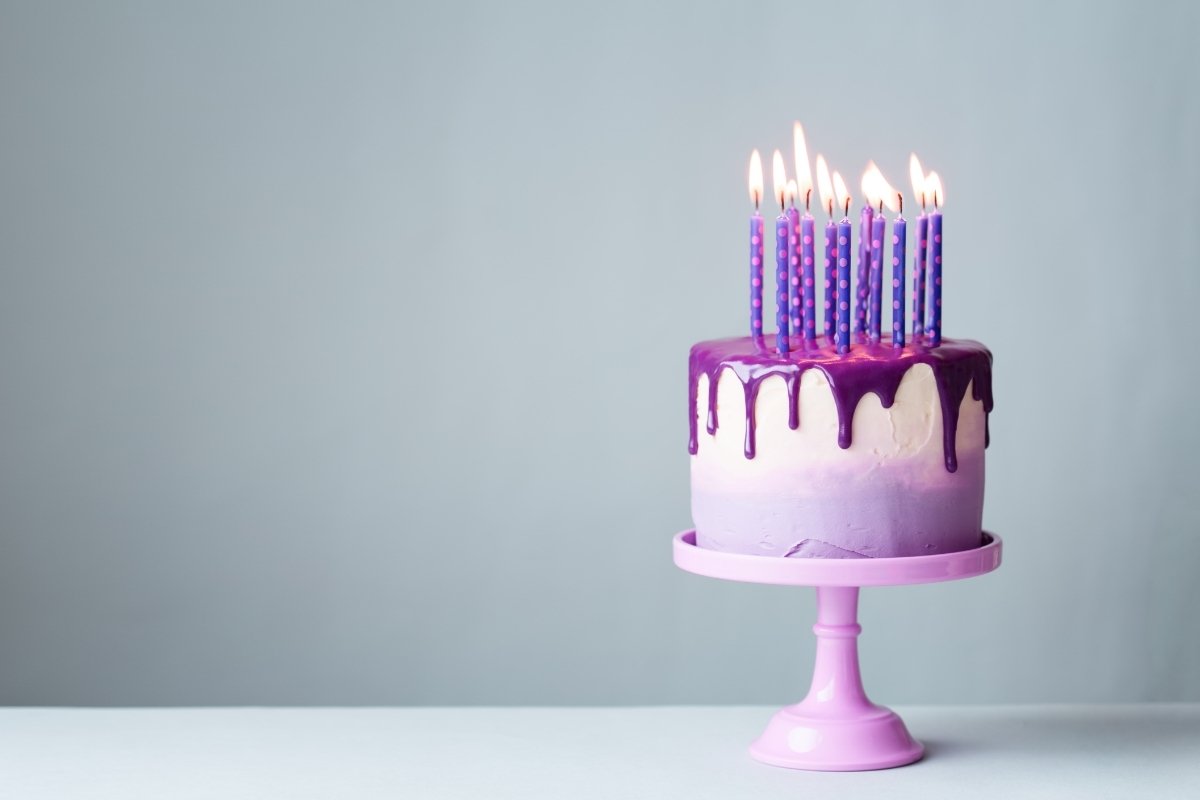
Do you want a quick and easy recipe for a glossy drip on the cake? Then, this candy melt ganache drip recipe is just for you. Candy melts are fun and easy to use. And with a bit of imagination and creativity, you can achieve your desired drip cake design.
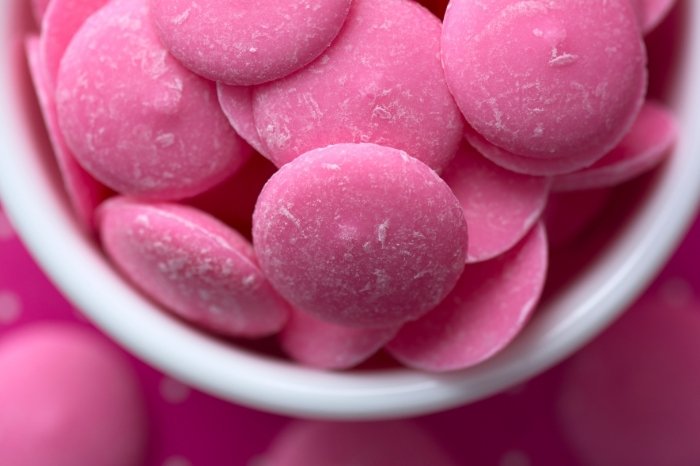
Essentially, candy melts are made of milk solids, sugar, flavorings, and vegetable oils. Confectionery coating or summer coating are other names for candy melts. Aside from using it as a ganache, you can use candy melts to dip treats. Likewise, mold candy, pipe, and drizzle decorations. Besides, chocolate melts have added cocoa powder.
What Ganache With Candy Melts?
Candy melts ganache has a wide variety of colors and flavors. And it melts to a semi-liquid state before setting hard with a smooth and shiny finish. Thus, they appear similar to chocolate in terms of how they look and taste. But, it does not necessarily require tempering as pure chocolate does.
Many companies produce chocolate melts, which vary greatly in cost and quality. Tempering is a process that gives chocolate its nice, shiny finish after it has been melted. In addition, candy melts, unlike chocolate, retain their shape at room temperature. So with that, you do not have to worry about melting if left out.
What You Will Need For This Recipe
Ingredients
- 14-ounce package of candy melts of your desired flavor and color.
- 1/2 cup whipping cream
Equipment
- Saucepan
- Offset spatula
- Knife
- Cutting board
- Measuring spoons
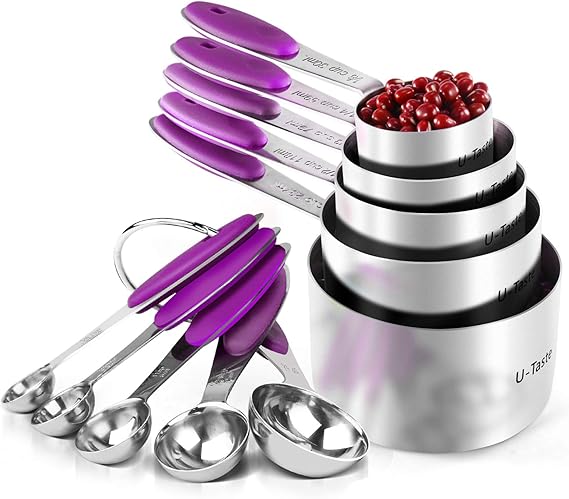
- Measuring cups
- Squeeze plastic bottle
- Mixing bowls
- Spatula
Measuring Cups: U-Taste 18/8 Stainless Steel Measuring Cups and Spoons Set of 10 Piece
Step by Step Instructions to Make Candy Melt Ganache Drip
Step 1
Chop candy melts using a knife and a cutting board or food processor.
Step 2
Afterward, place the whipping cream in a saucepan. Then, heat it to a boiling point, but do not bring it to a boil.
Step 3
After that, take the saucepan from the heat, then add your chopped candy melts.
Step 4
Then, place the ganache in a squeezed plastic bottle. But, you can skip this part if you do not have one available.
Step 5
After that, stir until smooth and glossy. If you think that the mixture is too thick, add about one to two tablespoons of warm whipping cream. Do this till you can achieve your desired texture.
Step 6
Afterward, place the cake on the cake board. Make sure you chill the cake for at least thirty minutes before starting the dripping process. Chilling the cake ensures that the buttercream holds its shape and can withstand the slightly warmed ganache.
Step 7
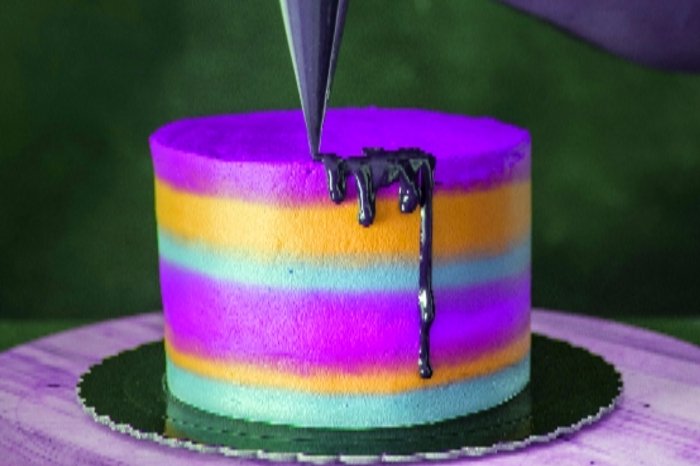
Finally, using the squeeze plastic bottle with ganache, make the drips at the edge of the frosted cake. However, if you don’t have a plastic bottle, you can always utilize a spoon or an offset spatula. With that, gently push the ganache over the edge of the cake, thus forming a drip.
How Much Ganache For 8 Inch Drip Cake?
It all depends on what chocolate you’re using for your drip cake. Typically, semi-sweet or milk chocolate chips are used. If this is the case, for an 8-inch drip cake, you’ll need around 1 cup of chocolate chips to 1 cup of heavy cream. The ratio will always be 1:1 with milk chocolate or semi-sweet chocolate chips. This recipe makes enough ganache for a 12-inch cake. This may seem excessive, but I always like to make slightly more than I need and then store any leftovers I have in the fridge in an airtight container. Leftovers will last around two weeks.
However, if you’re using white chocolate, the ratio of heavy whipping cream to chocolate is slightly different. For every 1/3 cup of white chocolate, you’ll need around 1 cup of heavy whipping cream. And finally, for dark chocolate, the ratio is almost 1:1, but with a tablespoon or two of extra whipping cream to make the flavor slightly more balanced.
How Much For a 6 Inch Drip Cake?
If you want to make the perfect amount of ganache for a 6-inch drip cake, you’ll only need 1/2 cup of chocolate chips and 1/2 cup of heavy whipping cream. However, this only makes just enough ganache and doesn’t allow for any problems that may arise or any extra ganache you may need. If you’re a seasoned pro with ganache, these measurements should be no problem. If you’re a novice, I’d advise making slightly more than needed. The ratio of chocolate chips to heavy whipping cream is always 1:1, so is super easy to work out.
How Do You Store Ganache Dripping Cake?
As heavy whipping cream is part of your ganache-dripping cake, you may think that it requires refrigeration – however, this is not the case. Your ganache dripping cake will be fine at room temperature for 1-2 days, depending on it being out of sunlight and kept in a cool, dry area. It should also be wrapped in foil to help keep the cake moist. After this point, it’s best to keep your ganache-dripping cake in the fridge or freezer, for longer-lasting results. This also depends on whether your cake has other fresh cream ingredients. If it does, it’ll have to be refrigerated throughout, and will only last around 2 hours at room temperature.
How Do You Make a Silver Ganache Drip?
To make a silver ganache drip, you’ll need 1/4 cup of heavy cream (plus 1 tablespoon), 1 cup of white chocolate chips, and silver gel food coloring. Now all you need to do is add the heavy cream to a microwave-safe bowl and heat for around 45 seconds. Now add your chocolate chips and leave for a few minutes so the chips melt. Mix until you have a smooth mixture (you can reheat if any chips aren’t fully melted). At this point, add in a few drops of your silver gel food coloring and stir well. Leave to cool slightly, until needed. You can also add a small amount of luster dust if desired.
What Can I Use For Gold Drip Cake?
For gold ganache drip, you’ll need 1/4 cup of heavy cream (plus 1 tablespoon), 1 cup of white chocolate chips, and gold gel food coloring. Add your cream to heat safe and bowl and heat for around 45 seconds. Add your chocolate chips and mix until smooth; reheat if needed. Once smooth, add your gold gel food coloring and leave to cool before use. Add a small amount of luster dust, if desired.
Can You Freeze a Drip Cake?
When it comes to drip cakes, they can safely be frozen in an airtight container and plastic wrap and will stay safe to eat for anywhere up to 3 months. However, this also depends on the filling of your drip cake too. Fillings such as curd or fresh cream do not freeze well.
Tips and Tricks for Candy Melt Ganache Drip Recipe
Ensure that it is at the proper temperature; the ganache should be slightly warmer than room temperature or just warm enough to touch. Also, perform a test drip to ensure that your ganache is at the proper temperature. To perform the test drip, make one drip on the side of your cake and allow it to flow. Then, for a few minutes, let it slowly run down the side of the cake.
You will need a small number of colored disks to get a vibrant color. The main reason is that colored candy melts are so concentrated. So instead, to achieve the desired color, combine them with white candy melts. Keep in mind that candy melt ganache drip easily overheats; as they heat up, they become thicker and clumpier, so you have to be careful.
Candy melts contradict everything we know about chocolate. However, letting candy melts sit and cool works better than stirring them. More candy melts are more accessible to melt at once than less. Fresh candy melts appear to perform better than candy melts that have been stored for an extended period. Usually, it is more than three months.
Do not use ganache drip on cakes covered in fondant because it distorts the form or shape of the cake. To be safe, test out one or more drips. It may lengthen the process, but it is worth it to ensure your drips are perfect. Then, place and press a piece of plastic wrap on top of it. For a few days, store at room temperature.

Zarah is an experienced pastry chef whose creations have delighted countless customers. With a passion for baking, Zarah has developed a unique style that combines classic techniques with modern flavors. Her desserts are consistently crafted with the finest ingredients, and her attention to detail is evident in the stunning and delectable results. Zarah has a wealth of experience in the pastry kitchen, and loves to share her knowledge with others. Whether it is teaching a class or creating a custom cake for a special occasion, Zarah is committed to making sure every customer is satisfied.