Last Updated on December 5, 2022
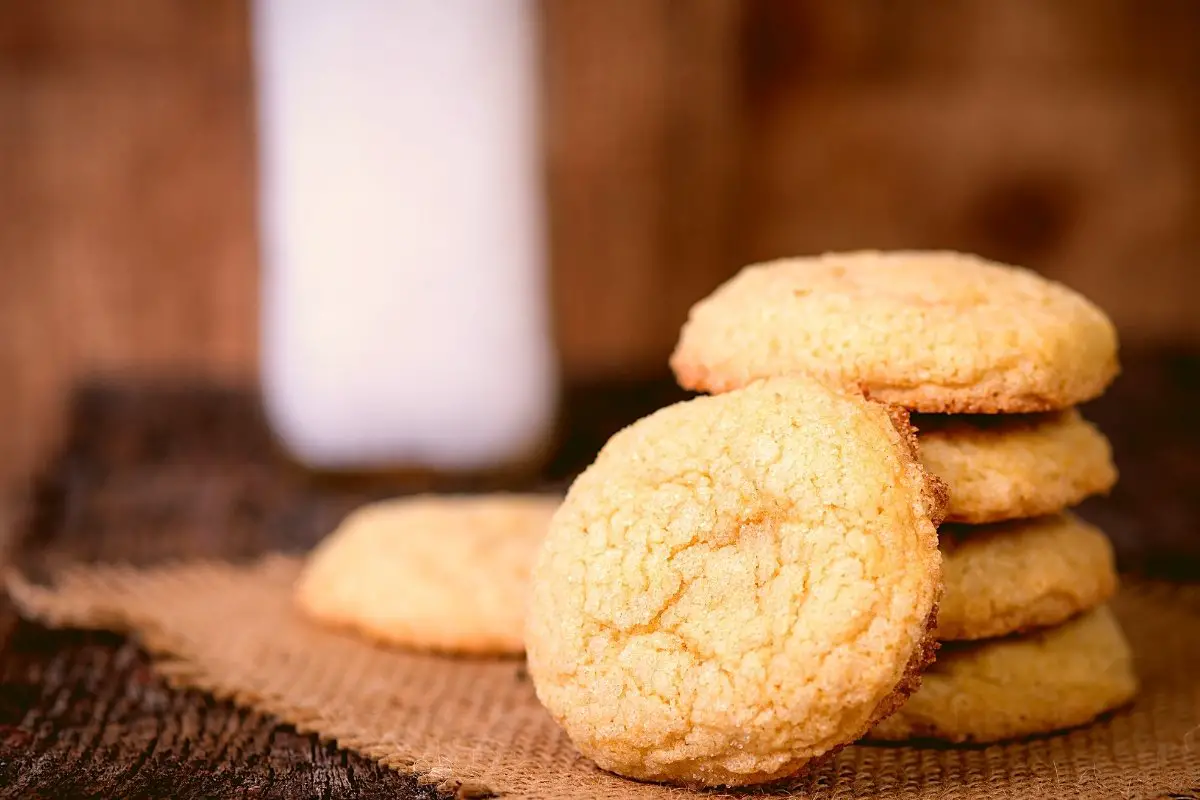
Sugar cookies recipe with self-rising flour is the perfect recipe for beginner bakers, bake sales, and even last-minute recipes. The secret is the self-rising flour, and it gets the job done for you. Self-rising flour is a three-in-one ingredient because it has baking powder and salt added to it. Pastries baked out from self-rising flour tend to be more tender than baked goods with all-purpose flour because it uses lesser protein than all-purpose flour.
Self Rising Flour
Essentially, it is a mixture made up of salt, baking powder, and flour. For this reason, self-rising flour ensures an even mixture of the leavening power of the baking powder and the flour. That is why you will inevitably obtain that excellent rise out of your baked goods every time you utilize self-rising flour. Besides, you no longer need a leavening agent. With that, use self-rising flour exclusively on baked goods that call for this product. As a result, you can make sugar cookies that always rise excellently every time you use self-rising flour.
What you will need to Make Sugar Cookies Recipe with Self Rising Flour
Ingredients
- 1/2 cup of unsalted butter
- 1 cup of granulated sugar
- 1 tsp of vanilla extract
- 1pc egg
- 2 cups of self-rising flour
Equipment
- Mixing bowls
- Measuring cups
- Measuring spoons
- Whisk
- Rubber spatula
- Hand or stand mixer
- Rolling pin
- Rubber Spatula
- Cookie-cutter
- Baking sheet
- Parchment paper
Wilton Cookie Cutters Set, 101-Piece
Step-by-step instructions on How to Make Sugar Cookies Recipe With Self Rising Flour
Step 1
Preheat the oven to 350 degrees Fahrenheit. After that, line the baking sheet with parchment paper.
Step 2
Then, at medium-high speed, cream your butter in a bowl of your hand or stand mixer till it becomes smooth and creamy or for a minute.
Step 3
Afterward, at medium speed, gradually add the sugar. Then, beat till well incorporated.
Step 4
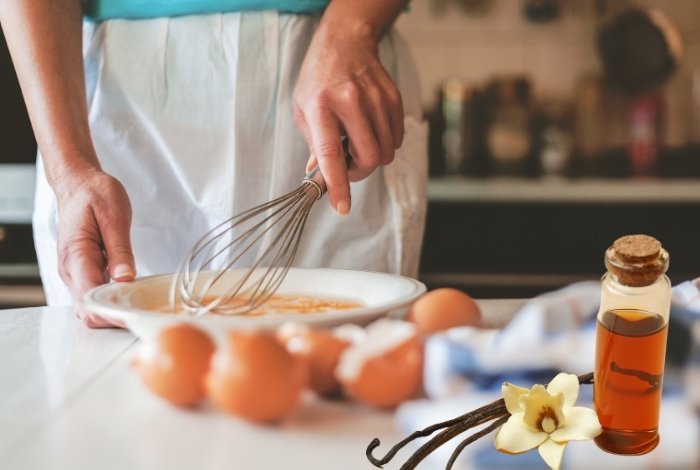
Now, at low speed, add the eggs, then add the vanilla. After that, using a rubber spatula, scrape the bowl’s sides and bottom to ensure that the batter is well incorporated.

Step 5
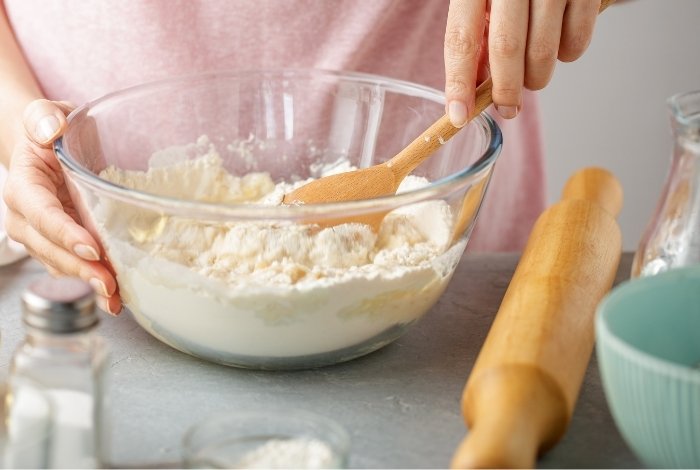
Then, gradually add in the self-rising flour. Afterward, beat until a soft dough forms. Because of that, do not forget to scrape the sides.
Step 6
After that, flour a clean surface, then roll out the dough to one-fourth inch in thickness using a rolling pin. Because of this, do not be afraid to add more flour because it tends to be more sticky.
Step 7
Afterward, grab your cookie cutter and grease them, then cut out the cookies.
Step 8
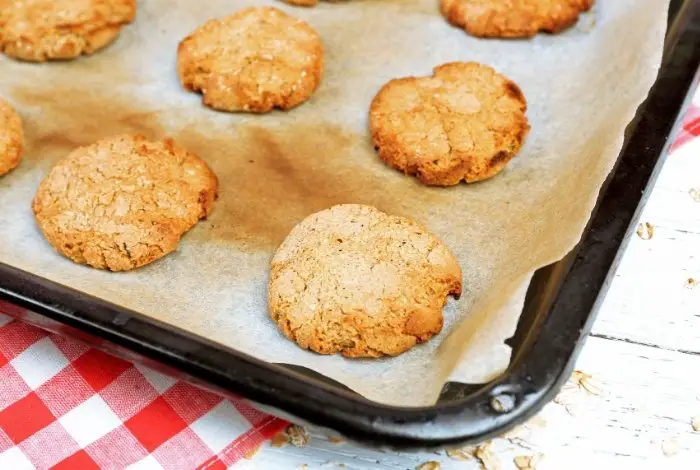
Now, place your cookies at least an inch apart on the prepared baking sheet. After that, bake in the oven for ten minutes or until the cookies turn golden brown.

Step 9
Finally, place on a wire to cool down. Besides, if you plan to frost the cookies with royal icing, make sure the cookies have completely cooled down.
Servings and Preparation Time

Can You Use Self-Rising Flour to Make Oatmeal Cookies?
Of course! As long as you know the adjustments to make, there are many recipes in which you can swap flour such as all-purpose flour to self-rising flour. When using self-rising flour, your cookies will typically be lighter and crunchier, which some people love in their cookies. Let’s take a look at how to make classic oatmeal cookies using self-rising flour. This recipe is inspired by one from A Delightsome Life.
Ingredients
The ingredients you’ll need for this recipe are:
- 2 sticks of softened butter
- 1 1/4 cups of packed light brown sugar
- 3/4 cup of granulated sugar
- 2 eggs
- 1 tablespoon of vanilla extract
- 2 cups of self-rising flour
- 4 cups of rolled oats
- 2 tablespoons of cinnamon
- 1/2 teaspoon of nutmeg
- 2 cups of raisins
- 2 cups of pecans, chopped
- 1 cup of chocolate chips
Recipe
Now all you need to do is:
Step 1: Prepare
Gather all of the ingredients you need for this recipe and preheat your oven to 350F. You’ll also need to line a baking sheet with parchment paper before you begin.
Step 2: Make the Dough
Add the butter, granulated sugar, and light brown sugar to a bowl. Beat well until the mixture becomes fluffy in texture. At this point, you can add the eggs individually; ensuring that the previous egg is fully incorporated before adding the next.
Once all eggs are combined, add the vanilla extract and mix. In another bowl, add the oats, spices, and self-rising flour and mix. Add the dry ingredients to the wet ingredients and mix until evenly distributed. Once mixed, fold in your raisins, pecans, and chocolate chips.
Step 3: Bake the Cookies
Using an ice cream scoop, drop your dough onto your prepared baking sheets. Be sure to leave space between them as they will spread. Place in the center of your preheated oven and bake for around 12-15 minutes. Leave them for slightly longer if you like them crunchier. Remove from oven and leave to cool before enjoying!
Can I Use Self Rising Flour For Edible Cookie Dough?
I’ve found that when it comes to edible cookie dough, it’s best to use all-purpose flour. Self-rising flour is typically only good for when you’re baking food and as edible cookie dough isn’t baked, all-purpose or plain flour works best. However, if you’re making a cookie dough mug cake, you can use self-rising flour and these cakes are one of my favorite sweet treats.
Cooking Perfected has one of the easiest cookie dough mug cake recipes that’s prepared and baked in under 5 minutes! Let’s take a closer look.
Ingredients
The ingredients you’ll need for this recipe are:
1 tablespoon of softened butter
1 tablespoon of brown sugar
1 tablespoon of plain sugar
1/3 cup of self-rising flour
1 egg
1/4 teaspoon of vanilla extract
4 tablespoons of semi-sweet chocolate chips
Recipe
Now all you need to do is:
Before you begin, soften the butter in the microwave for around 10 seconds in a microwave-safe mug. Once softened, add in the brown sugar, plain sugar, and vanilla extract. Mix well. Once mixed, add in your egg and mix again.
Now gently fold in your flour and mix until just combined. Now add your chocolate chips and mix one final time. Place in the microwave for around 90 seconds. Remove from the microwave and enjoy!
Tips and Tricks for Sugar Cookies Recipe with Self-Rising Flour
It is the most effective approach to bake cookies on the middle oven rack to achieve a chewy on the inside and slightly crispy on the outside texture. In addition to that, ensure to bake one baking sheet at a time. Moreover, make sure to buy a baking sheet that is shiny aluminum with a smooth surface. Likewise, you should utilize a baking sheet with no sides that reflects the heat, bakes cookies evenly, and browns right.
On the other hand, if self-rising flour is unavailable, you can substitute it by making your own. With that, all you need to do is whisk in 1 cup of all-purpose flour, 1/4 teaspoon of salt, and 1 1/2 teaspoons of baking powder.

It is best to utilize shortening for a thicker or puffer cookie. It would help if you also used shortening for thicker or puffer cookies since its texture can be more difficult to handle than a crunchy texture. On the contrary, use butter for a flatter cookie with a crunchier or lighter texture.
Moreover, you can store sugar cookies in an airtight container for approximately a week at room temperature. You can also freeze unfrosted sugar cookies, and they can last up to two months. Because of that, keep in mind that you must thaw them, especially when you are about to bake frozen cookies. For this reason, all you need to do is to place the cut-out cookies onto a baking sheet. Then bake for about nine to ten minutes.
Sugar Cookies Recipe With Self Rising Flour
Equipment
- Mixing bowls
- Measuring cups
- Measuring Spoons
- Rolling Pin
- Cookie-cutter
- Baking sheet
- Parchment paper
Ingredients
- 1/2 cup of unsalted butter
- 1 cup of granulated sugar
- 1 tsp of vanilla extract
- 1 pc egg
- 2 cups of self-rising flour
Instructions
- Preheat the oven to 350 degrees Fahrenheit. After that, line the baking sheet with parchment paper.
- Then, at medium-high speed, cream your butter in a bowl of your hand or stand mixer till it becomes smooth and creamy or for a minute.
- Afterward, at medium speed, gradually add the sugar. Then, beat till well incorporated.
- Now, at low speed, add the eggs, then add the vanilla. After that, using a rubber spatula, scrape the bowl’s sides and bottom to ensure that the batter is well incorporated.
- Then, gradually add in the self-rising flour. Afterward, beat until a soft dough forms. Because of that, do not forget to scrape the sides.
- After that, flour a clean surface, then roll out the dough to one-fourth inch in thickness using a rolling pin. Because of this, do not be afraid to add more flour because it tends to be more sticky.
- Afterward, grab your cookie-cutter and grease them, then cut out the cookies.
- Now, place your cookies at least an inch apart on the prepared baking sheet. After that, bake in the oven for ten minutes or until the cookies turn golden brown.
- Finally, place on a wire to cool down. Besides, if you plan to frost the cookies with royal icing, make sure the cookies have completely cooled down.
Notes

Zarah is an experienced pastry chef whose creations have delighted countless customers. With a passion for baking, Zarah has developed a unique style that combines classic techniques with modern flavors. Her desserts are consistently crafted with the finest ingredients, and her attention to detail is evident in the stunning and delectable results. Zarah has a wealth of experience in the pastry kitchen, and loves to share her knowledge with others. Whether it is teaching a class or creating a custom cake for a special occasion, Zarah is committed to making sure every customer is satisfied.


