
Last Updated on March 25, 2022
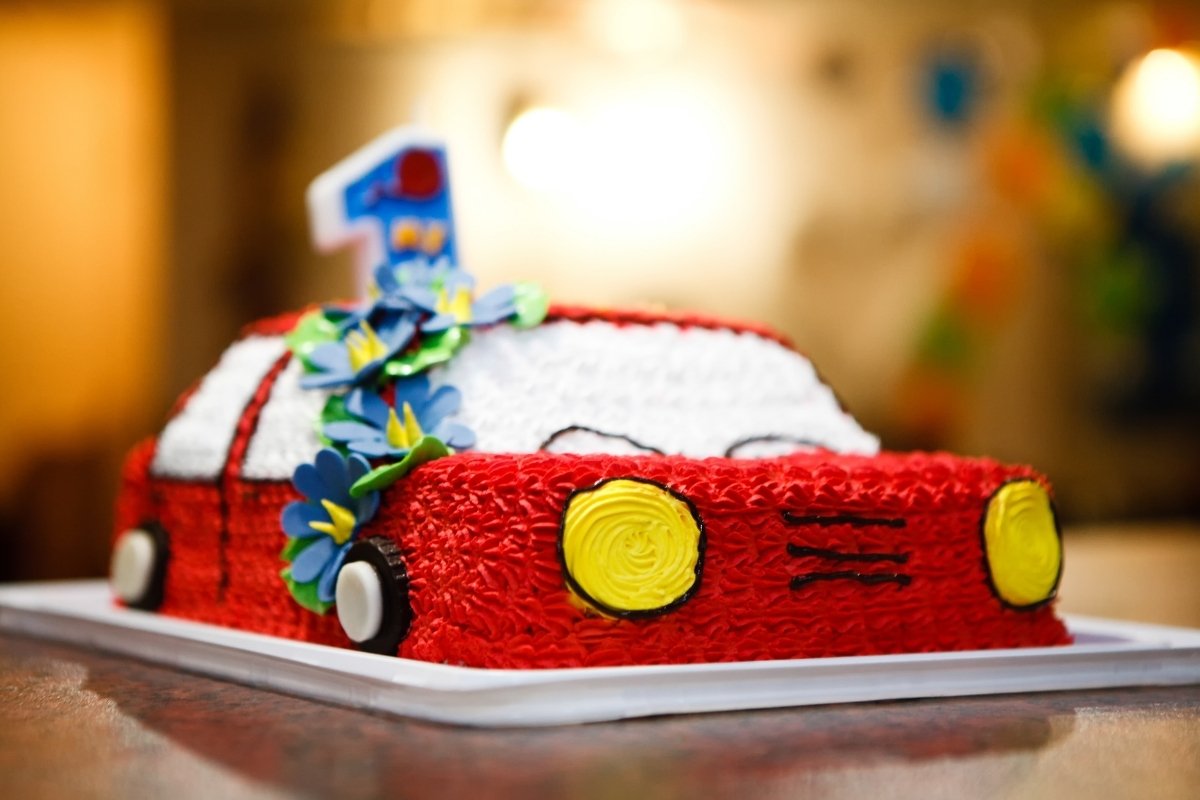
If you are looking for a super fun and unique birthday cake for a little kid, this monster truck cake pan recipe will be a huge hit. Not only does it taste great, but it also looks amazing as well. It is a dream come true for any child that loves monster trucks.
Though this cake does require some experience to make, it is well worth doing the work to see the smile on your child’s face. They will absolutely love how cool their monster truck birthday cake is. Once finished, it will look like a professional has made it.
By using a 3D cake pan, you can effortlessly create a show-stopping truck cake. The pan allows you to create a bakery-quality cake from your own home. You can then easily decorate it to make it any color or style you would like.
Using a 3D car cake pan is much easier than trying to shape and construct a truck on your own. All you have to do is pour your cake batter into the pan to create an impressive car. The great thing about this cake is that it doesn’t use any fondant and all the decorations and parts are edible.
What You Need to Make a Monster Truck Cake, Supply List
Ingredients
- 2 boxes of white cake mix
- 2 1/2 cups of water, separated
- 2/3 cup of vegetable oil, separated
- 6 eggs
- 4 mini chocolate donuts
- 2 wafer cookies
- 1 can chocolate buttercream
- 1 can vanilla buttercream
- Food coloring
- Brown sugar
- Mini marshmallows
Equipment
- 3D Car cake pan
- 13 x 9-inch cake pan
- Cooking spray
- Two large mixing bowl
- Electric mixer
- Rubber spatula
- Wire rack
- Offset spatula
- Piping bag
- Piping tip
- Lollipop sticks
Wilton Car Cake Pan, Kids 3D Birthday Cake Pan

Step by Step Instructions
Step One: Preheat the Oven and Prepare the Monster Cake Pans
Preheat the oven to 350 degrees Farenheit. Grease the 3D cake pan and 13 x 9-inch cake pan with cooking spray.
Step Two: Prepare the Cake Mix
In a large mixing bowl, combine one box of the cake mix, three eggs, vegetable oil, and water. Using an electric mixer, beat the cake mix at medium speed for two minutes. Scrape down the sides of the bowl as needed with a rubber spatula to ensure the cake mixture fully combines.
In a separate bowl, prepare the other box of cake mix just the same as you did the first one. If desired, you may make one white cake and one chocolate cake, or any flavor combination that you would like.
Step Three: Bake the Cakes
Pour one bowl of cake batter into the 3D monster cake pan and pour the other bowl into the 13 x 9-inch cake pan. Bake the 13 x 9-inch cake pan for 29-34 minutes and the 3D monster cake for 40-45 minutes. Allow both the cakes to cool on a wire rack.
Step Four: Assemble the Cakes
Once cool, frost the 13 x 9-inch cake with chocolate frosting. Using an offset spatula, create swirls to give the frosting an appearance of mud. Carefully place the truck on top of the frosted cake.
Use some frosting to attach the wafers to the bumper of the car and then mini marshmallows for lights. You can also use melting chocolate in place of frosting.
Step Five: Decorate the Truck
Color the vanilla frosting with your choice of food coloring. Use the piping bag with a piping tip, decorate the remainder of the car. Frost the wafer cookies and mini marshmallows with chocolate frosting or your choice of color.
On the sheet cake, sprinkle brown sugar on the chocolate to replicate dirt. Cut your lollipop sticks in half and use them to attach the miniature chocolate donuts to the car for wheels. If desired, pipe ‘happy birthday’ on the cake and add any additional decorations you would like.
Servings and Preparation Time

Tips and Tricks
Store this monster car cake in an airtight container at room temperature for up to five days. In addition, this cake will also store well in the fridge for a week.
This cake can also be frozen as well, whether frosted or unfrosted. For best results, freeze the monster truck and sheet cake separately, as this will make it much easier to store. If frosted, let the cake sit in the freezer for one hour uncovered to let the frosting set before wrapping.
Wrap the cakes in a layer of plastic wrap followed by a layer of aluminum foil and then carefully place them in your freezer. The cakes will last for around six months in your freezer.
Once you are ready to serve, allow them to thaw either in the fridge overnight or at room temperature on the counter for at least two hours. Once thaw, assemble the cakes, and if you have not already yet, decorate them.
Feel free to use any kind of cake mix flavor you would like. Just be sure to follow the decorations on the back of the box for the best results. If desired, you can even make one chocolate mix and one vanilla mix and then swirl them together to make marble.
Sensational Monster Truck Cake Pan
Equipment
- 3D Car cake pan
- 13 x 9-inch cake pan
- Cooking spray
- Two large mixing bowl
- Wire rack
- Piping Bag
- Piping tip
- Lollipop sticks
Ingredients
- 2 boxes of white cake mix
- 2 1/2 cups of water separated
- 2/3 cup of vegetable oil separated
- 6 eggs
- 4 mini chocolate donuts
- 2 wafer cookies
- 1 can chocolate buttercream
- 1 can vanilla buttercream
- Food coloring
- Brown sugar
- Mini marshmallows
Instructions
- Preheat the Oven and Prepare the Monster Cake Pans – Preheat the oven to 350 degrees Farenheit. Grease the 3D cake pan and 13 x 9-inch cake pan with cooking spray.
- Prepare the Cake Mix – In a large mixing bowl, combine one box of the cake mix, three eggs, vegetable oil and water. Using an electric mixer, beat the cake mix at medium speed for two minutes. Scrape down the sides of the bowl as needed with a rubber spatula to ensure the cake mixture fully combines.
- In a separate bowl, prepare the other box of cake mix just the same as you did the first one. If desired, you may make one white cake and one chocolate cake, or any flavor combination that you would like.
- Bake the Cakes – Pour one bowl of cake batter into the 3D monster cake pan and pour the other bowl into the 13 x 9-inch cake pan. Bake the 13 x 9-inch cake pan for 29-34 minutes and the 3D monster cake for 40-45 minutes. Allow both the cakes to cool on a wire rack.
- Assemble the Cakes – Once cool, frost the 13 x 9-inch cake with chocolate frosting. Using an offset spatula, create swirls to give the frosting an appearance of mud. Carefully place the truck on top of the frosted cake.
- Use some frosting to attach the wafers to the bumper of the car and then mini marshmallows for lights. You can also use melting chocolate in place of frosting.
- Decorate the Truck – Color the vanilla frosting with your choice of food coloring. Use the piping bag with a piping tip, decorate the remainder of the car. Frost the wafer cookies and mini marshmallows with chocolate frosting or your choice of color.
- On the sheet cake, sprinkle brown sugar on the chocolate to replicate dirt. Cut your lollipop sticks in half and use them to attach the miniature chocolate donuts to the car for wheels. If desired, pipe ‘happy birthday’ on the cake and add any additional decorations you would like.
Notes
Fun and Unique Monster Truck Cake Pan Cake
This fun and easy-to-use 3D car cake pan allows you to create an adorable monster truck cake. It makes a wonderful birthday cake for any little kid that is a monster truck fan. It will look like it came straight from a bakery, as it comes together so nicely.
Though this cake may take some skill to assemble, it is well worth the end result. You can easily decorate it to be any color you like and personalize it for the birthday kid. With the addition of donut wheels, the cake will have an awesome and edible monster truck look.
Did you enjoy this tutorial on how to make a monster truck cake pancake? If so, please share any feedback in the comment section and share this post with anyone you know who would enjoy it as well.

Ever since she was a young girl, Anna has been a lover of desserts. As an adult, she enjoys
baking a variety of desserts from cakes, cookies, brownies, bread, and more from scratch. She
enjoys sharing her passion for baking with others who also have a sweet tooth. From properly
measuring ingredients to making sure they are the correct temperature, Anna knows the
importance small details can make in baking. She wants to share her experience with others in
hopes they can make the most delicious baked goods. When she’s not busy blogging, Anna
enjoys trying new recipes in the kitchen.