
Last Updated on January 14, 2023
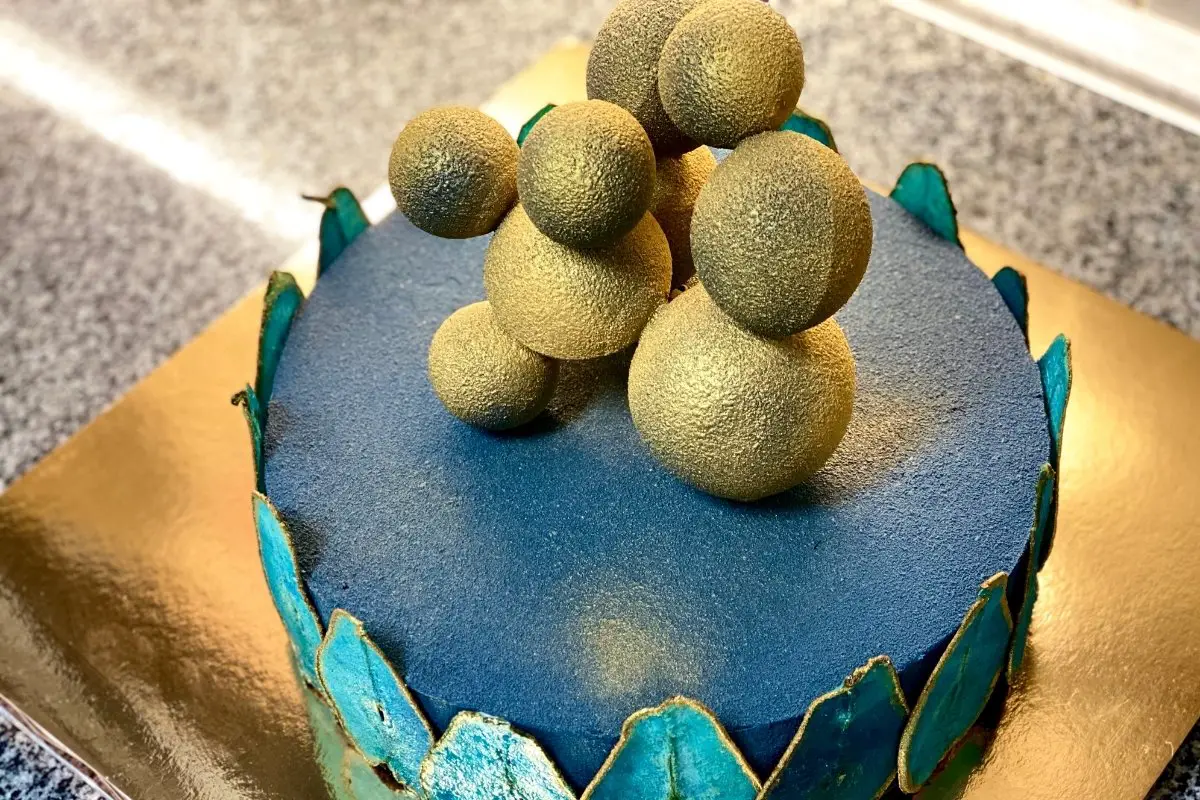
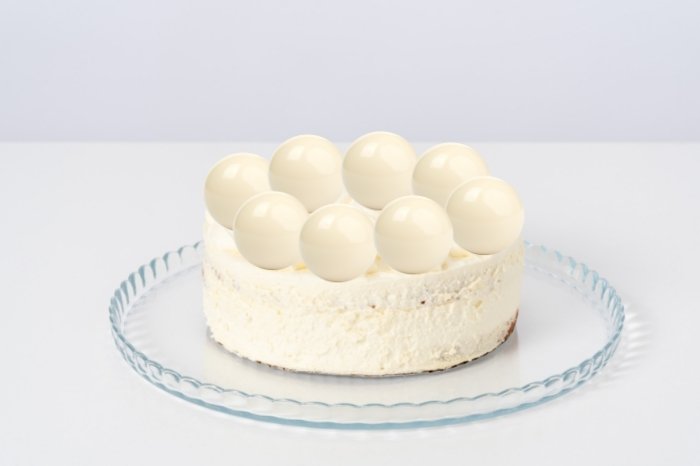
How to make tiny gelatin bubbles? Gelatin balls are just too gorgeous. It is a perfect topper for cakes and even cupcakes. Edible bubbles may seem to be so hard to make but trust me; it is just easy. In addition to that, the process can be time-consuming, but it is worth it. I recommend that you make this ahead of time since this recipe does require a long period of time to prepare.
What Are Tiny Gelatin Bubbles?
Gelatin bubbles are exactly as they sound! They are bubbles made from gelatin. You use a balloon to create the shape, dip the balloon in a gelatin mixture and leave it to set for 12-24 hours. At this point, you’ll be able to pop the balloon and carefully remove it. What you’re left with is a tiny bubble of gelatin. You could make them in a variety of flavors, colors, and sizes. They are great for decorating baked goods, such as cakes.
Ingredients in Tiny Gelatin Bubbles
The ingredients used for tiny gelatin bubbles can vary, depending on which recipe you’re following. However, our recipe uses the following ingredients:
- unflavored gelatin
- gel food coloring
- cold water
- luster dust/edible glitter dust
- clear vegetable shortening
How to Make Gelatin Bubbles?
In this recipe, getting the right consistency of the gelatin is essential. For that reason, making a large batch in a bowl and then, placing it on top of some warm water may help. Moreover, always keep your gelatin mixture warm; popping it in the microwave is also important to achieve an even gelatin bubble.
What You Will Need to Make Gelatin Bubbles
Ingredients
- 6 tbsp of unflavored gelatin
- Gel Food Coloring
- 12 tablespoons of cold water
- Luster dust or edible glitter (optional)
- 3 tbsp clear vegetable shortening
Equipment
- Small paintbrush
- Grid cooling rack
- Paper towel
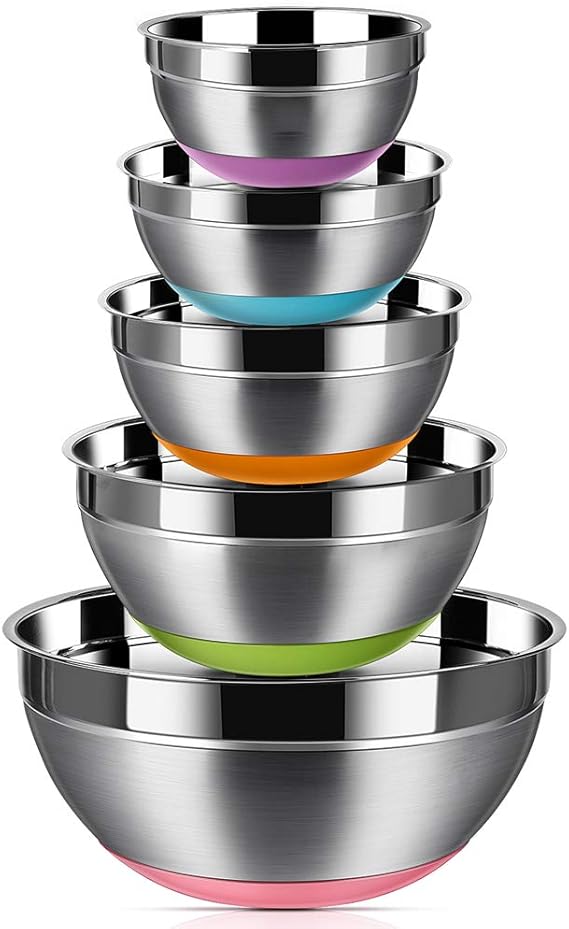
- Mixing bowls
- Microwave oven-safe bowl
- Tiny balloons (smallest size possible)
- Scissors
- Skewers or lollipop sticks
- Spoons
- Rubber spatula
- Styrofoam
- Measuring spoons
mixing bowl Set of 6 – stainless steel mixing bowls
Step-by-Step Instructions: How To Make Tiny Gelatin Bubbles
Step 1
Inflate or pump the balloons, but do not inflate them fully. Then, make tiny balloons. After that, tie a knot at the balloon’s neck, and try to form it into a sphere as possible.
Step 2
Afterward, take the shortening and cover the tiny balloons in a thin layer using a brush. Wipe the excess shortening with a paper towel. If too much shortening is applied, the gelatin will not stick to the balloons. Also, this process will help you remove the balloons easier from the gelatin later. After that, set the balloons aside on a surface with no dust, fibers, or particles.
Step 3
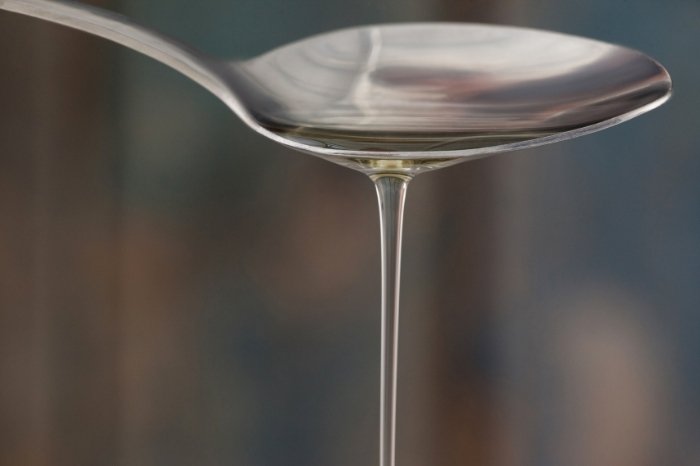
Then, prepare a microwave oven-safe bowl. Pour the cold water into the bowl and add the unflavored gelatin. It is important to note that the ratio should be 1 part gelatin to 2 parts water. Afterward, spread the gelatin in the water evenly; do not stir.
Step 4
After that, let the gelatin bloom for 5 minutes.
Step 5
When the gelatin mixture is firm, place the bowl inside the microwave. Then, microwave it for approximately twenty seconds till the gelatin is warm and watery; fully dissolved, but not too hot.
Step 6
Afterward, take the bowl with the gelatin mixture. And then add the gel food coloring of your choice, and luster dust to the gelatin mixture.
Step 7
After that, cover each balloon with an even and thin layer of gelatin using a spoon.
Step 8
With the balloon neck facing down, let the balloon rest on a cooling rack. If the gelatin mixture begins to cool down and becomes thick, heat it again in the microwave for 10 seconds. Make sure to do this to achieve the same consistency.
Step 9
Then, cover each balloon in gelatin twice to make sure that the gelatin bubbles do not break.
Step 10
Wait for the balloons to set and dry up; it may take about 4-5 hours if you used a fan. (Be careful in using a fan; make sure to put it on a low speed. Using a fan can speed up the drying process.) The drying of gelatin bubbles may take 12-24 hours to dry without using a fan.
Step 11
If the gelatin bubbles are fully dry, gently pop the balloon. Once it shrinks, ensure to loosen the balloon on the bubble and remove it completely. Do not be alarmed if the gelatin bubbles become distorted or dented. Then, pop it back to shape.
Step 12
Finally, use scissors, preferably a sharp pair, to cut the edges of the base of the gelatin bubble. You can store the gelatin bubbles in an air-tight container until you are ready to use them.
Bubble Gum Flavored Tiny Gelatin Bubbles
What’s better than tiny gelatin bubbles? Flavored gelatin bubbles! You can use any flavor when making these, but bubble gum is one of my favorites, as it’s just a lot of fun. To make these delicious bite-sized treats, you’ll need the following equipment:
- small artist paintbrush
- metal wire rack
- tiny/small balloons
The ingredients you’ll need are:
- 2 tbsp of powdered gelatin
- 1-2 drops of food coloring, of your choice
- 1-2 drops of flavoring, of your choice
- 4 tbsp of cold water
- 1/8 tbsp of luster dust
- clear vegetable shortening, to coat the balloons
Now all you need to do:
- Blow your small balloons up until they’re around 1/3 full. Using your hands, tie a knot at the base of the balloon to keep the air inside.
- Paint a layer of shortening over each balloon. It should be very thin. Once each balloon is coated, use a paper towel to wipe some of it away. You only need just enough for the gelatin to stick to the balloon.
- Grab a bowl and add the following ingredients: cold water, luster dust, food coloring, gelatin, and flavoring of choice. Stir the ingredients together and leave to sit for around 5 minutes. At this point, heat in the microwave for around 10-15 seconds. Leave to cool.
- Hold your balloon by the base, with the knot. Dip each balloon into the gelatin. Rotate and swirl around in the gelatin; ensuring it is coated completely. Gently tap the balloon on the edge of the bowl to remove any excess. Leave the balloons to dry for a few seconds and then dip them back once more into the gelatin. You’ll then need to leave to try for around 12-24 hours; depending on weather conditions.
- Once set, it’s time to take out the balloon. By the base of the balloon (near the knot), cut a small hole with scissors and gently pull out the balloon. Do this for all remaining balloons, and your flavored gelatin bubbles are ready! Store out of sunlight for best results. Enjoy!
Tips and Tricks on How To Make Tiny Gelatin Bubbles
The gelatin bubbles will contract and shrink, which is completely normal. You may hear a crackling sound but rest assured, this just means that they are drying and becoming firm. This recipe needs to be done in advance as it may take a whole day or more; make them a couple of days ahead of the intended day.
The gelatin bubbles are edible, but they might not suit your palette. It is more like an edible decoration or garnish; you can simply remove it when serving your guests. I hope this post has helped you to become more familiar with tiny gelatin bubbles. If you have any tips or tricks when it comes to tiny gelatin bubbles, please feel free to let us know in the comments below. Sharing is caring!

Zarah is an experienced pastry chef whose creations have delighted countless customers. With a passion for baking, Zarah has developed a unique style that combines classic techniques with modern flavors. Her desserts are consistently crafted with the finest ingredients, and her attention to detail is evident in the stunning and delectable results. Zarah has a wealth of experience in the pastry kitchen, and loves to share her knowledge with others. Whether it is teaching a class or creating a custom cake for a special occasion, Zarah is committed to making sure every customer is satisfied.