
Last Updated on March 25, 2022
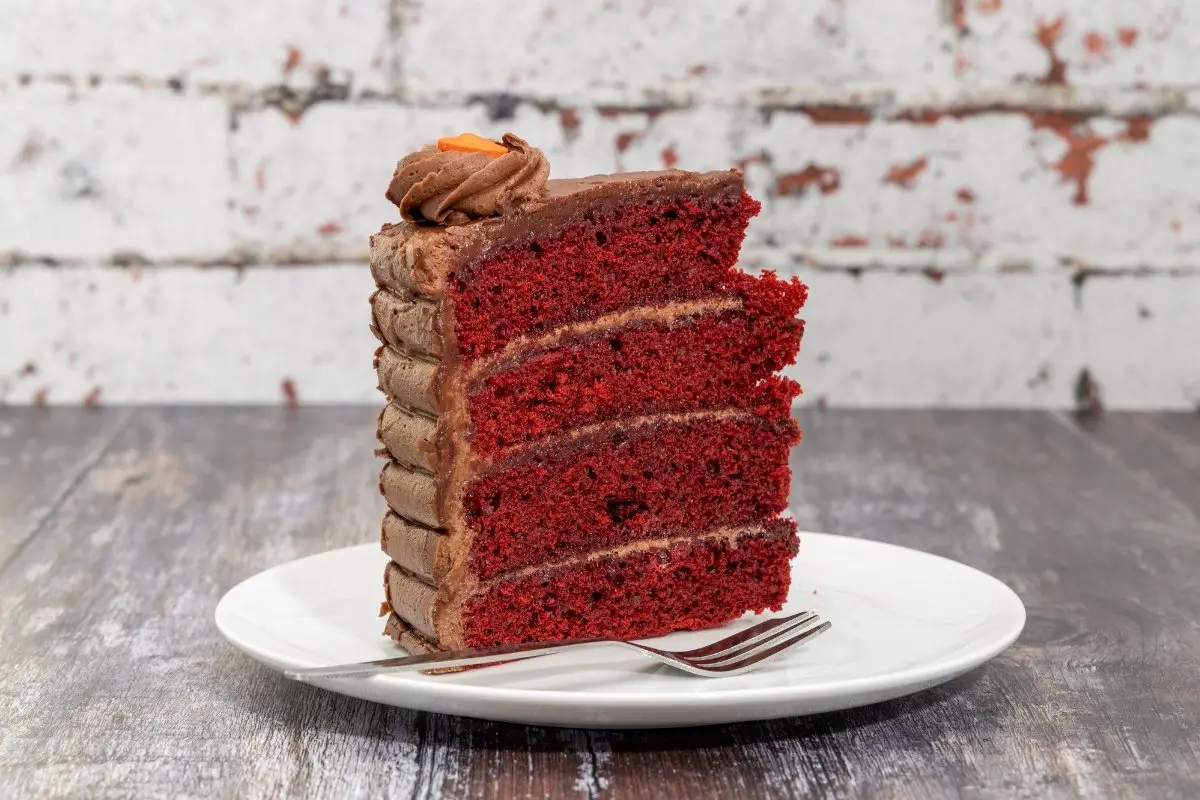
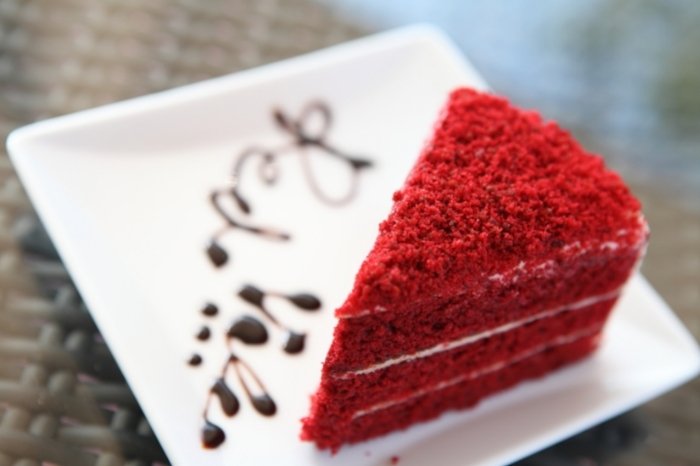
If you are searching for a cake for your next dinner party, this delicious Hershey’s red velvet cake is a winner. It is full of wonderful flavor and has a lovely, moist spongey texture. This cake recipe is sure to be a hit among any fans of red velvet.
This cake is best suited for those with an intermediate skill level, however, it is well worth the work. This classic cake is great for serving any holiday or special occasion. When paired with cream cheese frosting, it is truly irresistible and sure to be something your family and friends will love.
What is Red Velvet Cake?
Red velvet cake, unlike traditional chocolate cake, is made with cocoa powder, buttermilk, and white vinegar. The reaction between the cocoa powder, buttermilk, and white vinegar gives the cake a slight red tint. This coloring is then enhanced with red food coloring.
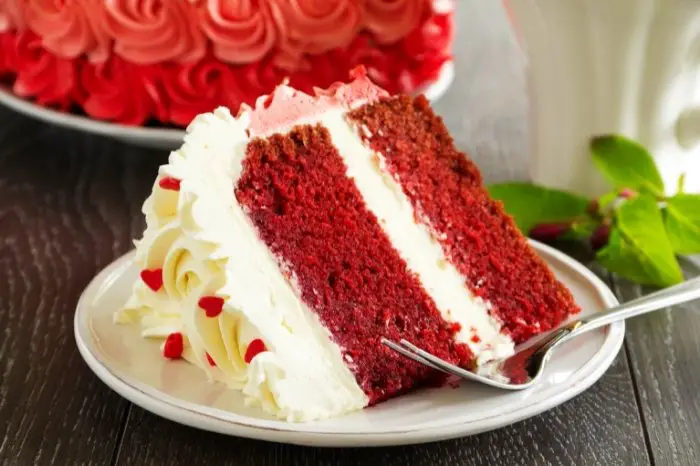
Red velvet cake has a moist, light, and fluffy texture. It tends to have a softer, velvety crumb compared to other cake recipes. It is traditionally paired with cream cheese frosting, however, other frostings may also be used.
Even though the chocolate flavor tends to be mild, it is still a rich, decadent cake. Since it contains cocoa powder, it often gets confused as a traditional chocolate cake, but it is different in many ways.
Velvet cakes were first made during the Victorian Era. These cakes contained cocoa powder and had soft, smooth textures. The origins of red velvet cake begin at the luxurious Waldorf-Astoria Hotel in New York City during the 1920s.
During the 1940s, Adams Extract, a food coloring company, published a recipe for red velvet cake that contained lots of red food coloring. It was a way for the company to make more money, as the recipe grew in popularity all across America. Prior to this, beetroot juice was used to enhance the color of velvet cakes.
What You Will Need
Ingredients
- 1/2 cup butter or margarine (1 stick), softened
- 1 1/2 cups sugar
- 2 eggs
- 1 teaspoon vanilla extract
- 1 cup buttermilk or sour milk
- 2 teaspoons red food color (one 1-ounce bottle)
- 2 cups all-purpose flour
- 1 teaspoon salt
- 1/3 cup Hershey’s Cocoa Powder
- 1 1/2 teaspoons baking soda
- 1 tablespoon white vinegar
- 16-32 ounces (1-2 cans) store-bought cream cheese frosting or homemade cream cheese frosting
- Chocolate chips, optional
Equipment
- Large mixing bowl
- Two medium mixing bowls
- Electric mixer
- 13 x 9-inch pan
- Cooking spray
- Rubber spatula
- Whisk
- Wire rack
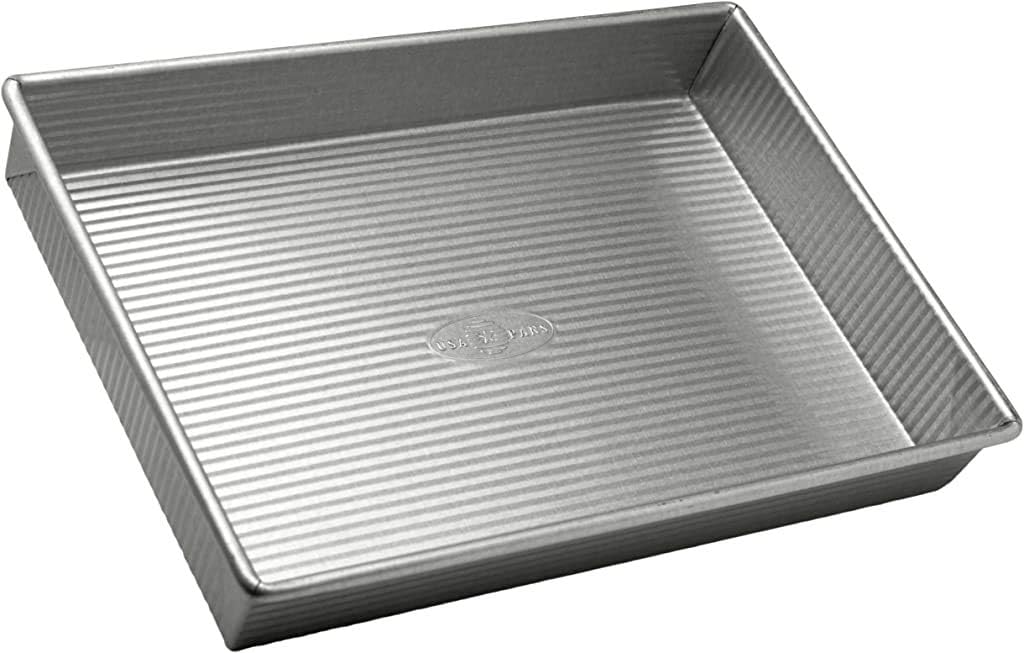
USA Pan Bakeware Rectangular Cake Pan, 9 x 13 inch, Nonstick & Quick Release
Step by Step Instructions
Step One: Preheat the Oven and Also Prepare Your Cake Pan
Preheat your oven to 350 degrees Farenheit. Spray your 13×9-inch cake pan generously with cooking spray.
Step Two: Beat the Butter and Sugar
In a large mixing bowl, use your electric mixer to beat together the butter and sugar. Once the butter and sugar mixture is smooth and creamy, add in the eggs and vanilla extract. Beat until your mixture is well incorporated.
Step Three: Combine Buttermilk and Food Coloring
In a medium mixing bowl, use a whisk to mix together the buttermilk and food coloring. You may also use sour milk instead of buttermilk. Sour milk can be made by combining one tablespoon of white vinegar with milk to create one cup of sour milk.
Step Four: Mix Together with the Flour, Cocoa Powder, and Salt
In a separate medium mixing bowl, whisk together the flour, cocoa powder, and salt.
Step Five: Add Flour Mixture and Buttermilk Mixture to the Butter Mixture
Alternate adding the flour mixture and buttermilk mixture to the butter mixture, stirring well after each addition. Stir till the cake batter is just combined.
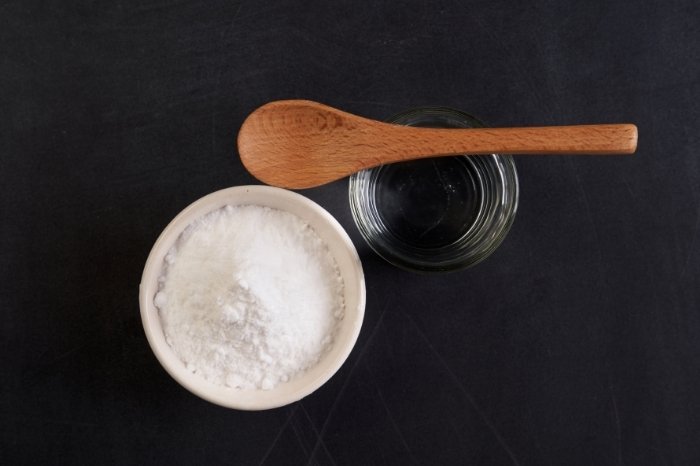
Step Six: Add the White Vinegar and Baking Soda
Add the white vinegar and baking soda to your cake batter. Mix until well combined.
Step Seven: Bake the Cake
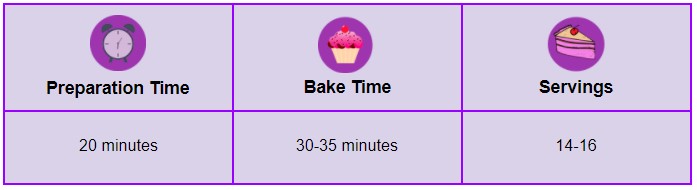
Pour the red velvet cake batter into the prepared cake pan. Bake for 30-35, using a toothpick to check if the red velvet cake is fully baked. Let your cake sit in the pan for about 10 minutes before transferring to a wire rack to cool.
Step Eight: Decorate Your Cake
Once your cake is completely cool, frost it with cream cheese frosting. If desired, garnish the cake with chocolate chips. Slice and serve the red velvet cake.
Servings and Preparation Time
Tips and Tricks
Store this cake in an airtight container at room temperature for up to a day. It can also be kept in the fridge in an airtight container for 3-5 days.
If you wish, you can also freeze this cake as well. Let the frosted cake sit in the freezer for one hour uncovered. After the hour, wrap the cake in plastic wrap followed by a layer of aluminum foil. When ready to serve, you can thaw the cake in your fridge overnight or you can thaw it at room temperature on your counter for two hours.
If you want to make a layer cake, bake this cake in two 9-inch round cake pans. The cakes will bake for about 30-35 minutes at 350 degrees Farenheit. Allow the cakes to fully cool before frosting between the layers along with the side and top.
For cupcakes, use three standard cupcake tins. Line 28 cupcake cups with wrappers and fill them with the cake batter. Bake the red velvet cupcakes for about 20 minutes at 350 degrees Farenheit. Let the cupcakes cool completely before adding the cream cheese frosting.
Delicious Hershey's Red Velvet Cake
Equipment
- Large mixing bowl
- 13 x 9-inch pan
- Cooking spray
- Wire rack
Ingredients
- 1/2 cup butter or margarine 1 stick, softened
- 1 1/2 cups sugar
- 2 eggs
- 1 teaspoon vanilla extract
- 1 cup buttermilk or sour milk
- 2 teaspoons red food color one 1-ounce bottle
- 2 cups all-purpose flour
- 1 teaspoon salt
- 1/3 cup Hershey's Cocoa Powder
- 1 1/2 teaspoons baking soda
- 1 tablespoon white vinegar
- 16-32 ounces 1-2 cans store-bought cream cheese frosting or homemade cream cheese frosting
- Chocolate chips optional
Instructions
- Preheat the Oven and Also Prepare Your Cake Pan - Preheat your oven to 350 degrees Farenheit. Spray your 13x9-inch cake pan generously with cooking spray.
- Beat the Butter and Sugar - In a large mixing bowl, use your electric mixer to beat together the butter and sugar. Once the butter and sugar mixture is smooth and creamy, add in the eggs and vanilla extract. Beat until your mixture is well incorporated.
- Combine Buttermilk and Food Coloring - In a medium mixing bowl, use a whisk to mix together the buttermilk and food coloring. You may also use sour milk instead of buttermilk. Sour milk can be made by combining one tablespoon of white vinegar with milk to create one cup of sour milk.
- Mix Together with the Flour, Cocoa Powder, and Salt - In a separate medium mixing bowl, whisk together the flour, cocoa powder, and salt.
- Add Flour Mixture and Buttermilk Mixture to the Butter Mixture - Alternate adding the flour mixture and buttermilk mixture to the butter mixture, stirring well after each addition. Stir till the cake batter is just combined.
- Add the White Vinegar and Baking Soda - Add the white vinegar and baking soda to your cake batter. Mix until well combined.
- Bake the Cake - Pour the red velvet cake batter into the prepared cake pan. Bake for 30-35, using a toothpick to check if the red velvet cake is fully baked. Let your cake sit in the pan for about 10 minutes before transferring to a wire rack to cool.
- Decorate Your Cake - Once your cake is completely cool, frost it with cream cheese frosting. If desired, garnish the cake with chocolate chips. Slice and serve the red velvet cake.
Notes
Amazing Hershey’s Red Velvet Chocolate Cake Recipe
This traditional red velvet cake is sure to be a favorite at your house. It is moist and tender, with a rich, decadent flavor. The cream cheese frosting with the chocolate chips on the top is the perfect topping for this delicious cake.
This cake is best for those with intermediate experience. However, as long as you carefully follow the instructions you can make this cake no matter your skill set.
If you enjoyed this recipe post for this amazing Hershey’s red velvet cake, please comment down below. In addition, please share this post with your friends and family so they can enjoy this recipe as well.

Ever since she was a young girl, Anna has been a lover of desserts. As an adult, she enjoys
baking a variety of desserts from cakes, cookies, brownies, bread, and more from scratch. She
enjoys sharing her passion for baking with others who also have a sweet tooth. From properly
measuring ingredients to making sure they are the correct temperature, Anna knows the
importance small details can make in baking. She wants to share her experience with others in
hopes they can make the most delicious baked goods. When she’s not busy blogging, Anna
enjoys trying new recipes in the kitchen.