Last Updated on April 9, 2024
Dog owners love to spoil their dogs in every way possible. Whether it’s toys, treats, or a trip to the dog park, people will do whatever it takes to make their furry friends happy. Fortunately, the best icing for dog treats that hardens recipe is simple to make and is the perfect way to spoil your pooch.
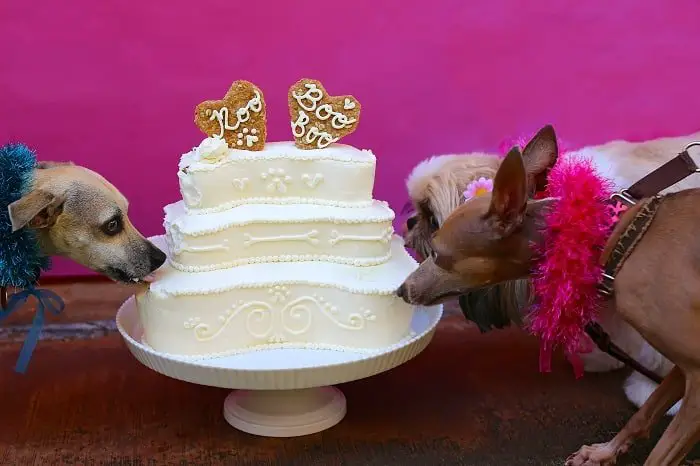
Dog-friendly icing is a great way to decorate your dog´s treats, whether it is for their birthday, a holiday, or just because you love them. It is easy to make and will harden after applying, making it great for decorating designs or writing.
Icing For Dog Treats: Dog Safe Ingredients
When making your dog treats, it is essential to make sure all the ingredients you are using are dog safe. There are many foods that people eat that are not safe for dogs to eat. Be certain the recipe you are using to make dog treats uses only dog-friendly ingredients.
Some of the most common foods people eat that dogs shouldn’t eat include chocolate, avocado, grapes or grape juice, garlic, onions, yeast, coconut, citrus, cooked bones, fat trimmings, and xylitol. Be sure to check the ingredients you are unsure about before giving them to your dog.

Though it is safe to feed your dog peanut butter, make sure that it does not contain xylitol. Xylitol is an artificial sweetener that is safe for humans to eat but can be deadly for dogs. In addition to being found in peanut butter, it can also be found in ice cream, cereals, baked goods, yogurts, and puddings.
Though dairy products can be okay for dogs to eat, they should be given in moderation. Too much dairy can cause a dog to have an upset stomach.
If you are making your own dog treats, look for recipes that contain ingredients such as peanut butter, pumpkin, bananas, eggs, carrots, chicken, and rice. All of these ingredients are safe for your dog and can provide health benefits, plus your dog will love how they taste.
What You Will Need to Make Icing For Dog Treats
To make this dog-friendly icing recipe that hardens, you will need:
- 2 tablespoons cornstarch (you can also use rice or potato flour)
- 2 teaspoons water
- 1 teaspoon honey
- Food coloring (optional)
To prepare this frosting, you will need:
Find the Best Cake Decorating Tools
Make Your Own Homemade Dog Treats Kit
Icing For Dog Treats: Step By Step Instructions
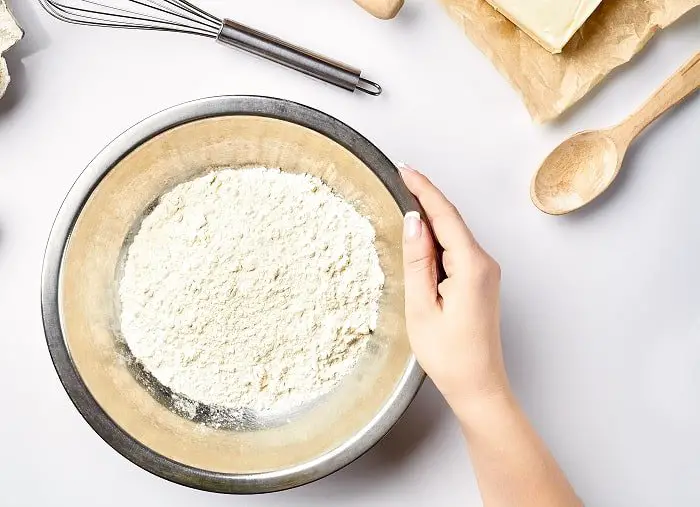
Step One: Add Cornstarch to Bowl
Add the cornstarch to the bowl. Substitute with rice or potato flour if desired.

Step Two: Add the Water and Honey
Add water to the cornstarch, mix it together, then add the honey. Thoroughly combine the mix with a whisk and add more water if needed. The icing will likely seem a bit thin at first, but it will harden.
Step Three: Add Food Coloring
Add food coloring to the icing if desired. Add the icing to separate bowls and add different colors, mixing thoroughly. Be sure the food coloring you use is dog-friendly.
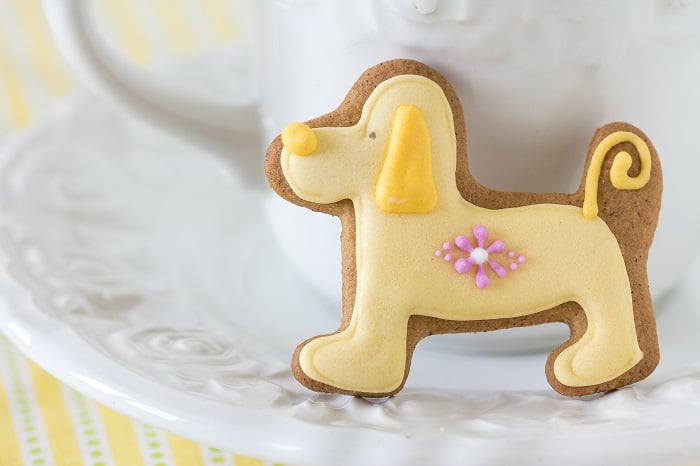
This icing will harden, making it great for decorating your dog’s favorite biscuits. Adding some food coloring will allow you to make adorable different decorations for your pooch.

Try these icings with Homemade Blueberry Dog Treats Recipe or this easy No-Bake Dog Cake Recipe
Tips and Tricks
If your dog has a sensitive stomach, you can use rice or potato flour as an alternative to cornstarch. If you do use rice or potato flour, you may need to add slightly more than two tablespoons to achieve the right consistency in the icing.
Since this icing does harden, make sure to decorate your dog biscuits right after making the icing. If the icing begins to harden, you can put it in the microwave for 10-15 second intervals or add a few drops of warm water.
For best results, iced dog treats should be stored in the fridge in an airtight container for up to a week. You can store any leftover icing in the fridge for up to a week and microwave or add warm water to bring it back to a liquid texture.
If you want to use natural ingredients for food coloring, you can use strawberries, raspberries, blueberries, turmeric, spinach, and cherries. These foods are all safe for dogs to eat and can provide beautiful natural colors. Using natural ingredients for food coloring is also a great option for people as well, so you can use natural food coloring you make for your dogs for your own recipes too.

When decorating treats with this icing, it is easiest to use a pastry brush. However, you may also use a spatula or piping bag. If you make your own dog treats, allow them to fully cool before icing them, otherwise, the icing may melt.
When feeding your dog iced treats, make sure to not overfeed them. Though all the ingredients in this icing recipe are dog-safe, too many treats can cause an upset stomach and weight gain. When feeding treats, you shouldn’t give your dog more than ten percent of homemade treats for their daily calorie intake.
It is always a good idea to consult with your vet before giving your dog special treats. Some dogs may have diet restrictions that prevent them from being able to eat certain ingredients found in dog treats. Some dogs are also more prone to weight gain and need stricter moderation when it comes to getting treats.
Best Dog-Friendly Icing That Hardens Recipe
Equipment
Ingredients
- 2 tablespoons cornstarch you can also use rice or potato flour
- 2 teaspoons water
- 1 teaspoon honey
- Food coloring optional
Instructions
- Add the cornstarch to the bowl - Substitute with rice or potato flour if desired.
- Add the Water and Honey - Add water to the cornstarch, mix together, then add the honey. Thoroughly combine the mix with a whisk and add more water if needed. The icing will likely seem a bit thin at first, but it will harden.
- Add Food Coloring - Add food coloring to the icing if desired. Add the icing to separate bowls and add different colors, mixing thoroughly. Be sure the food coloring you use is dog-friendly.
- This icing will harden, making it great to decorate your dog’s favorite biscuits. Adding some food coloring will allow you to make adorable different decorations for your pooch.
Notes
- If your dog has a sensitive stomach, you can use rice or potato flour as an alternative to cornstarch. If you do use rice or potato flour, you may need to add slightly more than two tablespoons in order to achieve the right consistency in the icing.
- Since this icing does harden, make sure to decorate your dog biscuits right after making the icing. If the icing begins to harden, you can put in the microwave for 10-15 second intervals or add a few drops of warm water.
- For best results, iced dog treats should be stored in the fridge in an airtight container for up to a week. You can store any leftover icing in the fridge for up to a week and microwave or add warm water to bring it back to a liquid texture.
- If you want to use natural ingredients for food coloring, you can use strawberries, raspberries, blueberries, turmeric, spinach, and cherries. These foods are all safe for dogs to eat and can provide beautiful natural colors. Using natural ingredients for food coloring is also a great option for people as well, so you can use natural food coloring you make for your dogs for your own recipes too.
- When decorating treats with this icing, it is easiest to use a pastry brush. However, you may also use a spatula or piping bag. If you make your own dog treats, be sure to allow them to fully cool before icing them, otherwise, the icing may melt.
- When feeding your dog iced treats, make sure to not overfeed them. Though all the ingredients in this icing recipe are dog safe, too many treats can cause an upset stomach and weight gain. When feeding treats, you shouldn’t give your dog more than ten percent of homemade treats for their daily calorie intake.
- It is always a good idea to consult with your vet before giving your dog special treats. Some dogs may have diet restrictions that prevent them from being able to eat certain ingredients found in dog treats. Some dogs are also more prone to weight gain and need stricter moderation when it comes to getting treats.
How to Make Dog Treats With Yogurt Icing?
You can make icing for dogs using a range of ingredients, but a proven favorite for our canine friends is yogurt icing. It doesn’t require many ingredients at all and is ready in no time at all. The great thing about yogurt is that it hardens quickly and holds well. The ingredients you’ll need for this recipe are: 4oz plain yogurt, flavoring of your choice (such as honey or sugar-free peanut butter; both of which are safe for dogs), canola oil, and flour (both of these help to either thin or thicken the icing).
Now all you need to do is add you’re plain yogurt to a bowl, along with the flavoring of your choice. If you’re using honey, you’ll need around two tablespoons. Whereas if you’re using peanut butter, you’ll need around 2-4oz.
Both of these options are safe for dogs, so be sure to check your option is dog-friendly if you’re using another. Mix well. Once mixed, you can add a small amount of oil or flour, depending on the thickness of your icing. If you need to thicken, add a small amount of flour, and if you need to thin, add a small amount of oil. Now you can spread your yogurt icing onto your dog treats.
Can Dogs Have Lemon Frosting?
When it comes to lemons themselves, they aren’t toxic to dogs but they are not recommended to be added to their diet. This is because they are particularly sour and can upset their stomachs, as well as hinder digestion. However, if you’d like to give them a small amount of lemon frosting, that is perfectly safe. Lemon flavoring should be consumed by dogs in moderation, and only as a treat. It’s best not to make it a regular occurrence in their diets.
Are Iced Oatmeal Cookies Bad For Dogs?
If you have a dog that has a grain allergy, be sure to avoid oatmeal cookies, as this could make them incredibly ill. However, if your dog is healthy, and without a grain allergy, they can safely enjoy iced oatmeal cookies. It’s important to follow a few steps if you’re making your oatmeal cookies.
For example, it’s best to use plain oatmeal. This is because some oatmeal has artificial flavors added, which could be harmful to your dog. As well as this, oatmeal that isn’t plain typically contains high amounts of sugar, which can also be harmful to your dog.
There are a few additional ingredients you need to avoid when making your own oatmeal cookies. Most dogs are lactose intolerant and do not react well to dairy products. While it may not cause any long-lasting damage, it may lead to indigestion and your canine friend has a stomach ache.
Another ingredient you may be tempted to add to oatmeal cookies is raisins. You must avoid raisins at all costs. Raisins (and any form of grapes) are extremely toxic to dogs and can cause a lot of damage. If you’re wary of making your own, you can buy ready-made oatmeal cookie bites from The Dog Bakery, which cost $16.99 for half a dozen bites. They’re made from oats, honey, carob, chia seeds, and coconut oil; all nutritional goodness for your pet.
The Perfect Treat For Your Furry Friend
This icing recipe is the perfect addition to your dog’s favorite treats. It only takes a few simple ingredients and a few minutes to make this great icing. It is easy to make and decorate with, and most importantly your dog will love how it tastes.

Whether it’s for your dog’s birthday or gotcha day or you just want to spoil them because you love them, this is the perfect recipe for that. It goes great on store-bought or homemade dog treats. If your dog enjoyed this icing, please share this post.
Please comment if you enjoyed this article or have any remarks regarding this recipe!

Karen is a passionate pastry chef who loves to create delicious baked goods. She has been in the culinary arts for over 10 years, honing her skills and perfecting her craft. Karen is known for her creativity and attention to detail, creating unique desserts that bring a smile to everyone’s face. She is always looking for ways to challenge herself and come up with new recipes that are both tasty and visually appealing. Karen loves to experiment with different flavors and textures, and she is committed to providing the highest quality of products to her customers.


