Last Updated on April 14, 2023
Matilda chocolate cake is an iconic bake that is a favorite in many households, including my own! It’s rich and decadent but is surprisingly easy to make. You’ll only need a few ingredients that you’ll likely already have in your pantry. But how do you make the infamous chocolate cake from Matilda? Let’s take a closer look.
What is the Chocolate Cake in Matilda?
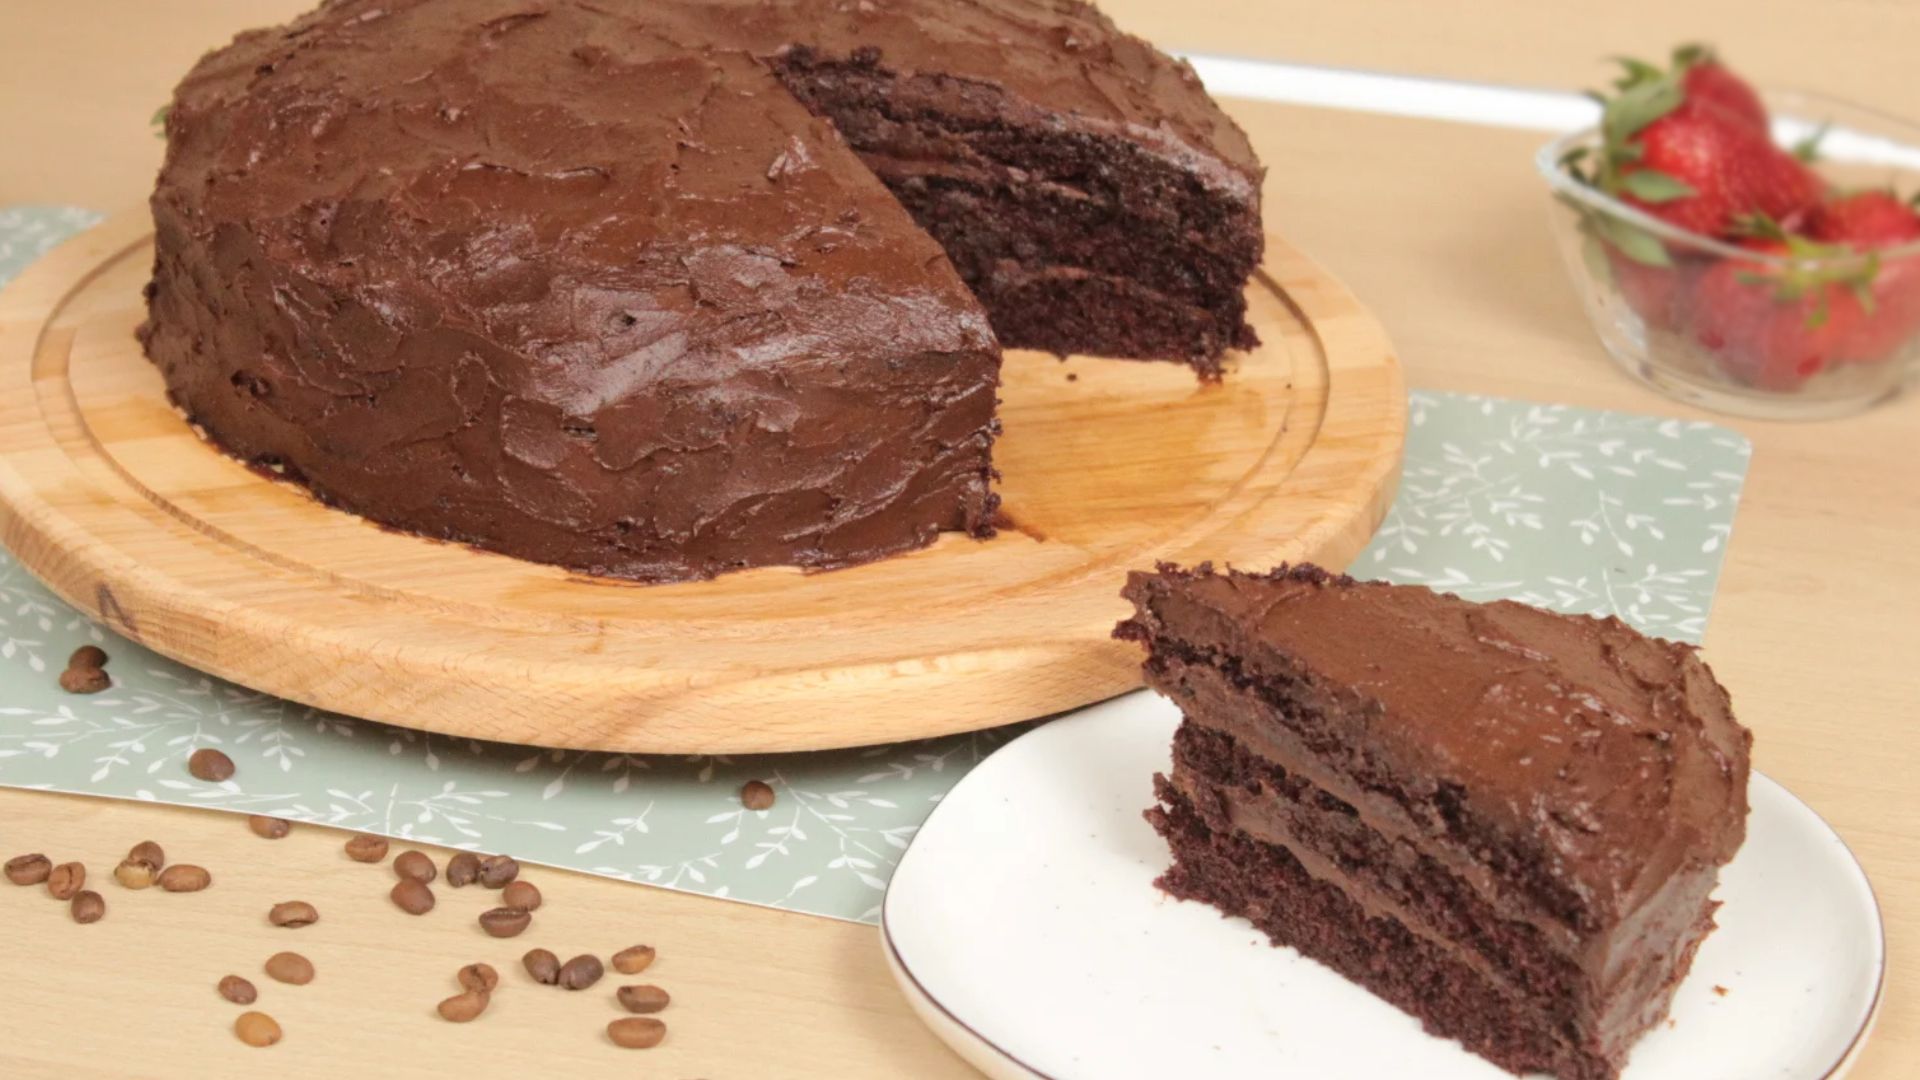
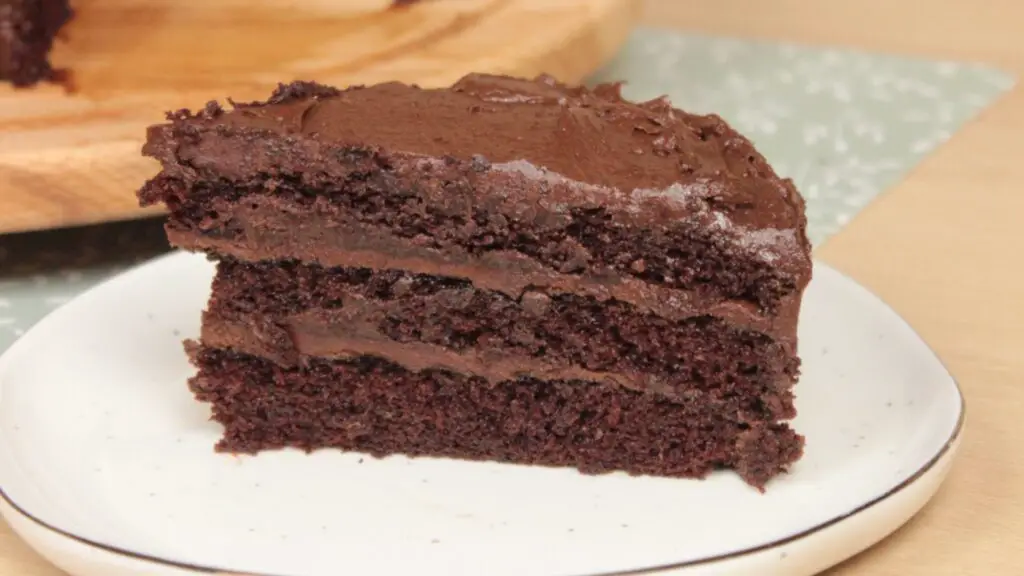
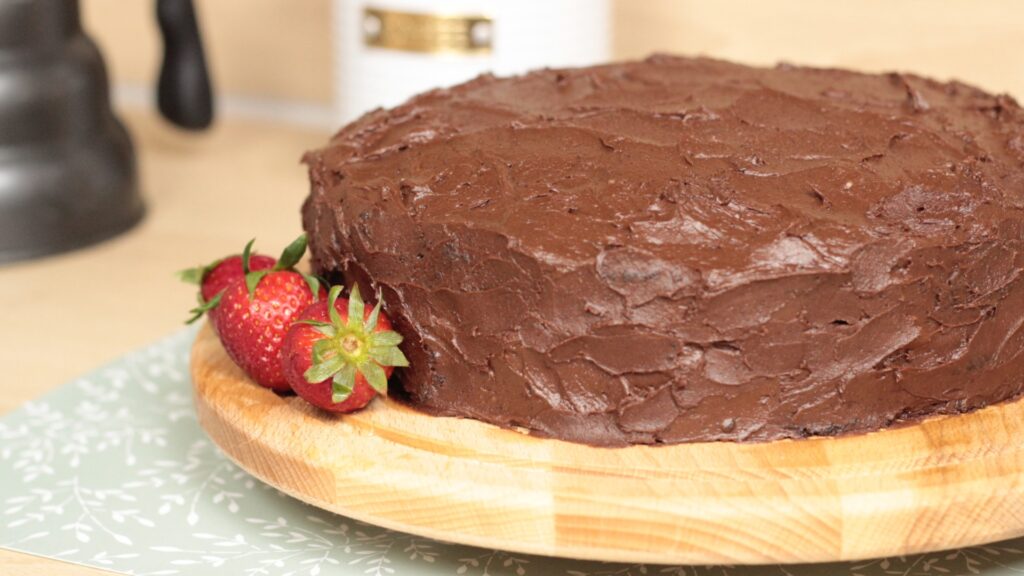
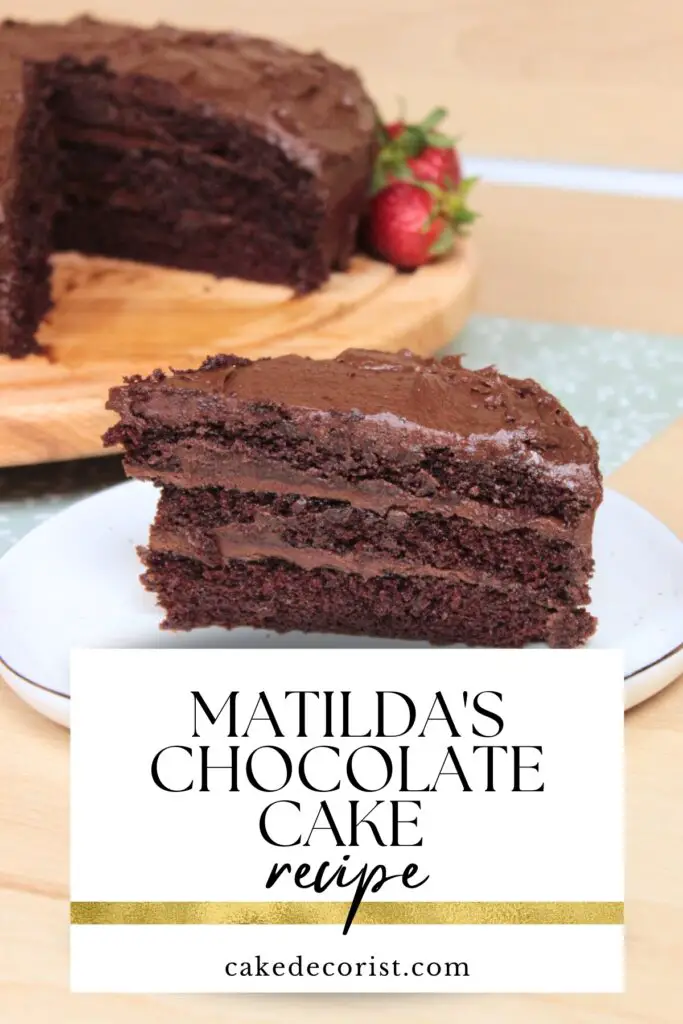
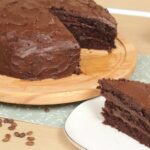
The chocolate cake in Matilda is simply a fudgy chocolate cake, covered in thick chocolate frosting. This is famously known as the chocolate cake that Miss Trunchbull forces Bruce Bogtrotter to eat in the children’s classic, Matilda, by Roald Dahl.
Ingredients in Matilda’s Chocolate Cake
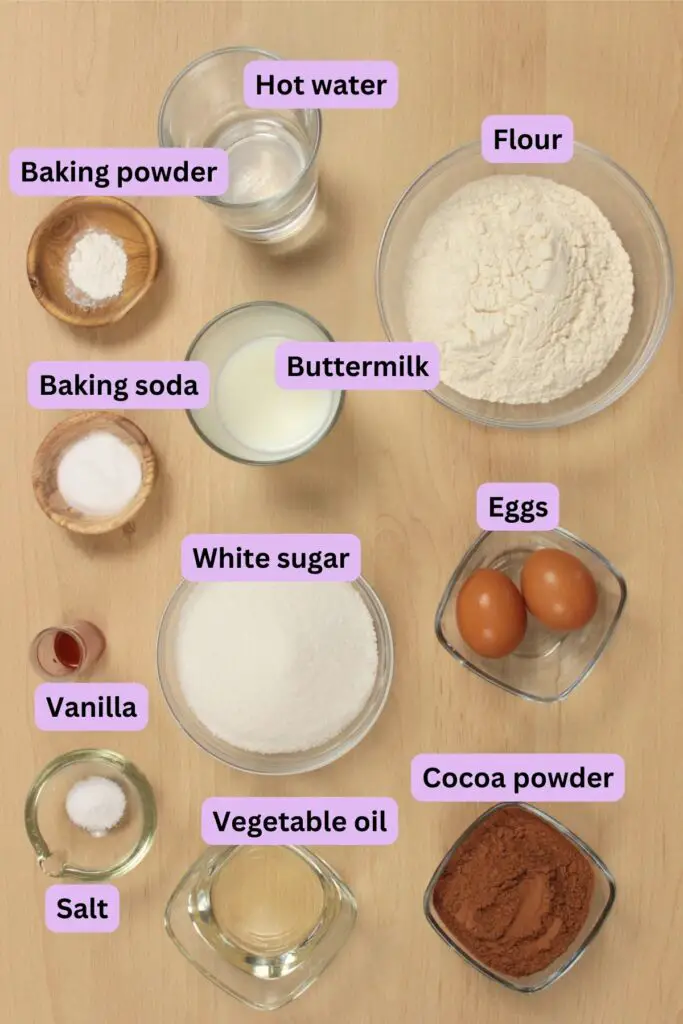
1. Flour: You can use cake flour if you’d prefer, but for a thick and dense cake, I’ve found that all-purpose flour works best.
2. Cocoa powder: This is a vital ingredient and you should use cocoa powder of the highest quality where possible. Also, be sure to use Dutch-processed cocoa powder.
3. Oil: To prevent the cake from becoming too try, you need moisture. However, you don’t want an overpowering taste, so an oil such as vegetable or canola will work best.
4. Buttermilk: While you don’t have to use buttermilk in this recipe, it’s definitely the best option. You can replace it with sour cream or yogurt if desired.
5. Eggs: Your eggs should be at room temperature before adding them to your batter.
6. Vanilla extract: The smallest amount of vanilla extract can elevate just about any recipe and our Matilda-inspired chocolate cake is no different.
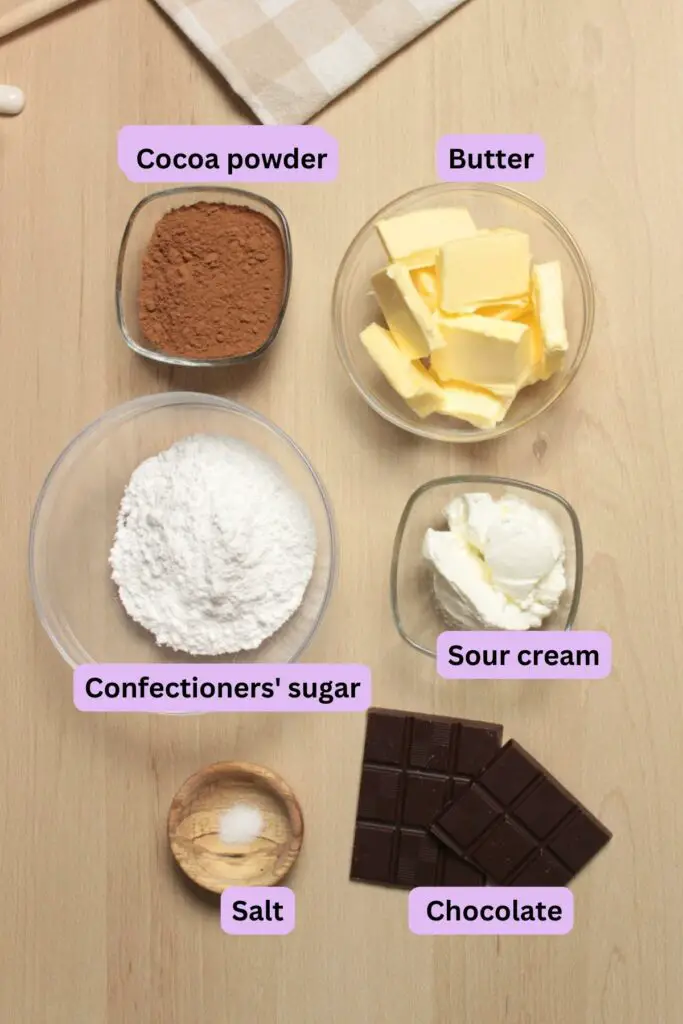
7. Chocolate: Dark chocolate does taste best for your frosting, but we understand that it’s an acquired taste. If not using dark chocolate, be sure to use chocolate of good quality.
Nutritional Information of Matilda’s Chocolate Cake
Our Matilda’s chocolate cake contains around 12 servings. A slice of cake contains the following nutritional value:
- Calories: 555
- Carbohydrates: 77g
- Fat: 36g
- Saturated Fat: 17g
- Protein: 7g
- Sodium: 500mg
- Sugar: 34g
- Fiber: 7g
Matilda’s Chocolate Cake Recipe From Scratch
Equipment
-
2 or 3 9″ baking pans
-
Hand or stand mixer
-
Mixing bowl
-
Parchment paper
Ingredients
For this recipe, you’ll need the following ingredients:
For the chocolate cake
- 2 cups of all-purpose flour
- 2 eggs
- 2 cups of granulated sugar
- 1/2 cup of vegetable oil
- 1 cup of buttermilk
- 3/4 cup of cocoa powder
- 1 cup of hot water
- 3/4 teaspoon of vanilla extract
- 3/4 teaspoon of salt
- 1 teaspoon of baking powder
- 2 teaspoons of baking soda
For the chocolate frosting with sour cream
- 1 cup of cocoa powder
- 1 cup of unsalted butter
- 2 cups of confectioners’ sugar
- 1/2 cup of sour cream
- 6oz of chopped chocolate (dark is best)
- 1/2 teaspoon of salt
Recipe
Now all you need to do is:
Step 1: Prepare
Gather all of the ingredients you need and preheat your oven to 350F. You’ll also need to grease and line two baking pans with parchment paper.
Step 2: Mix dry ingredients
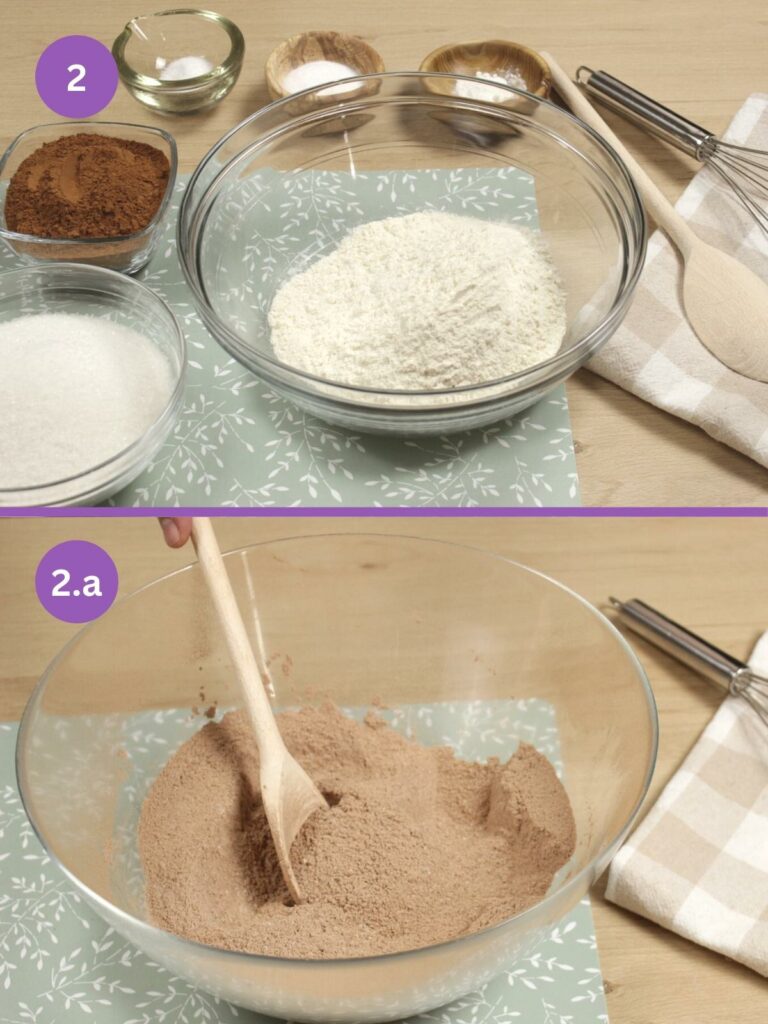
Grab a bowl and add the following ingredients: all-purpose flour, baking powder, baking soda, cocoa powder, and salt. You can pass the mixture of dry ingredients through a strainer to incorporate them better, then add the granulated sugar. Mix well using a paddle attachment and leave to one side.
Step 3: Mix wet ingredients
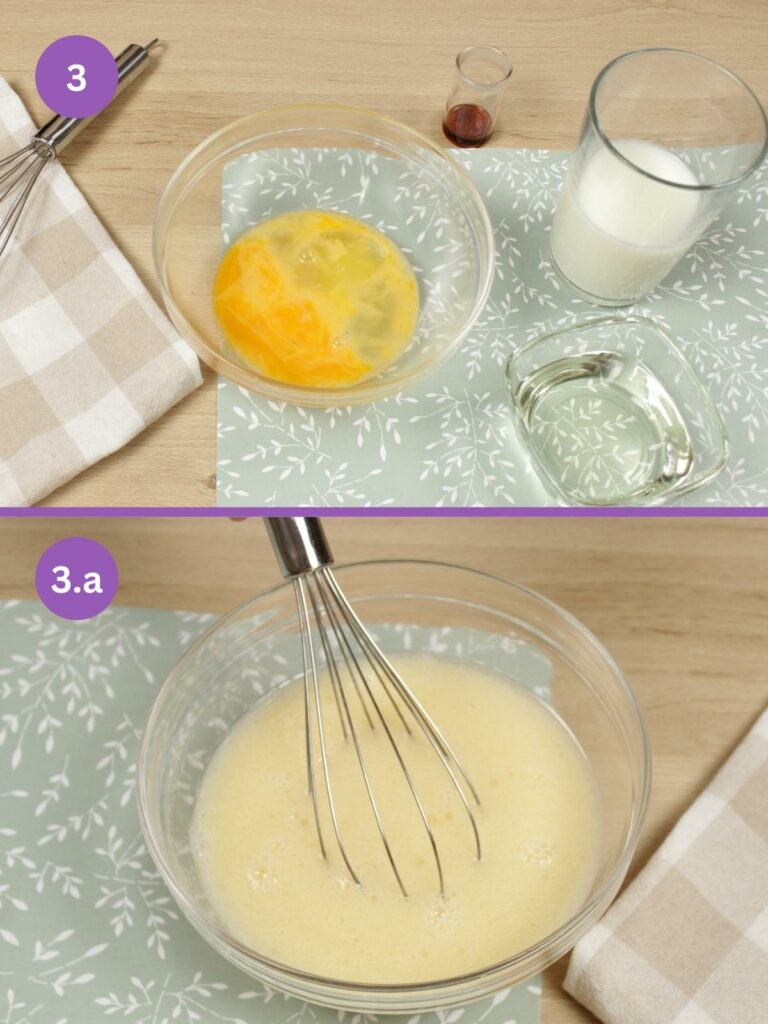
In a separate bowl, add the vegetable oil, eggs, buttermilk (or alternative such as sour cream), and vanilla extract. Mix well.
Step 4: Combine wet and dry
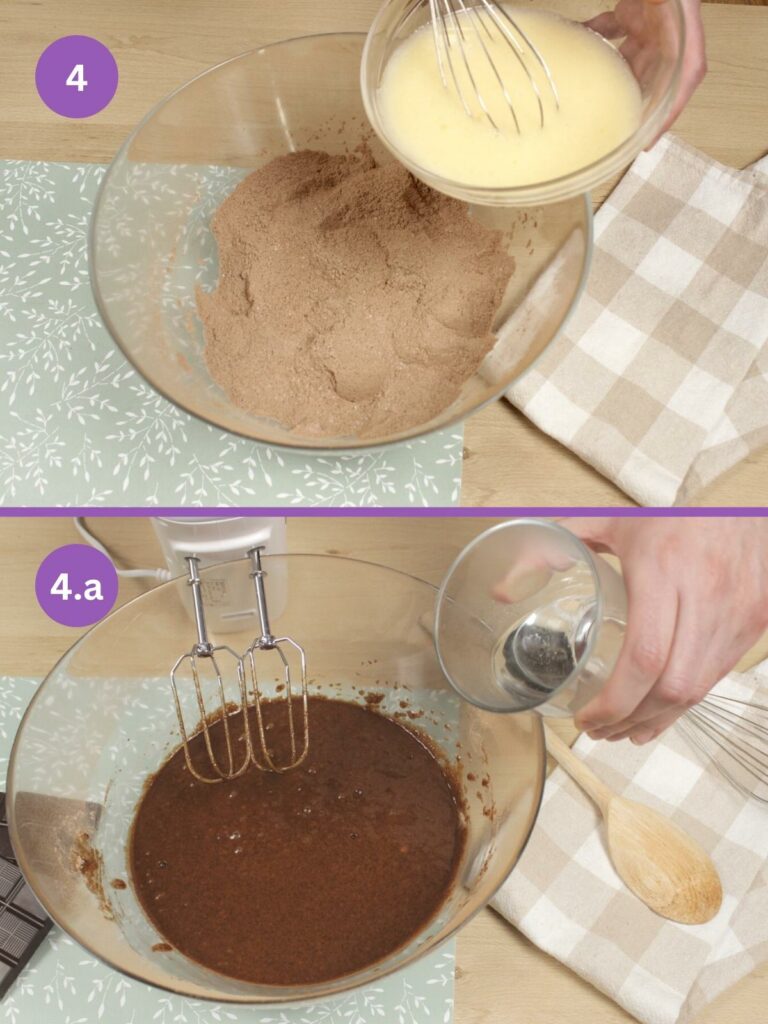
Carefully add the bowl of wet ingredients, to the bowl of dry ingredients. Once completely mixed, pour in the hot water and mix on a low speed. Your batter should be thin at this point.
Step 5: Bake cakes
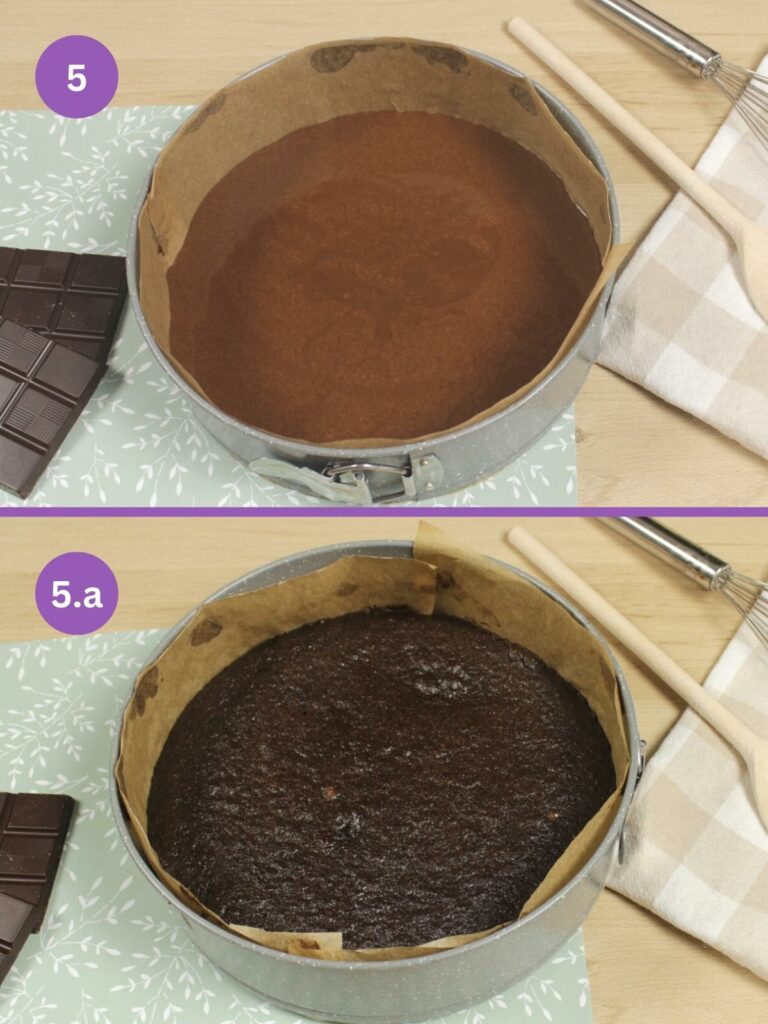
Distribute the batter evenly into your two pans and place them in the center of your preheated oven for around 35-40 minutes. Once your cakes are baked, a toothpick into the center should come out clean.
Step 6: Leave to cool
Step 7: Melt chocolate
Add your chocolate to a microwave-safe bowl and melt in 15-second intervals in a microwave, until completely melted. You can also choose the double boiler method if preferred.
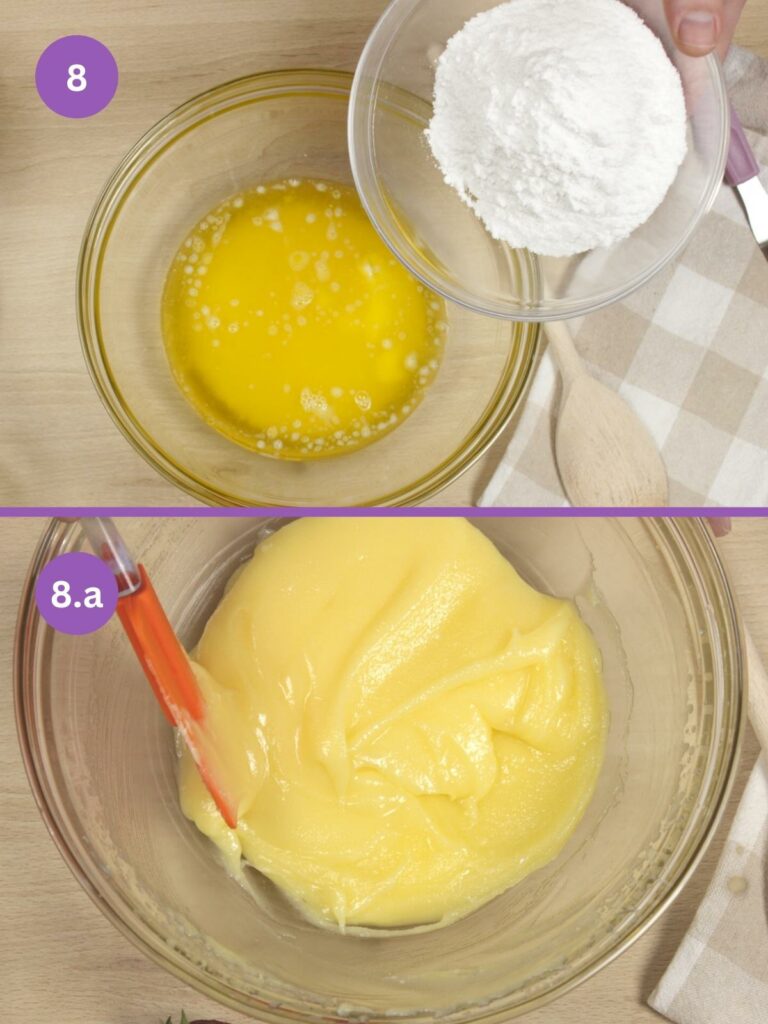
Step 8: Beat butter and sugar
In a bowl, add the butter and the confectioners’ sugar. Mix until the sugar is incorporated. Using a hand mixer, mix until pale in color. After a few minutes, it should be fluffy.
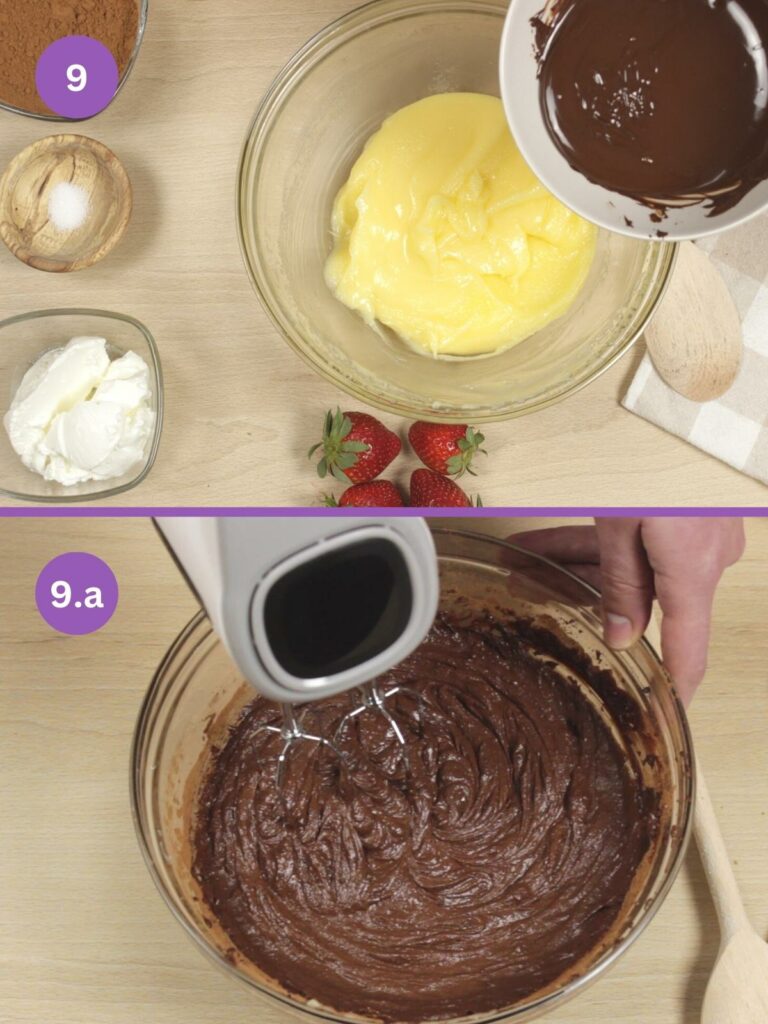
Step 9: Finish frosting
Gradually add your cocoa powder, melted chocolate, salt, and sour cream. Mix until you have a thick and smooth frosting.
Step 10: Decorate the cake
Once your cake is completely cooled, add frosting in between the two layers and frost the top and sides of the entire cake. Decorate as desired. Slice, serve, and enjoy!
Additional Information: Matilda’s Chocolate Cake
Serving size: 12-16 slices
Preparation time: 20 minutes
Baking time: 35 minutes
Total time: 55 minutes
Storage Tips
The best way to store this Matilda chocolate cake is to wrap it in plastic wrap, in an airtight container, and keep it in the refrigerator for up to 5 days. Remove from fridge and allow to come to room temperature before serving.
You can also bake the layers as directed, then wrap them in both plastic wrap and foil. You can then place it in the freezer and keep it for up to 2 months. Allow to defrost overnight in the fridge before frosting and serving.
Tips to Help: Matilda’s Chocolate Cake
If you’re looking for tips to make this iconic cake, look no further.
- Bring cold ingredients to room temperature. When all ingredients are at the same temperature, it’s easier to mix.
- Cool cake completely. Before you frost, ensure all layers are completely cool. You can even cool your cakes further by placing them in the fridge for an hour or so. This helps the structure of the layers.
- Non-stick spray. This helps your cakes to be removed from the cake pans with ease.
- Don’t overmix. While it’s tempting to keep mixing your batter, overmixing can make the cake both dense and tough. Mix until the ingredients are just combined.
Can I Make This Cake Using a Different Pan?
Absolutely. Whether you’re making the cake in a 9×13 pan, a 2-layer 9-inch cake, or even cupcakes – this recipe can be adapted with ease. When using a 9×13-inch pan, you should adjust the baking time to 35-38 minutes. If you want to make a slightly larger two-layer 9″ cake, you’ll need to adjust the baking time to 30-34 minutes. And finally, to make two dozen Matilda cupcakes, adjust the baking time to 18-20 minutes. The oven temperature can remain the same.
Can I Make This Recipe Gluten Free?
Absolutely. You’ll need to ensure that you change the all-purpose flour for gluten-free all-purpose flour. The measurements will stay the same. While the following products should be gluten-free, you should always check the labels as they can sometimes contain gluten: chocolate, buttermilk, cocoa powder, and sour cream.
Here are some tips that might help you: How To Make A Gluten-Free Cake Mix Taste Better?
Can I Make This Recipe Vegan-Friendly?
Of course. You can change this recipe to suit a vegan lifestyle with ease. You’ll need to change the following ingredients to vegan alternatives: vegan egg replacement, vegan sour cream (or vegan cream cheese), vegan butter, vegan chocolate, and vegan buttermilk (you can make your own with 1 cup of vegan milk and 1 tablespoon of lemon juice).
Do I Have to Use Buttermilk?
When it comes to using buttermilk, some people may prefer an alternative or make their own. You don’t need to use this ingredient, but I feel as though it really improves the texture. To make your own, all you need to do is grab a glass and add a cup of buttermilk, with a tablespoon of acidic ingredients (such as lemon juice). Leave it to rest for a few minutes and your buttermilk is ready!
If you’re looking for a suitable substitute, both sour cream, and yogurt will work well, but may slightly affect the texture.
How Many Calories in a Slice of This Cake?
The calories in a serving of this cake are around 555!
Conclusion: Matilda Chocolate Cake
I hope this post has helped you to become more familiar with how to make the infamous Matilda’s chocolate cake. It’s rich and luxurious, and above all, delicious. Do you have any tips and tricks when it comes to making Matilda’s chocolate cake? If so, please feel free to let us know in the comments below. And remember, sharing is caring!
More chocolate recipes:
MOIST Chocolate Chip Banana Bread Recipe
Chocolate Sphere Dessert: Magic Melting Ball
Chocolate Glaze For Angel Food Cake: How To
Frequently Asked Questions
What is the Chocolate Cake in Matilda Made of?
We can't possibly know the real ingredients that were in Roald Dahl's creation of Miss Trunchbull's chocolate cake. However, for our recreation of this cake, we use oil and buttermilk to help the cake stay both moist and tender. As well as this, a huge amount of cocoa powder goes into it to recreate that extremely dark look. It's then finished with a tangy, thick, chocolate frosting.
What is the Name of the Chocolate Cake in Matilda?
Unfortunately, the Matilda chocolate cake doesn't have a name. It's simply famous for being an 18-inch chocolate cake that Bruce Bogtrotter is forced to eat by his headmistress. I've heard it be referred to as the Bruce Bogtrotter cake, but there's no official name.
I have also prepared a video of this recipe for you, share it if you liked it!
Matilda's Chocolate Cake Recipe From Scratch
Equipment
- 2-3 9" baking pans
- Parchment paper
Ingredients
For the Chocolate Cake
- 2 cups all-purpose flour
- 2 eggs room temperature
- 2 cups granulated sugar
- 1/2` cup vegetable oil
- 1 cup buttermilk
- 3/4 cup cocoa powder
- 1 cup hot water
- 3/4 tsp vanilla extract
- 3/4 tsp salt
- 1 tsp baking powder
- 2 tsp baking soda
For the Chocolate Frosting With Sour Cream
- 1 cup cocoa powder
- 1 cup unsalted butter
- 2 cups confectioners' sugar
- 1/2 cup sour cream
- 6 oz chopped chocolate dark is best
- 1/2 tsp salt
Instructions
- Gather all of the ingredients you need and preheat your oven to 350F. You’ll also need to grease and line two baking pans with parchment paper.
- Grab a bowl and add the following ingredients: all-purpose flour, baking powder, baking soda, cocoa powder, and salt. You can pass the mixture of dry ingredients through a strainer to incorporate them better, then add the granulated sugar. Mix well using a paddle attachment and leave to one side.2 cups all-purpose flour, 3/4 cup cocoa powder, 3/4 tsp salt, 1 tsp baking powder, 2 tsp baking soda, 2 cups granulated sugar
- In a separate bowl, add the vegetable oil, eggs, buttermilk (or alternative such as sour cream), and vanilla extract. Mix well.2 eggs, 1/2` cup vegetable oil, 1 cup buttermilk, 3/4 tsp vanilla extract
- Carefully add the bowl of wet ingredients, to the bowl of dry ingredients. Once completely mixed, pour in the hot water and mix on a low speed. Your batter should be thin at this point.1 cup hot water
- Distribute the batter evenly into your two pans and place them in the center of your preheated oven for around 35-40 minutes. Once your cakes are baked, a toothpick into the center should come out clean.
- Leave your cakes to cool for 10 minutes and then remove them from the pans and transfer them to a wire rack. Cool completely.
- Add your chocolate to a microwave-safe bowl and melt in 15-second intervals in a microwave, until completely melted. You can also choose the double boiler method if preferred.
- In a bowl, add the butter and the confectioners’ sugar. Mix until the sugar is incorporated. Using a hand mixer, mix until pale in color. After a few minutes, it should be fluffy.2 cups confectioners' sugar, 1 cup unsalted butter
- Gradually add your cocoa powder, melted chocolate, salt, and sour cream. Mix until you have a thick and smooth frosting.1 cup cocoa powder, 1/2 cup sour cream, 6 oz chopped chocolate, 1/2 tsp salt
- Once your cake is completely cooled, add frosting in between the two layers and frost the top and sides of the entire cake. Decorate as desired. Slice, serve, and enjoy!
Notes
- Distribute the batter between 2 or 3 baking pans depending on whether you want a 2 or 3-layer cake.
- The best way to store this cake is to wrap it in plastic wrap, in an airtight container, and keep it in the refrigerator for up to 5 days. Remove from fridge and allow to come to room temperature before serving.
- Before you frost, ensure all layers are completely cool.
- While it’s tempting to keep mixing your batter, overmixing can make the cake both dense and tough. Mix until the ingredients are just combined.

