Last Updated on June 11, 2020
Looking for canned frosting hacks for a perfect way to decorate your cookies? Don’t have the time to make your own royal icing? This article will tell you the simple steps it takes on how to turn canned frosting into royal icing.
Tips for Canned Frosting Hacks
Canned frosting is an easy and affordable way to decorate your desserts. They come in many different varieties and flavors to meet your baking needs.
Canned frosting also has a longer shelf life than homemade frosting. This allows you to save your leftover frosting for your next baking project.
Canned frosting can be found in grocery stores and online. Using canned frosting is great if you are short on time and don’t want to make your own frosting. It is versatile and can be used for many different desserts.
Canned Frosting Hacks: Royal Icing
Royal icing is a popular decoration for cookies. It hardens when it dries, giving the cookies a smooth appearance and creating a base for adding details. Royal icing is generally made up of egg whites or meringue powder, sugar and vanilla.
Royal icing is most commonly used to decorate sugar cookies, as bakeries commonly use it to create designs on their cookies. It can also be used to decorate designs and create piping on cakes, but generally isn’t used to frost cupcakes or cakes.
It can sometimes be a bit tricky to get royal icing to be the right consistency. You also have to be careful using egg whites, as there is a small risk for salmonella if the egg whites are not pasteurized.
Fortunately, there is a simple way to turn canned frosting into royal icing. With just a few easy steps, you will have a royal icing you can decorate your desserts with.
Canned Frosting Hacks: What You Will Need to Follow This Tutorial
To turn canned frosting into royal icing, you will need:
- Canned frosting
- Squeeze bottle
- Microwave safe bowl
- Piping bag
- Piping tips
- Spatula
- Toothpick
Step by Step Instructions
Step One: Place Frosting into Microwave Safe Bowl
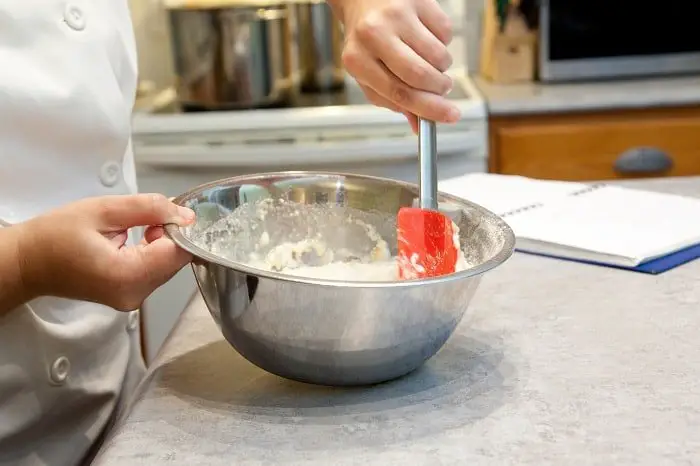
Using a spatula, scoop half of a can of frosting into a microwave-safe bowl.
Step Two: Place the Rest of the Frosting into a Piping Bag with Tip
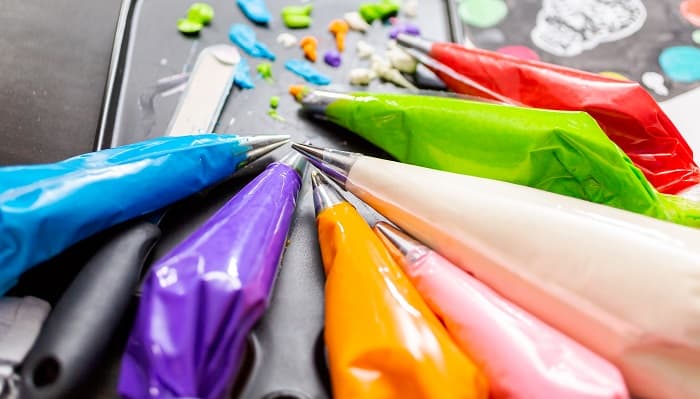
Use the spatula to scoop the rest of the frosting into a piping bag with a fine tip.
Step Three: Microwave Frosting
Microwave the frosting for 15-20 seconds, or until melted.
Step Four: Place Melted Frosting into Squeeze Bottle
Carefully pour your melted frosting into a squeeze bottle. This will make it easier to use while decorating. The frosting will be hot, so use caution when first working with it.
Step Five: Decorate
Use the piping bag to frost a thin border. Then, use the squeeze bottle to fill in the border with the melted frosting. Use a toothpick to smooth out any bumps.
This method of using canned frosting to make royal icing works great for decorating cookies. Using a squeeze bottle is an easy way to fill in the shape you piped. Sugar cookies are easy to make into different designs and taste great when they are decorated with this method.
Tips and Tricks
It is best to start off with white frosting or chocolate frosting. If you want to use colored frosting to decorate you can start off with white frosting and then add food coloring before you divide it up. This will allow the frosting that is microwaved, and the frosting used to create borders to be the same color.
Piping a thin border of your design will help keep the microwaved frosting from running when you add it to your cookies. This technique for making royal icing is best used for decorating cookies.
If you want to add sprinkles or toppings, it is best to do it right after frosting the cookies. This will allow the toppings to stay on the cookie before it dries.
Though using this method to create royal icing from canned frosting does work well, it will not harden as much as traditional royal icing does. It will still however dry and create a harder and smoother icing than using traditional canned frosting would without any alterations.
It is easier to use a squeeze bottle than a piping bag for the melted frosting. The melted frosting is more likely to run when it is in the piping bag. Using a squeeze bottle will give you more control over the melted frosting.
If your frosting starts to thicken back up while you are still using it to decorate, place it back in a microwave-safe bowl and microwave in 5-10 second intervals until it is melted again. Stir the frosting thoroughly after every interval.
You can store decorated cookies in an airtight container at room temperature for up to four days. You can store the leftover frosting in an airtight container in the fridge for up to two weeks. Frosting can also be stored in the freezer for up to three months.
You want to avoid heat and humidity when serving these cookies, as it may cause the frosting to melt. Store these cookies in a cool, dry area as long as possible before serving them.
How to Turn Canned Frosting into Royal Icing
Equipment
- Squeeze bottle
- Piping Bag
- Piping tips
- Toothpick
Ingredients
- 1 pack Canned frosting
Instructions
- Step One: Place Frosting into Microwave Safe Bowl
- Using a spatula, scoop half of a can of frosting into a microwave-safe bowl.
- Step Two: Place the Rest of the Frosting into a Piping Bag with Tip
- Use the spatula to scoop the rest of the frosting into a piping bag with a fine tip.
- Step Three: Microwave Frosting
- Microwave the frosting for 15-20 seconds, or until melted.
- Step Four: Place Melted Frosting into Squeeze Bottle
- Carefully pour your melted frosting into a squeeze bottle. This will make it easier to use while decorating. The frosting will be hot, so use caution when first working with it.
- Step Five: Decorate
- Use the piping bag to frost a thin border. Then, use the squeeze bottle to fill in the border with the melted frosting. Use a toothpick to smooth out any bumps.
- This method of using canned frosting to make royal icing works great for decorating cookies. Using a squeeze bottle is an easy way to fill in the shape you piped. Sugar cookies are easy to make into different designs and tastes great when they are decorated with this method.
Notes
- It is best to start off with white frosting or chocolate frosting. If you want to use colored frosting to decorate you can start off with white frosting and then add food coloring before you divide it up. This will allow the frosting that is microwaved, and the frosting used to create borders to be the same color.
- Piping a thin border of your design will help keep the microwaved frosting from running when you add it to your cookies. This technique for making royal icing is best used for decorating cookies.
- If you want to add sprinkles or toppings, it is best to do it right after frosting the cookies. This will allow the toppings to stay on the cookie before it dries.
- Though using this method to create royal icing from canned frosting does work well, it will not harden as much as traditional royal icing does. It will still however dry and create a harder and smoother icing than using traditional canned frosting would without any alterations.
- It is easier to use a squeeze bottle than a piping bag for the melted frosting. The melted frosting is more likely to run when it is in the piping bag. Using a squeeze bottle will give you more control over the melted frosting.
- If your frosting starts to thicken back up while you are still using it to decorate, place it back in a microwave-safe bowl and microwave in 5-10 second intervals until it is melted again. Stir the frosting thoroughly after every interval.
- You can store decorated cookies in an airtight container at room temperature for up to four days. You can store the leftover frosting in an airtight container in the fridge for up to two weeks. Frosting can also be stored in the freezer for up to three months.
- You want to avoid heat and humidity when serving these cookies, as it may cause the frosting to melt. Store these cookies in a cool, dry area as long as possible before serving them.
A Simple Frosting Trick
Microwaving canned frosting is a great way to make a quick and easy royal icing. It is a great technique for decorating your favorite sugar cookies. Your whole family will love decorating cookies for any occasion with this technique.
Whether you are decorating cookies for a holiday, birthday, baby shower, wedding, graduation or any special event, turning canned frosting into royal icing is the way to go. It is efficient and you don’t have to worry about getting homemade royal icing just right.
Not only will your cookies look beautiful, but they will also taste great thanks to this royal icing hack. If you tried these steps to turning canned frosting into royal icing soft, please share your experience.
Please comment and share if you enjoyed this article or have any remarks regarding this post!

Karen is a passionate pastry chef who loves to create delicious baked goods. She has been in the culinary arts for over 10 years, honing her skills and perfecting her craft. Karen is known for her creativity and attention to detail, creating unique desserts that bring a smile to everyone’s face. She is always looking for ways to challenge herself and come up with new recipes that are both tasty and visually appealing. Karen loves to experiment with different flavors and textures, and she is committed to providing the highest quality of products to her customers.


