
Last Updated on December 18, 2022
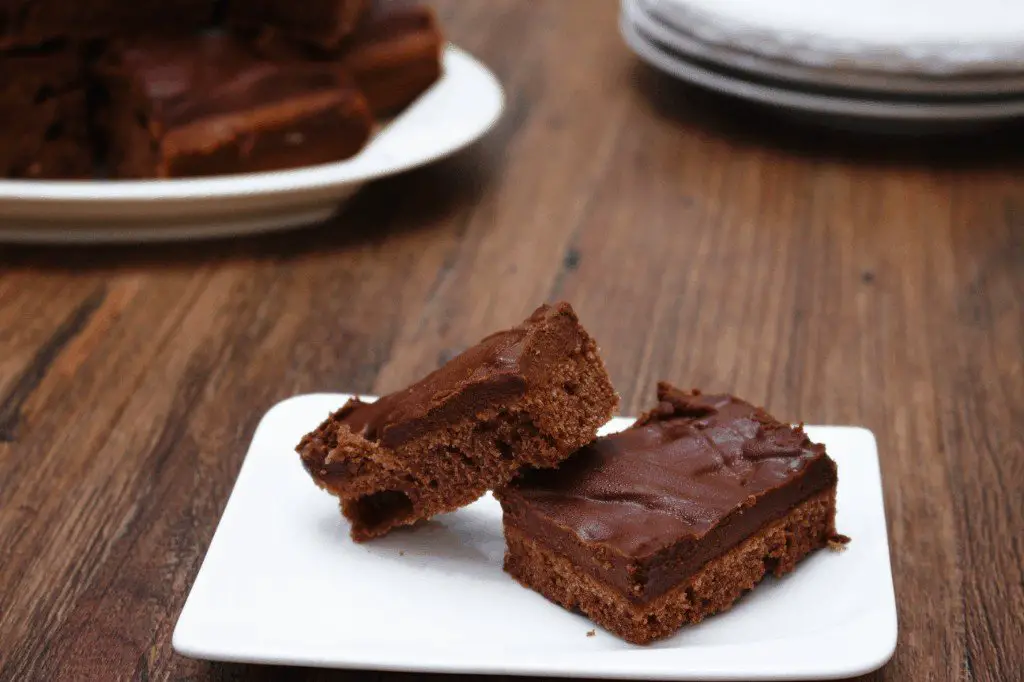
Evaporated milk fudge is a classic treat that many people grew up loving. Its smooth and creamy taste makes for a delectable snack. This delicious fudge recipe with evaporated milk and no marshmallows is the perfect treat to satisfy your sweet tooth.
Fudge is an excellent addition to any party, as well as the perfect present for your dessert-loving friends. It’s a versatile food that you can add your own special flare. This fudge recipe does require some baking experience, as there are several steps, some of which can be a bit tricky to get right.
Evaporated Milk Fudge: Why Use Evaporated Milk
Evaporated milk is milk where up to 60% of the water has been removed. It has a shelf life that can last for many months. It is often used in both sweet and savory dishes, as it provides a creamy texture.
Evaporated milk can also be referred to as condensed milk. Evaporated milk is often confused with sweetened condensed milk.
Sweetened condensed milk is similar to evaporated milk, as it has also had up to 60% of the water removed. However, unlike evaporated milk, sweetened condensed milk has sugar added to it.

Evaporated Milk Fudge: Marshmallows in Fudge
Marshmallows have become a popular ingredient to use in fudge. It provides a quick and easy base for fudge. It generally requires only a few steps to make fudge with marshmallows.
However, using marshmallows in fudge often makes the fudge have a sweeter taste and often makes the chocolate flavor not as intense. Fudge with marshmallows also doesn’t have as smooth a texture as traditional fudge does.
What You Will Need to Make This Evaporated Milk Fudge Recipe
Ingredients
To make this fudge recipe with evaporated milk and no marshmallows, you will need:
- 1 12-ounce can of evaporated milk
- 3 cups sugar
- 1 pound bittersweet chocolate, finely chopped
- 2 ounces unsweetened chocolate, finely chopped
- 1 ½ sticks of unsalted butter, cut into tiny pieces
- 2 teaspoons vanilla extract
- 1-3 tablespoons half and half
- 1 cup chopped toasted pecans, optional
Equipment
To prepare this recipe, you will need a:
- 13 x 9-inch baking pan
- Aluminum foil
- Parchment paper
- Large saucepan
- Candy thermometer
- Large bowl
- Whisk
- Egg Whisk
- Spatula
- Plastic Wrap
- Sharp Knife
Evaporated Milk Fudge: Step-by-Step Instructions
Step One: Prepare the Pan
Prepare the 13 x 9-inch pan by laying down a sheet of aluminum foil followed by a sheet of parchment paper. Lightly coat the parchment paper with cooking spray.
Step Two: Mix Together Evaporated Milk and Sugar
In a large saucepan, whisk together evaporated milk and sugar. Bring to a boil over medium heat and add the candy thermometer. Allow the mix to reach 243 degrees Fahrenheit, stirring regularly for approximately 10-20 minutes.

Step Three: Add Butter and Chocolate to a Bowl
While the sugar and evaporated milk is cooling, add the butter and chocolate to a separate bowl.
Step Four: Add the Hot Mixture Over the Chocolate and Butter
Pour the hot mixture over the chocolate and butter. If the evaporated milk and sugar do not appear to be smooth use a strainer while pouring it to remove any lumps. Whisk immediately after pouring with an egg whisk.
Step Five: Add the Vanilla
Add the vanilla to the mixture and whisk until fully combined.
Step Six: Add Half and Half if Needed
If your fudge mix appears grainy or not smooth, add in half and half. Add one tablespoon at a time until the fudge is smooth and shiny.
Step Seven: Add Nuts
If you desire, add the pecans to the fudge.

Step Eight: Spread the Fudge into the Pan
Using a spatula, pour the fudge into the pan. Use the spatula to evenly spread out the fudge.
Step Nine: Place the Fudge in the Fridge
Place the fudge in the fridge uncovered until it is fully cooled and set.
Step Ten: Wrap Set Fudge
Once the fudge is set, cover it with plastic wrap and return it to the fridge for three hours.
Step Eleven: Cut Fudge
After the fudge has been in the fridge for at least three hours, flip the fudge over onto a cutting board and remove the parchment paper. Dip a sharp knife into hot water, trim the fudge’s edges and cut it into squares.

Fudge makes great presents for the holidays to give to your friends and family.
Tips and Tricks
This fudge recipe is a great base for adding your favorite toppings. Nuts, pretzels, caramels, peanut butter, candy, and graham crackers all taste delicious when added to fudge. Let your creativity flow when adding toppings to your fudge.
Using a candy thermometer is key to getting the fudge to reach the right consistency. Once you know for sure that the fudge has reached the right temperature, you can move on to the next step.

Dipping a sharp knife in hot water will help trim the edges and allow you to cleanly cut through the fudge. The heat from the knife will help you achieve a smooth cut.
When storing fudge, use parchment paper as a layer between pieces. Then wrap the fudge in aluminum foil and place it in an airtight container. This will help prevent the fudge from losing moisture and crumbling.
Fudge can be stored at room temperature for two to three weeks. It can also be stored in the fridge for up to three weeks and in the freezer for up to three months. Allow the fudge to thaw at room temperature before serving.
Delicious Fudge Recipe with Evaporated Milk and No Marshmallows
Equipment
- 13 x 9-inch baking pan
- Aluminum foil
- Parchment paper
- Large saucepan
- Candy thermometer
- Plastic wrap
- Sharp Knife
Ingredients
- 1 12 ounce can of evaporated milk
- 3 cups sugar
- 1 pound bittersweet chocolate finely chopped
- 2 ounces unsweetened chocolate finely chopped
- 1 ½ sticks unsalted butter cut into tiny pieces
- 2 teaspoons vanilla extract
- 1-3 tablespoons half and half
- 1 cup chopped toasted pecans optional
Instructions
- Prepare the 13 x 9-inch pan by laying down a sheet of aluminum foil followed by a sheet of parchment paper. Lightly coat the parchment paper with cooking spray.
- In a large saucepan, whisk together evaporated milk and sugar. Bring to a boil over medium heat and add the candy thermometer. Allow the mix to reach 243 degrees Fahrenheit, stirring regularly for approximately 10-20 minutes.
- While the sugar and evaporated milk is cooling, add the butter and chocolate to a separate bowl.
- Pour the hot mixture over the chocolate and butter. If the evaporated milk and sugar do not appear to be smooth use a strainer while pouring it to remove any lumps. Whisk immediately after pouring with egg whisk.
- Add the vanilla to the mixture and whisk until fully combined.
- If your fudge mix appears grainy or not smooth, add in half and half. Add in one tablespoon at a time until the fudge is smooth and shiny.
- If you desire, add the pecans to the fudge.
- Using a spatula, pour the fudge into the pan. Use the spatula to evenly spread out the fudge.
- Place the fudge in the fridge uncovered until it is fully cooled and set.
- Once the fudge is set, cover with plastic wrap and return it to the fridge for three hours.
- After the fudge has been in the fridge for at least three hours, flip the fudge over onto a cutting board and remove parchment paper. Dip a sharp knife into hot water, then trim the edges of the fudge and cut into squares.
- Fudge makes great presents for the holidays to give your friends and family.
Notes
- This fudge recipe is a great base for adding your favorite toppings. Nuts, pretzels, caramels, peanut butter, candy and graham crackers all taste delicious when added to fudge. Let your creativity flow when adding toppings to your fudge.
- Using a candy thermometer is key to getting the fudge to reach the right consistency. Once you know for sure that the fudge has reached the right temperature, you can move on to the next step.
- Dipping a sharp knife in hot water will help trim the edges and allow you to cleanly cut through the fudge. The heat from the knife will help you achieve a smooth cut.
- When storing fudge, use parchment paper as a layer between pieces. Then wrap the fudge in aluminum foil and place it in an airtight container. This will help prevent the fudge from losing moisture and crumbling.
- Fudge can be stored at room temperature for two to three weeks. It can also be stored in the fridge for up to three weeks and in the freezer for up to three months. Allow the fudge to thaw at room temperature before serving.
How to Make Hot Fudge Without Condensed Milk?
Making hot fudge without condensed milk couldn’t be easier. The best part about this recipe is that it only requires two ingredients. All you’ll need is a container of chocolate frosting and 12 oz of semi-sweet chocolate chips.
- Now all you need to do is line a pan with foil, with some overhang and leave it to one side.
- Place your frosting in a microwave-safe bowl and heat in 20-second increments until the frosting has melted and is hot.
- Once melted, pour the frosting over the semi-sweet chocolate chips in a heat-proof bowl and stir until everything is smooth.
- Now pour the mixture on top of the foil and place in the fridge and leave to set.
What Can You Use in Place of Condensed Milk For Fudge?
There are many substitutes that you can use in place of condensed milk when it comes to fudge. One of the most obvious options is regular milk. However, if regular milk is used, you’ll need to add additional sugar (or sugar alternative) of some kind such as granulated sugar or powdered sugar. Another popular alternative is heavy cream. If you’re looking for creamy, rich fudge, this should definitely be the choice for you. Other substitutes include store-bought frosting and cream of coconut.
How to Make White Fudge With Condensed Milk?
Making white fudge only requires three ingredients and doesn’t require much effort at all. The only ingredients you’ll need are 3 cups of white chocolate chips, 1 can of sweetened condensed milk, and 2 tablespoons of butter.
- Line a pan with foil and leave to one side.
- Add the white chocolate, condensed milk, and butter to a pan.
- Mix continually over medium heat.
- Remove from heat once the mixture is melted and smooth.
- Spread evenly in our prepared pan and place in the fridge to set.
- Once set, slice and serve.
How to Make Fudge With Condensed Milk On the Stove?
To make fudge on a stove with condensed milk, you’ll need the following ingredients: 3 cups of chocolate chips, 1 can of sweetened condensed milk, and 1/4 cup of cubed unsalted butter.
- Line a pan with foil and leave to one side.
- Place the chocolate chips, condensed milk, and cubed butter into a pan over medium heat.
- Stir throughout, until completely melted and smooth.
- Pour chocolate into your prepared pan and leave it in the fridge to set.
Is Fudge Better With Condensed Milk?
When it comes to fudge, I find that nothing works better than condensed milk. It gives fudge the rich and creamy taste you’d usually like from fudge and it really is so delicious. Milk and sugar (or sugar alternative) do work well too, but I’ll be honest – it simply isn’t as tasty!
Does Fudge Made With Condensed Milk Need to be Refrigerated?
Surprisingly, you do not need to refrigerate condensed milk. Because of its high sugar content, it’s perfectly safe to leave it at room temperature. However, it’s best to store it in an airtight container in a cool, dry place for the best results.
It should last around two weeks when stored correctly. For longer-lasting results, you can store it in the fridge but this is likely to dry out the fudge and change the texture. If you notice anything about the fudge that doesn’t seem right such as a change in appearance, texture, or smell, it is best to discard it.
The Perfect Fudge Recipe
This fudge recipe is the perfect treat to share with all your loved ones. It’s a great recipe that allows you to add your favorite toppings.

Fudge may take some time and skill to make, but the result is well worth it. Its smooth and creamy taste is hard to beat. If you tried this fudge, please share your experience making it.
Please comment if you enjoyed this article or have any remarks regarding this recipe!
FAQ’s
What would you use evaporated milk for?
Evaporated milk is convenient and appropriate to incorporate into most recipes in baking. That is why you can cut the fat from a recipe by replacing a half cup of table cream with 18% fat with a half cup of undiluted evaporated milk. As a result, it works great when making bread, scones, or spice cakes.
With that, make sure to buy fat-free and low-fat evaporated milk. Hence, it depends significantly on how much evaporated milk you need in a recipe.
In addition to that, it is a great alternative to whipping cream. Although, it will not whip as readily due to its low-fat content. You can prepare this by putting the beaters and evaporated milk in the freezer for approximately thirty minutes.
After that, beat it at high speed till it becomes stiff. Then, flavor it with vanilla and sugar. Make sure to utilize it immediately since it will not hold its shape for a long time.
Can evaporated milk be frozen for later use?
Sure, you can freeze evaporated milk. Not only that, but it is commonly suitable for baking purposes when reblended. That is why you should put it in an airtight container.
In addition to that, remember to leave about a half-inch headspace at the top because milk will expand when frozen.
Moreover, it would be best to thaw the frozen evaporated milk in the fridge. Then, before using it, whisk, shake or use a blender to completely mix it. Because of this, you can keep evaporated milk in the freezer for approximately three months.
Nevertheless, it will remain safe to use exceeding that time if stored correctly. Do not freeze unopened canned evaporated milk since it will weaken the integrity of the seal. Likewise, it can last for a long time, so it is best to put it in the pantry until you need it.
Why use evaporated milk instead of regular milk?
Essentially, you should use evaporated milk rather than regular milk if you want a creamier flavor in your recipes without the cream.
Moreover, evaporated milk is a product of eliminating water from fresh milk and heating it. Thus, heating it provides a somewhat cooked flavor, slightly dark color, and creamy texture.
Furthermore, numerous dairy products curdle at high temperatures, however, evaporated milk will not. Also, it is possible to utilize it as an alternative for the water called for bread recipes like a hot cross bun.
How long will evaporated milk last after opening?
The exact answer to that relies on the storage conditions. For this reason, it is best to put open evaporated milk in the fridge.
With that, make sure to cover it tightly with a lid, aluminum foil, or plastic wrap. Doing this extends the shelf life of open canned evaporated milk. Additionally, you can keep evaporated milk refrigerated for as long as four to six days.
Nevertheless, you must either use all of the evaporated milk or freeze the leftovers once you have opened them.

Karen is a passionate pastry chef who loves to create delicious baked goods. She has been in the culinary arts for over 10 years, honing her skills and perfecting her craft. Karen is known for her creativity and attention to detail, creating unique desserts that bring a smile to everyone’s face. She is always looking for ways to challenge herself and come up with new recipes that are both tasty and visually appealing. Karen loves to experiment with different flavors and textures, and she is committed to providing the highest quality of products to her customers.