Last Updated on June 28, 2021
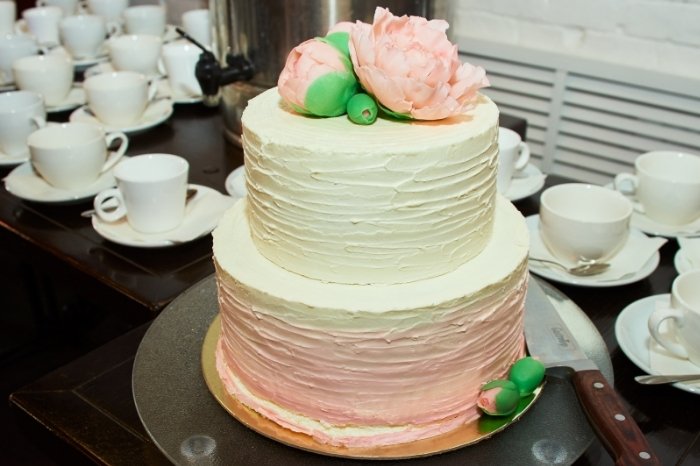
If you are wanting to step up your decorating skills, you will want to know how to make gum paste peonies. Making these elegant peonies will take your decorating skills to the next level. It is a great decoration to add to a wedding cake or any cake for a special occasion.
These peonies do take some experience to make, however, they are well worth the end result. They are a beautiful touch and make your cake a true show stopper. You will be impressed by how these peonies turn out.
What You Will Need
Ingredients
- Ready-To-Use Gum Paste, homemade or storebought
- Food coloring
- Solid vegetable shortening
- Gum glue adhesive
- Cornstarch
Equipment
- Aluminum foil
- Gum paste tools set
- Peony gum paste cut-outs set
- Flower shaping bowls
- Fondant roller, 9-inch
- Fondant Shaping Foam Set
- Cake decorating brush tools
- Flower impression mold
- Gum paste wire & tape
- Gum paste storage board
- Hot glue
- 1 1/2 inch craft foam ball
Zuoyou 33 Piece Fondant Cake Decorating Molds
Step by Step Instructions
Step One: Color Gum Paste
Color the gum paste to your desired color. Tint six ounces for the petal color and one ounce for the leaf color. With the aluminum foil, make three small and 18 medium flower shaping bowls.
Step Two: Make Wired Base
Tape together three 20-gauge floral wires with the tape. Hot glue the end of the wire and insert it into the craft foam ball.
Step Three: Make Eight Small Petals
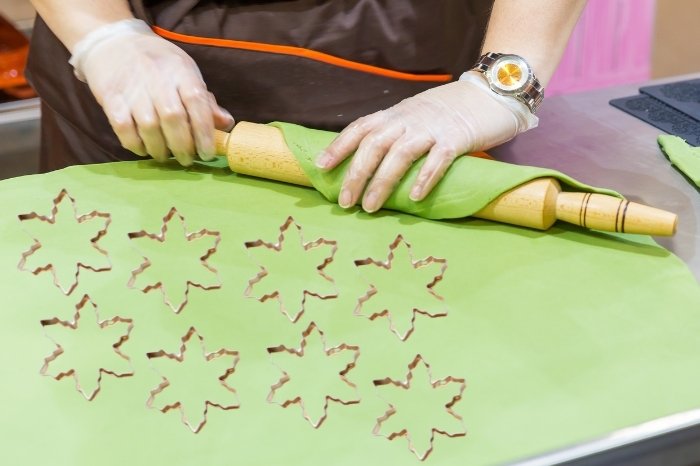
Roll out the gum paste to 1/16th inch on a clean surface with vegetable shortening. Cut out eight small petals with a peony cutter C. Place the petals on the storage board and dust with cornstarch.

Step Four: Score Veins on Petals
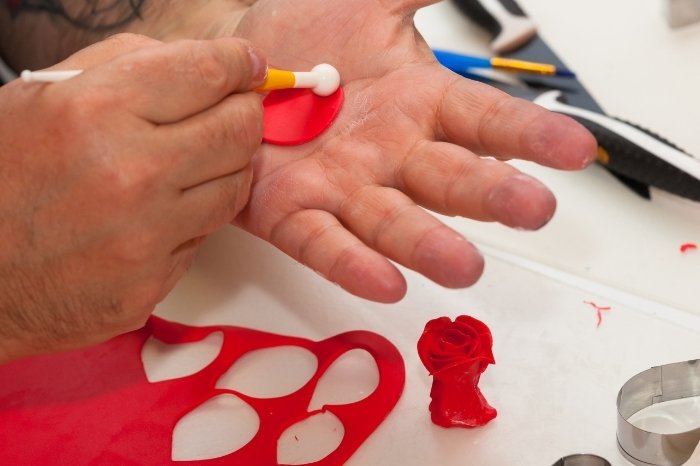
Place a petal on foam and use a small veining tool to score veins on the petal. Repeat with a second petal and brush gum adhesive on the backside of the petals. Wrap the petals over the foam ball, overlapping at the top.
Use the veining tool on the remaining petals. Use the ball tool to thin and ruffle edges. Brush the gum glue adhesive onto the bottom of the petals. Attach the petals overlapping the first row.
Step Five: Make Six Medium Petals
Roll out the gum paste to 1/16th inch. Cut out six petals with the peony cutter B. Place in storage board and then move petals to dusted shaping foam. Vein and ruffle the petals.
Place the petals in a small flower shaping bowl and let them rest for 20-30 minutes. Brush glue adhesive on the bottom half of the petals. Attach to base, overlapping with the previous row, slightly angled out.
Step Six: Dry Base
Once the base is completed, hang upside down to dry.
Step Seven: Make Eleven Medium Petals
Roll out gum paste to 1/16th inch over the groove on the impression mat. Place the gum paste ridge side up and use peony cutter B to cut out pieces. Brush sides with adhesive glue.
Position the 26 gauge floral wire, then press the ridge to seal. Place the petals wire side down on the shaping foam that is dusted. Vein and ruffle the petals and allow them to dry in medium shaping flower bowls for at least 24 hours.
Step Eight: Make Ten Large Petals
Roll out the gum paste to 1/16th inch. Use large peony cutter A to cut the pieces and 26 gauge wire to make 1o wire petals. Repeat the steps followed in step seven.
Step Nine: Make Leaves
Roll out the leaf-colored gum paste as you did in step eight. Use the peony leaf cutter to cut out pieces. Brush inside with adhesive glue. Dust leaves with cornstarch and press with thin foam, then let them dry.

Step Ten: Assemble the Flower
Using the floral tape, tape 11 medium flowers around the base. Then, tape the 10 medium flowers around the base, just below the previous row. Tape the leaves to the flower.
Tips and Tricks on How to Make Gum Paste Peonies
Be sure to read all the instructions on the peony gum paste cut-outs set. This will ensure you are using the cutters properly to make sure your peony turns outright. When it comes to how to make gum paste peonies, there are several steps, so be sure to read the instructions for the tools as well.
If desired, you can leave out making the leaves on these gum paste flowers. You can also make the peony any color you like. Repeat the instructions if you are wanting to make multiple peonies.

Beautiful Gum Paste Peony
Did you enjoy this post on how to make gum paste peonies? If so, please share your thoughts in the comments down below and share this post with your friends and family.

Ever since she was a young girl, Anna has been a lover of desserts. As an adult, she enjoys
baking a variety of desserts from cakes, cookies, brownies, bread, and more from scratch. She
enjoys sharing her passion for baking with others who also have a sweet tooth. From properly
measuring ingredients to making sure they are the correct temperature, Anna knows the
importance small details can make in baking. She wants to share her experience with others in
hopes they can make the most delicious baked goods. When she’s not busy blogging, Anna
enjoys trying new recipes in the kitchen.


