
Last Updated on January 28, 2023
Today, we’re going to look at how to make colored chocolates. As you probably already know, chocolate tends to come in just three varieties: milk, dark and white. The colors are often white, brown, or dark brown. If you’re looking for a way to liven up a celebration or a good activity with the little ones, colored chocolate can be a lot of fun! While you may think it’s difficult, there are plenty of ways to try. And always remember, practice makes perfect. So, how to make colored chocolates? Let’s take a closer look.
What Is Colored Chocolate?
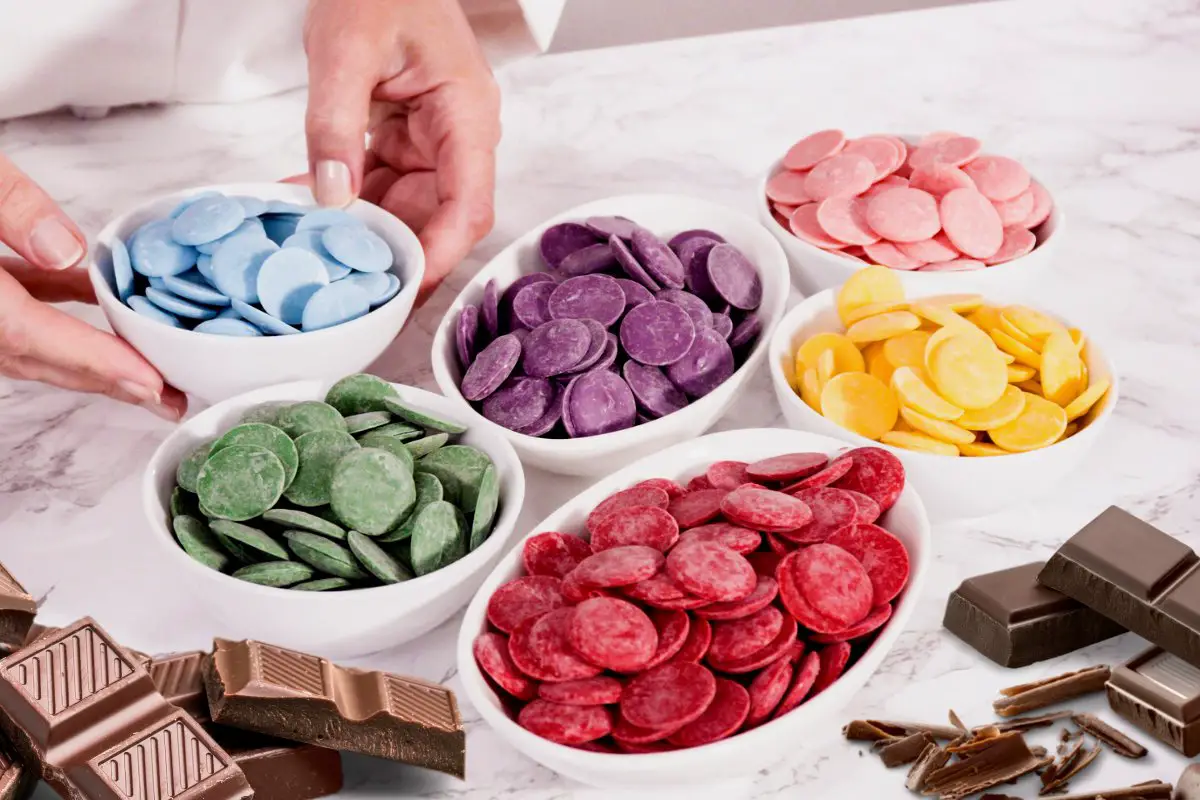
Colored chocolate is exactly as it sounds. Chocolate that has been made to be a different color than the color you bought it in. In recent years, colored chocolate has become increasingly popular. Nowadays, you can make chocolate in almost any color! Coloring chocolate is renowned for being difficult, but it certainly doesn’t have to be!
Ingredients In Colored Chocolate
The ingredients for colored chocolate can vary, depending on how you’re coloring the chocolate. You can use a range of colorings, such as:
- oil-based food coloring
- powdered food coloring
- luster dust
…and the most important ingredient of all, chocolate!
Which Chocolate Should I Use?
While there are some occasions when other forms of chocolate may work, the general rule is that using white chocolate is ideal when coloring chocolate. This is because if you use milk or dark chocolate, the dye will not show up as well as if you’re using white chocolate. You’ll likely end up with a mucky brown color if you opt for anything other than white chocolate for this.
Which Food Coloring Should I Use?
It’s important to not use water-based food coloring with your chocolate. This is because of the fat in the chocolate will lose its texture and consistency when mixed with this type of coloring. For this reason, it’s best to use oil-based or powdered food coloring. This way, your chocolate will remain the texture you desire.
How To Color Chocolate – How To Make Colored Chocolates
Step 1: Gather Ingredients
For this, you’ll need white chocolate. Remember that dark or milk chocolate do not work as well when coloring chocolate. Be sure you have the coloring you need in powdered or oil-based form. You will also need a chocolate mold to shape your chocolate once colored.
Step 2: Melt The Chocolate
You can do this in several ways. You can either melt it in a microwave in a bowl; check every 10-15 seconds. Or you can place the chocolate in a bowl and melt it in a pot filled with water over low heat. Once melted, separate the chocolate into bowls (dependent on how many colors you need).
Step 3: Add Coloring – How To Make Colored Chocolates
Add the coloring to the melted chocolate in very small amounts. You do not want to add too much, so adding it slowly is ideal. You can always add more if needed. Once added, mix with a spatula until the color is even. Add more if necessary once mixed.
Step 4: Mold Chocolate
Pour chocolate into molds and place in the refrigerator to harden. Serve and enjoy!
Oil Based Food Coloring for Chocolate – 16 Colors Upgraded Edible Food Dye Coloring

How To Paint Chocolate With Luster Dust
The easiest way to paint chocolate using luster dust is a technique that’s called dry brushing. It really is as easy as it sounds! For this method, your chocolate must be completely dry, as must your paintbrush. Also, be sure you’re using a paintbrush that’s safe for painting onto foods. All you then need to do is dip your brush in the dust and paint away (yes, it really is that easy!).
Painting Chocolate Molds: A Guide
We’ve taken a look at how to color chocolate melts, but how do you go about painting chocolate molds? This is another easy way to color chocolate. Let’s take a closer look.
Step 1: Melt The Chocolate
Gather the chocolate you need; preferably white chocolate. Place white chocolate into a microwave-safe bowl and put into the microwave. Check every 10-15 seconds, until completely melted. This should not take more than one minute. Be sure to check the chocolate so it does not burn.
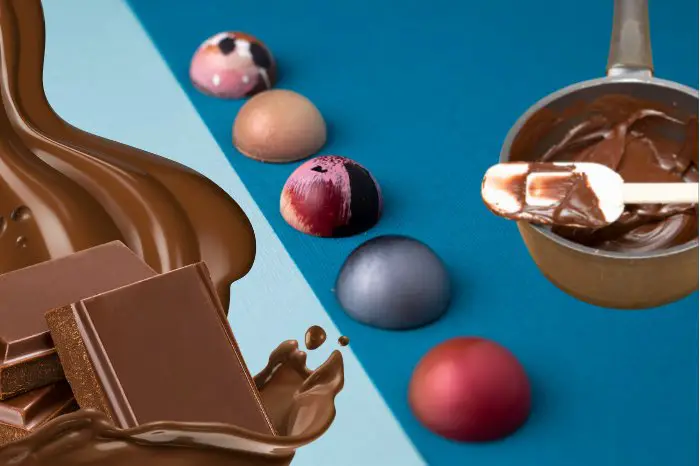
Step 2: Paint Your Mold – How To Make Colored Chocolates
Ensure your mold is completely dry and free from any dirt or dust before starting to paint. Using a food-safe paintbrush, paint the melted chocolate inside the mold. Once the shapes are painted, leave them in the fridge for several minutes. Repeat these steps, using any different colors you may want onto your mold; ensuring you place them in the fridge after each color. You can add as much or as little detail as you’d like when painting the molds, and use as many different colors as you’d like too!
Step 3: Fill The Mold
Melt more chocolate in a sandwich or piping bag. You can do this in a microwave, ensuring that you’re checking regularly. If you’re using a sandwich bag, cut a small hole and pour the chocolate into your chocolate mold. Ensure each mold is filled completely.
Step 4: Refrigerate
Place the mold into the refrigerator until hardened. Be sure it’s hard before removing it from the mold. Gently remove from the mold and enjoy! This way is a fun one to do with all the family, as you can really explore your creative side. And then enjoy the tasty treats once they’re ready!
Conclusion – How To Make Colored Chocolates
I hope this post has helped you to become more familiar with how to make colored chocolates. However you choose to do it, coloring chocolate doesn’t have to be difficult and it can also be lots of fun. The best part about it is that you’ll always have something delicious to eat at the end!
Do you have any tips or tricks when it comes to how to make colored chocolates? If so, please feel free to let me know in the comments below. Sharing is caring!