Last Updated on December 21, 2022
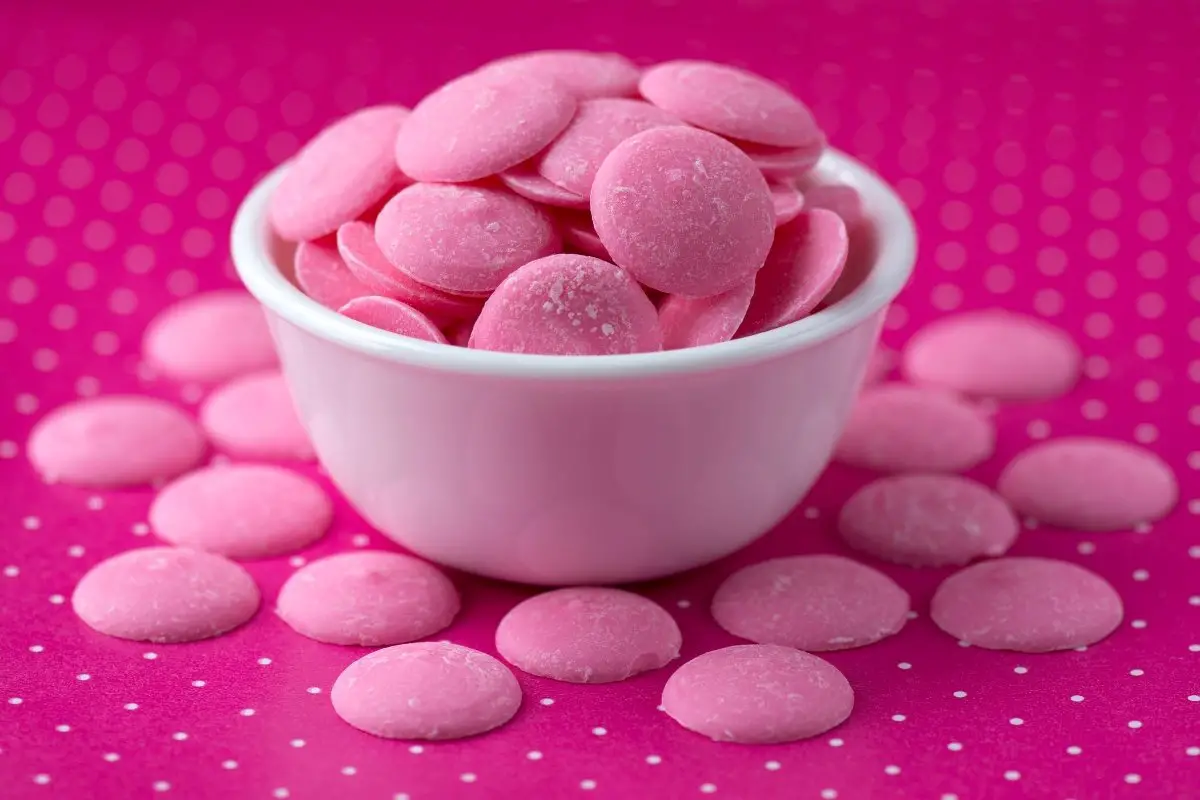
Candy melts are great for dipping apples, cake pops, and other tasty treats. However, sometimes they end up being lumpy, which is not a desirable look. Knowing how to make candy melts smooth will give you a beautiful finished product.
Candy melts come in all sorts of colors and even flavors. They are a fun way to make any celebration more festive. Though they are simple to use, it is not uncommon for them to thicken up while dipping and become difficult to work with.
What Causes Candy Melts to Thicken?
When melted candy melts thicken, they become hard to work and will often leave an unsmooth, lumpy texture on your dipped snacks and desserts. This is not only annoying to work with, but will create a finished product that looks messy. There are several reasons candy melts can thicken up.
Cold temperatures can lead to candy melts becoming thick. A cold work surface and even a cold room cause the melts to thicken up and then set. To prevent this from happening, keep the melts on low heat on the stove or a melting pot.

Humidity can also cause the melts to become thick. Moisture in the air can cause the melts to seize up, making them difficult to use. Though this can be hard to avoid, try to avoid working with candy melts in a humid environment.
Be sure that the candy melts you have are still good before using them. If they are past the expiration date or have been exposed to fluctuating temperatures, they typically will not be smooth when melted.
How to Make Candy Melts Smooth
Ingredients
- One bag of candy melts
- 1-2 teaspoons of vegetable shortening or oil melts (such as EZ Melts or Paramount Crystals)
Equipment
- Small saucepan or microwave-safe bowl
- Wooden spoon
- Parchment paper
- Baking sheet
Nutrichef Kitchen Oven Baking Pans
Step-by-Step Instructions
Step One: Melt Your Candy Melts
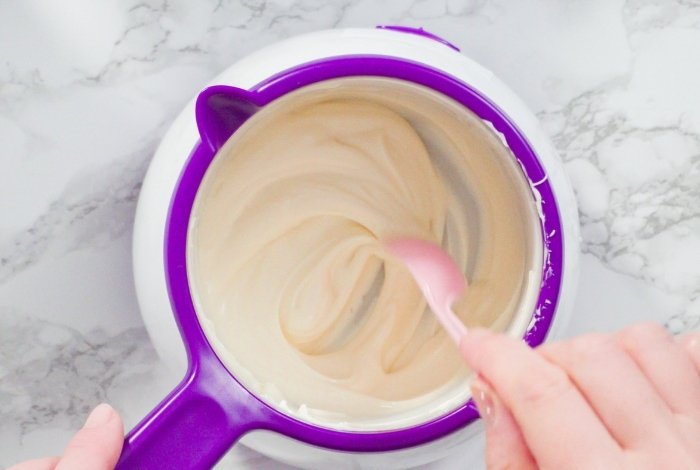
In a saucepan over low-medium heat, melt your candy melts, stirring occasionally. You can also melt them in a microwave-safe bowl, microwaving in 3o second intervals, stirring after each interval, until melted.
Step Two: Add the Thining Agent
Add the vegetable shortening or oil flakes to your candy melts. Start by adding one teaspoon in and then thoroughly mix it. If the candy melts are still not thin enough, add in another teaspoon of the thinning agent and stir until combined. This will make your candy melts smooth and easy to work with.
Step Three: Dip Your Snacks
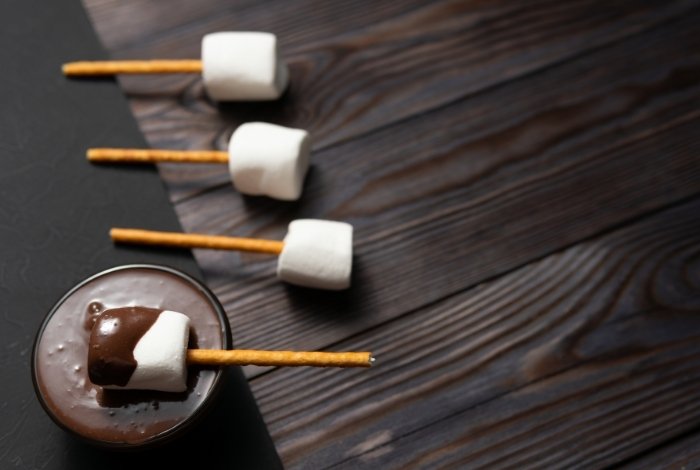
Dip your snacks into the candy melts. Carefully dip them into the melts and swirl them to make sure they are fully coated. Gently tap them on the side of the bowl to remove any excess candy.
You may need to microwave your melts again if they start to harden or keep them in a saucepan on low heat. In addition, you can keep the candy melts in a melting pot. Place your candy-covered snacks onto a baking tray lined with parchment paper */and allow them to fully dry before eating.
Tips and Tricks
If you have leftover candy melts after dipping your snacks, simply cover the bowl with plastic wrap or pour them into a Tupperware container. Once you are ready to use them again, reheat them on the stove or in the microwave.
Adding oil flakes or vegetable shortening to your candy melts will not affect the color or flavor of your candy melts. They will only change the consistency from thick and lumpy to smooth. So, you don’t have to worry about the thinning agents messing up the color or taste of your candy melts.

Be certain to use caution when working with candy melts, as they will be hot. You can use a fork or lollipop sticks to dip your snacks or desserts into the candy melts. Apples, cake pops, oreo balls, rice crispy treats, marshmallows, or pretzels all taste amazingly dipped in candy melts.
How To Make Candy Melts Smooth
Equipment
- Small saucepan or microwave-safe bowl
- Parchment paper
- Baking sheet
Ingredients
- One bag of candy melts
- 1-2 teaspoons of vegetable shortening or oil melts such as EZ Melts or Paramount Crystals
Instructions
- Melt Your Candy Melts - In a saucepan over low-medium heat, melt your candy melts, stirring occasionally. You can also melt them in a microwave-safe bowl, microwaving in 3o second intervals, stirring after each interval, until melted.
- Add the Thining Agent - Add in the vegetable shortening or oil flakes to your candy melts. Start by adding one teaspoon in and then thoroughly mix it together. If the candy melts are still not thin enough, add in another teaspoon of the thinning agent and stir until combined. This will make your candy melts smooth and easy to work with.
- Dip Your Snacks - Dip your snacks into the candy melts. Carefully dip them into the melts and swirl them to make sure they are fully coated. Gently tap them on the side of the bowl to remove any excess candy.
- You may need to microwave your melts again if they start to harden or keep them in a saucepan on low heat. In addition, you can keep the candy melts in a melting pot. Place your candy-covered snacks onto a baking tray lined with parchment paper */and allow them to fully dry before eating.
Notes
How to Make Teal Colored Candy Melts?
Nowadays, Wilton has a huge selection of colored candy melts; one of their premade colors being teal. However, if you only have white and you need to make your teal color, that’s no problem. All you need to do is the first color the candy melts blue. Once you’ve achieved that, start adding a small amount of green and mixing thoroughly before adding more. Keep adding green food coloring until you’ve reached the teal color that you’re looking for.
What Can Be Used Instead of Candy Melts?
If you’re looking to use an ingredient other than candy melts to coat your cake pops or liven up your dessert, there are plenty of other alternatives. You could try one of the following:
- caramel sauce
- fudge sauce
- white chocolate
- chocolate chips
- baking chocolate
- frosting
- marshmallows
- yogurt
It’s worth mentioning that while there are plenty of alternatives, I’ve found that apart from white chocolate, it’s very difficult to achieve the same smooth and easy-to-work-with texture you get when using candy melts.
How Long Will Candy Melts Last?
Like all food products, candy melts can go bad and have a best-before date. Wilton suggests that if unopened, their bags of candy melts will last anywhere up to 18 months when stored correctly. However, the longer they’re kept unused, the more difficult it may be when it comes round to melt them. If you open a bag of candy melts and have some leftovers, as long as you wrap them in an airtight container, they’ll usually last anywhere from 3-6 months. But again, they will become more difficult to melt over time.
What Temperature Does Candy Melt?
When it comes to melting candy, you may be wondering what the melting temperature is. Typically, it melts between 85-90 degrees Fahrenheit. However, for best results, you should be between 104-113 degrees Fahrenheit.
What Can I Mix With Candy Melts?
You can mix ingredients such as food colorings or flavorings into your candy melts. If you choose to do this be sure you’re using oil-based products so that the chocolate doesn’t seize and become unusable. You can also add foods such as shortening or cocoa butter. These ingredients can help to thin your candy melts and make them extra smooth.
What is the Best Brand of Candy Melts?
When it comes to the best brand of candy melts, I personally don’t think you can go wrong with Wilton. They’re a much-loved, trusted brand. As well as that, their products are always second to none and come in a huge selection of sizes, colors – and even flavors. However, if you’re looking for a brand other than Wilton, the Deco Melts from FunCakes is also a good option. They’re constantly releasing new flavors and colors to their ever-expanding range.
How Do You Store Melted Candy Melts?
It can be tricky to melt the exact amount of candy melts you need. If you have any leftovers from your baking, do not throw them away as they can be easily reused! All you need to do is leave the leftovers to cool down. Once cool, place in either an airtight container or bag. Now store your candy in the same way you usually would. A cool, dry place is best. When doing this, the shelf life of your candy melts will be significantly less than that of unopened candy melts.
Smooth and Delicious Candy Melts for Dipping Treats
Dealing with thick, lumpy candy melts when dipping your favorite treats is annoying. Not only does it make it harder to work with, but it leaves your dipped desserts with an unsmooth surface. Fortunately, there are ways to prevent this from happening.
Adding shortening or oil flakes to candy melts gives them a smooth consistency that is great for dipping all sorts of snacks. The smooth finish looks professional, which is great for parties and celebrations.
Did you enjoy this article on how to make candy melts smooth? If so, please share this article with your family and friends.

Ever since she was a young girl, Anna has been a lover of desserts. As an adult, she enjoys
baking a variety of desserts from cakes, cookies, brownies, bread, and more from scratch. She
enjoys sharing her passion for baking with others who also have a sweet tooth. From properly
measuring ingredients to making sure they are the correct temperature, Anna knows the
importance small details can make in baking. She wants to share her experience with others in
hopes they can make the most delicious baked goods. When she’s not busy blogging, Anna
enjoys trying new recipes in the kitchen.


