Last Updated on January 6, 2023
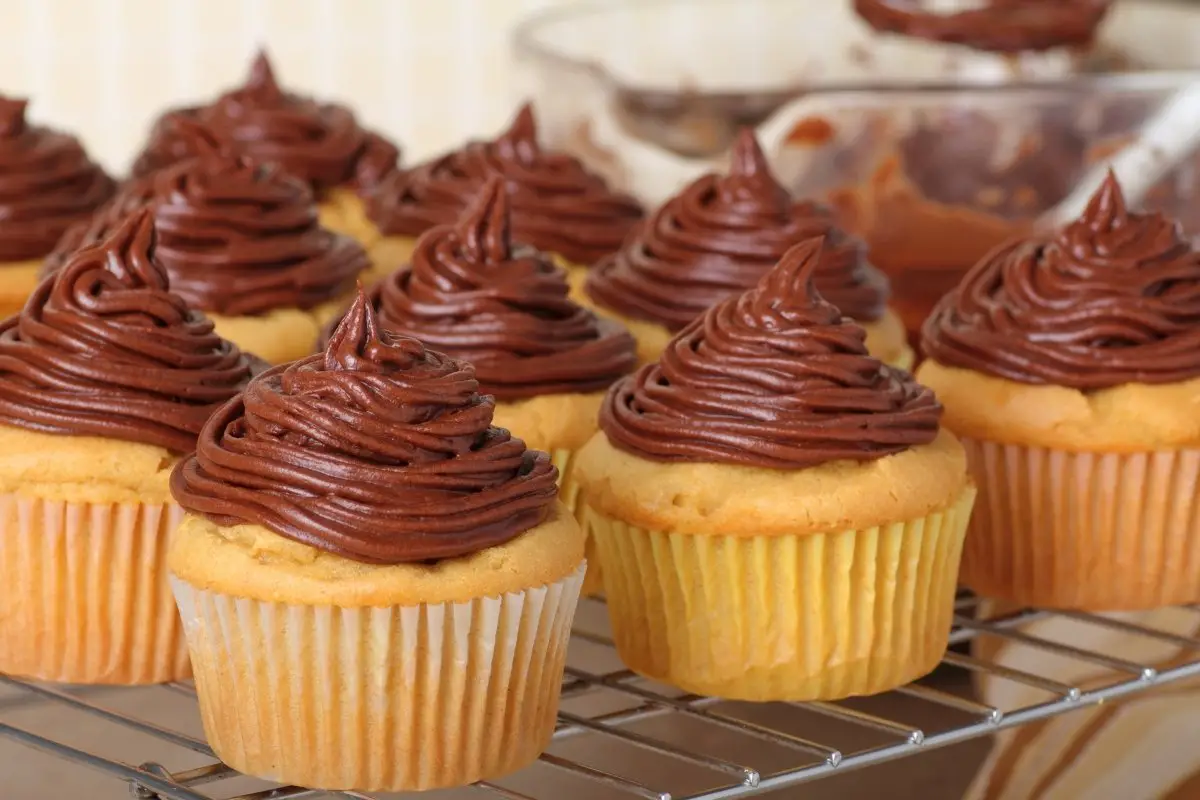
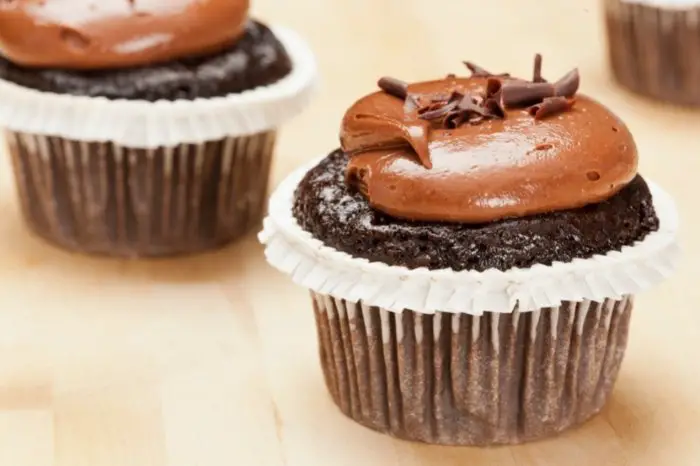
Do you want a chocolate frosting with shortening that is great for filling and frosting your cakes and cupcakes? It’s truly light and fluffy. Not only that but also packed with the greatness of chocolate. Likewise, it is easy to handle, so you can easily decorate and frost.
Essentially, this chocolate has vegetable shortening, making the frosting more fluffy and heat resistant than the frosting based on butter. Because of that, it is indeed perfect for warmer days like summer. In addition to that, you can make frostings that do not contain butter and depend completely on shortening. Unfortunately, though, if you are allergic to dairy, then this recipe is perfect for you.
Also, people who live in hot or humid climates prefer adding shortening but risk losing the butter. Likewise, they will have to rely on the extracts to make up for the flavor lost. It usually occurs when it leaves out the butter. Furthermore, shortening is dairy-free, so you can make frosting with shortening if you are allergic to dairy. Likewise, shortening is firm when placed at room temperature compared to butter which softens when left at room temperature.
Moreover, shortening is heat-proof but not heat-resistant. So bear in mind that it will melt if left in a very warm place. Likewise, if under the sun for some time.
When it comes to mini cupcakes, make sure to use a mini muffin tin. With that, lessen the cooking time to twelve to fifteen minutes. Because of this, it will produce twenty-four mini cupcakes. Moreover, utilize any frosting that you prefer. With that, you can try strawberry frosting, chocolate frosting, or vanilla frosting. Likewise, you can leave it without any frosting if you want to.
What You Will Need
Ingredients for Chocolate Frosting With Shortening
- 8 tbsp of cocoa powder
- 8 tbsp of vegetable shortening (I prefer Crisco)
- 1 tsp of vanilla
- 1/2 teaspoon of salt
- 8 tbsp of coffee (you can also use water or non-dairy milk)
- 4 cups of powdered sugar
Equipment
- Mixing bowls
- Measuring cups
- Measuring spoons
- Electric mixer
- Rubber spatula
Measuring Cups: U-Taste 18/8 Stainless Steel Measuring Cups and Spoons Set of 10 Piece
Step-by-Step Instructions
Step 1
Before anything else, make sure to prepare a mixing bowl. Then, add the cocoa powder.
Step 2
After that, pour the hot coffee over the cocoa powder. Afterward, allow it to sit for about a minute.
Step 3
Then, add the vegetable shortening, vanilla, and salt to the cocoa.
Step 4
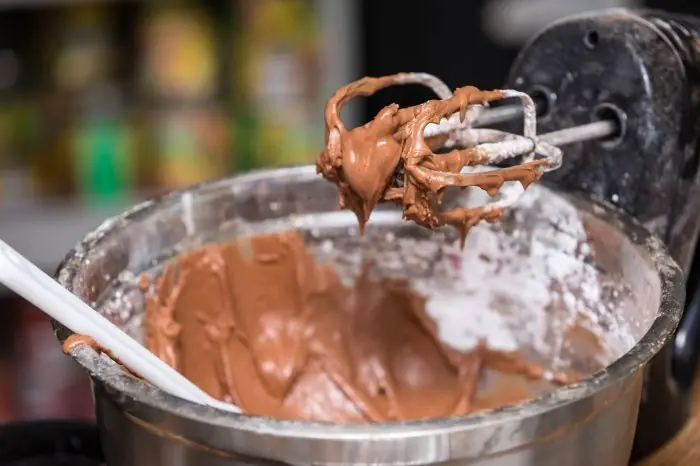
Afterward, use an electric mixer and set it at a low speed and blend.
Step 5
After that, gradually add the powdered sugar while still mixing at a low speed until everything combines well.
Step 6
Next, when you observe that the powdered sugar incorporates completely into the mixture, set your electric mixer to high speed. Then, mix the frosting mixture for about one to two minutes. Then, likewise, mix it until the frosting mixture becomes light and fluffy.
Step 7
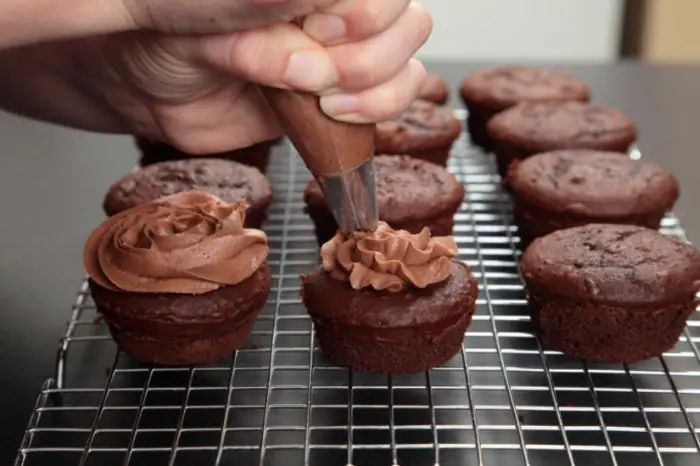
Lastly, frost your cupcakes using the mixture and enjoy.
Bonus Recipe For Chocolate Frosting With Shortening
Ingredients
- 2 cups of all-purpose flour
- 1/2 cup of cocoa powder
- 2 tsp of baking powder
- 1/4 teaspoon of salt
- 1 cup of maple syrup
- 3/4 cup of coconut milk
- 1/2 cup of canola oil
- 3 ounces of melted dark dairy-free chocolate
- 2 tbsp of dairy-free soy yogurt
- 1 tsp of vanilla extract
Equipment
- Mixing bowls
- Measuring cups
- Measuring spoons
- Rubber spatula
- Whisk
- Cupcake liners
- Cupcake or muffin pans
- Cooling rack or wire rack
- Sieve
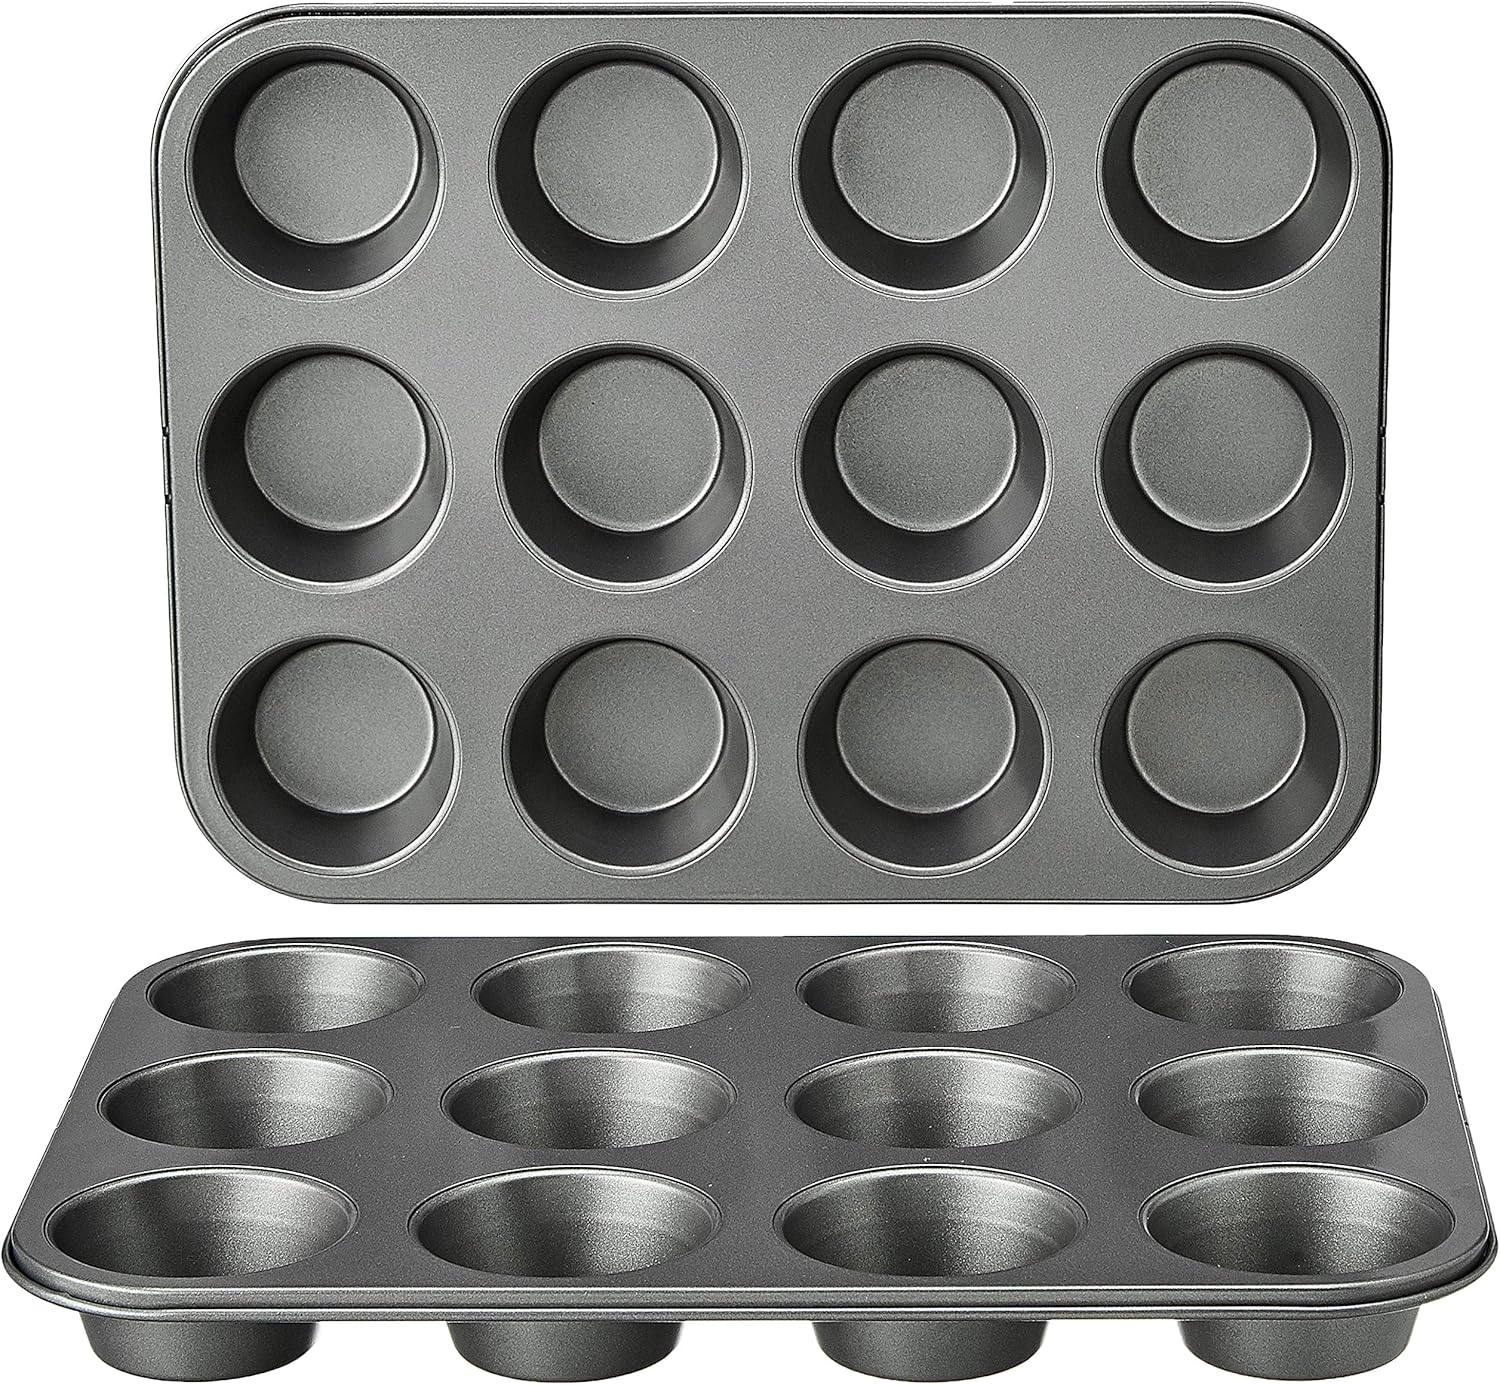
Amazon Basics Nonstick Muffin Baking Pan, 12 cups – Set of 2
Step-by-Step Instructions
Step 1
First and foremost, ensure to preheat your oven to 350 degrees Fahrenheit.
Step 2
Afterward, line your cupcake pans with cupcake liners (about 14 cups).
Step 3
Then, sift together the flour, cocoa powder, baking powder, and salt in a medium-sized mixing bowl.
Step 4
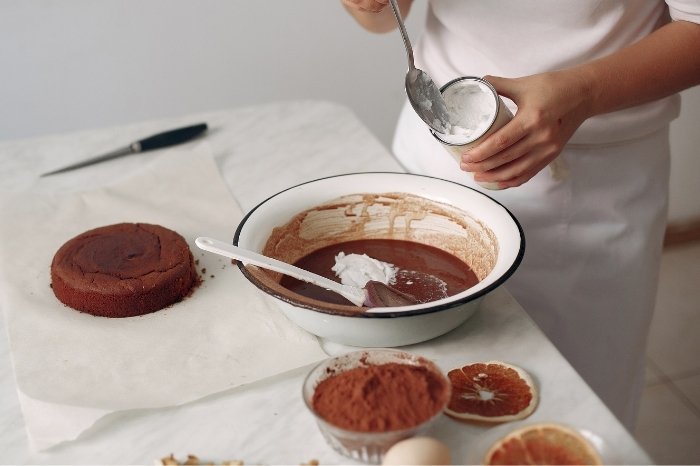
After that, use a small mixing bowl. Then, combine the maple syrup, coconut milk, canola oil, melted dark chocolate, yogurt, and vanilla extract.
Step 5
Next, add the mixture with maple syrup to the dry ingredients (flour mixture) and whisk until combined.
Step 6
Afterward, pour the cupcake batter onto the cups, filling each cup with approximately two-thirds to three-quarters.
Step 7
Then, place the cupcake pans and bake for about twenty minutes or until it cooks through.
Step 8
When the cupcakes cook through, take them out of the oven. Then, make sure to allow them to cool completely on a wire rack. After that, make sure to take each cupcake. Afterward, line them in the wire rack to allow them to cool faster.
Step 9
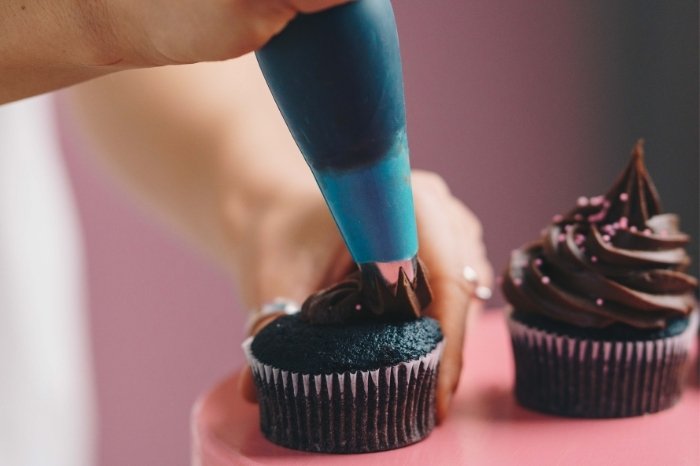
Finally, set the cupcakes aside for frosting.
How to Make Buttercream Frosting Without Shortening?
When it comes to buttercream frosting, shortening is the most common ingredient to use. This is for many reasons. It’s typically more heat resistant, it’s easy to work with, it doesn’t usually contain dairy and it’s affordable. However, there are many reasons why you may want to use other ingredients for your buttercream frosting. Let’s take a look at a few of the best ways to make buttercream frosting without using any shortening at all.
Buttercream Frosting With Butter
The first recipe is a buttercream frosting with butter. While shortening isn’t used, it’s still just as delicious. For this recipe, you’ll need:
- 1 cup of softened unsalted butter
- 3-4 cups of sifted powdered sugar
- 1/4 teaspoon of salt
- 1 tablespoon of vanilla extract
- around 4 tablespoons of heavy cream
Now all you need to do is:
- Add the butter to a bowl, and using a stand mixer, beat the butter on medium speed for a few minutes. The butter should be smooth and fluffy.
- Now gradually add around 3 cups of powdered sugar and ensure you do this on the lowest speed. Keep mixing as you go, the more you mix, the smoother it will become.
- Now add the vanilla, salt, and cream and beat for a few minutes until light and fluffy in texture.
- Add more sugar if it seems too thin and add more cream if it seems too thick.
Dairy Frosting
The next recipe doesn’t use any kind of butter or shortening at all. However, it is still a dairy frosting, so if you’re lactose intolerant, it may be best to avoid this option. For this particular frosting, you’ll need:
- 2 cups of powdered sugar
- 2 oz of cream cheese
- 2 tablespoons of cream
- 1 teaspoon of vanilla extract
- 1/2 teaspoon of salt
Now all you need to do is:
- Sift your powdered sugar before you begin.
- Then, grab a bowl and add the sifted powdered sugar, heavy cream, vanilla extract, and salt.
- Mix the ingredients together with a standing/hand mixer for the best results.
- Once you’ve reached the consistency you require, add to a piping bag and frost away.
Dairy Free Frosting
If you’re following a vegan diet, or you’re lactose intolerant, you may be looking for a dairy-free frosting. While shortening is dairy-free, there are other alternatives. For this recipe, you’ll need:
- 4 cups of powdered sugar
- 1/3 cup of dairy-free milk
- 1 teaspoon of vanilla extract
- 1/2 teaspoon of salt
Now all you need to do is:
- Grab a bowl and add the powdered sugar, dairy-free milk, vanilla extract, and salt.
- Mix with a standing/hand mixer.
- Keep mixing until you reach the consistency you’re looking for.
- If it’s too thick, add more dairy-free milk, and if it’s too thin, add a small amount of powdered sugar.
The substitutes for shortening do not stop there. Besides butter, cream, and dairy-free milk, you could also try ingredients like sour cream, cream cheese, margarine, mascarpone, or lard. The truth is if it’s creamy – you can more than likely use it for your frosting instead of shortening!
Tips and Tricks For Chocolate Shortening Frosting
First of all, to deepen the flavor of the cocoa powder, you will need it to blossom. In addition to that, you will need to utilize a hot liquid. After that, pour it over the cocoa powder to achieve this. Not only that, but it also allows the liquid to sit in the cocoa powder. Make sure to do that for about one to two minutes to allow the flavor to develop. Moreover, black coffee can enhance the richness of the chocolate.
Likewise, if you have leftover frosting, you can place it in an airtight or sealed container. After that, place it inside the refrigerator. Because of that, it will last for up to three months. Also, before using the leftover frosting from the refrigerator or chiller, allow it to reach room temperature.
Additionally, if you want to freeze them, place the cupcakes in a ziplock bag. And it can last up to approximately six months. Then, when it is time to thaw, microwave for about twenty to thirty seconds. In addition to that, you can thaw it overnight in the refrigerator. Because of this, it is best to eat cupcakes when at room temperature. However, keep in mind that freezing tips are appropriate for unfrosted cupcakes. That is why if you frost the cupcakes, then it is not best to freeze them.
Additionally, do not overbake the cupcakes. Because you have to consider that they cook as they cool down. Keep in mind that cupcakes are ready when you use the toothpick test. Or when you lightly press on the tops, and they spring back.
Chocolate Frosting With Shortening
Equipment
- Mixing bowls
- Measuring cups
- Measuring Spoons
- Cupcake liners
- Cupcake or muffin pans
- Cooling rack or wire rack
- Sieve
Ingredients
For Chocolate Frosting With Crisco
- 8 tbsp of cocoa powder
- 8 tbsp of vegetable shortening I prefer Crisco
- 1 tsp of vanilla
- 1/2 teaspoon of salt
- 8 tbsp of coffee you can also use water or non-dairy milk
- 4 cups of powdered sugar
For Bonus Chocolate Frosting With Shortening
- 2 cups of all-purpose flour
- 1/2 cup of cocoa powder
- 2 tsp of baking powder
- 1/4 teaspoon of salt
- 1 cup of maple syrup
- 3/4 cup of coconut milk
- 1/2 cup of canola oil
- 3 ounces of melted dark dairy-free chocolate
- 2 tbsp of dairy-free soy yogurt
- 1 tsp of vanilla extract
Instructions
For Chocolate Frosting With Crisco
- Before anything else, make sure to prepare a mixing bowl. Then, add the cocoa powder.
- After that, pour the hot coffee over the cocoa powder. Afterward, allow it to sit for about a minute.
- Then, add the vegetable shortening, vanilla, and salt to the cocoa.
- Afterward, use an electric mixer and set it at a low speed and blend.
- After that, gradually add the powdered sugar while still mixing at a low speed until everything combines well.
- Next, when you observe that the powdered sugar incorporates completely into the mixture, set your electric mixer to high speed. Then, mix the frosting mixture for about one to two minutes. Then, likewise, mix it until the frosting mixture becomes light and fluffy.
- Lastly, frost your cupcakes using the mixture and enjoy.
For Bonus Chocolate Frosting With Shortening
- First and foremost, ensure to preheat your oven to 350 degrees Fahrenheit.
- Afterward, line your cupcake pans with cupcake liners (about 14 cups).
- Then, sift together the flour, cocoa powder, baking powder, and salt in a medium-sized mixing bowl.
- After that, use a small mixing bowl. Then, combine the maple syrup, coconut milk, canola oil, melted dark chocolate, yogurt, and vanilla extract.
- Next, add the mixture with maple syrup into the dry ingredients (flour mixture) and whisk until combined.
- Afterward, pour the cupcake batter onto the cups, filling each cup approximately two-thirds to three-quarters.
- Then, place the cupcake pans and bake for about twenty minutes or until it cooks through.
- When the cupcakes cook through, take them out of the oven. Then, make sure to allow them to cool completely on a wire rack. After that, make sure to take each cupcake. Afterward, line them in the wire rack to allow them to cool faster.
- Finally, set the cupcakes aside for frosting.
Notes

Zarah is an experienced pastry chef whose creations have delighted countless customers. With a passion for baking, Zarah has developed a unique style that combines classic techniques with modern flavors. Her desserts are consistently crafted with the finest ingredients, and her attention to detail is evident in the stunning and delectable results. Zarah has a wealth of experience in the pastry kitchen, and loves to share her knowledge with others. Whether it is teaching a class or creating a custom cake for a special occasion, Zarah is committed to making sure every customer is satisfied.

