Last Updated on January 6, 2023
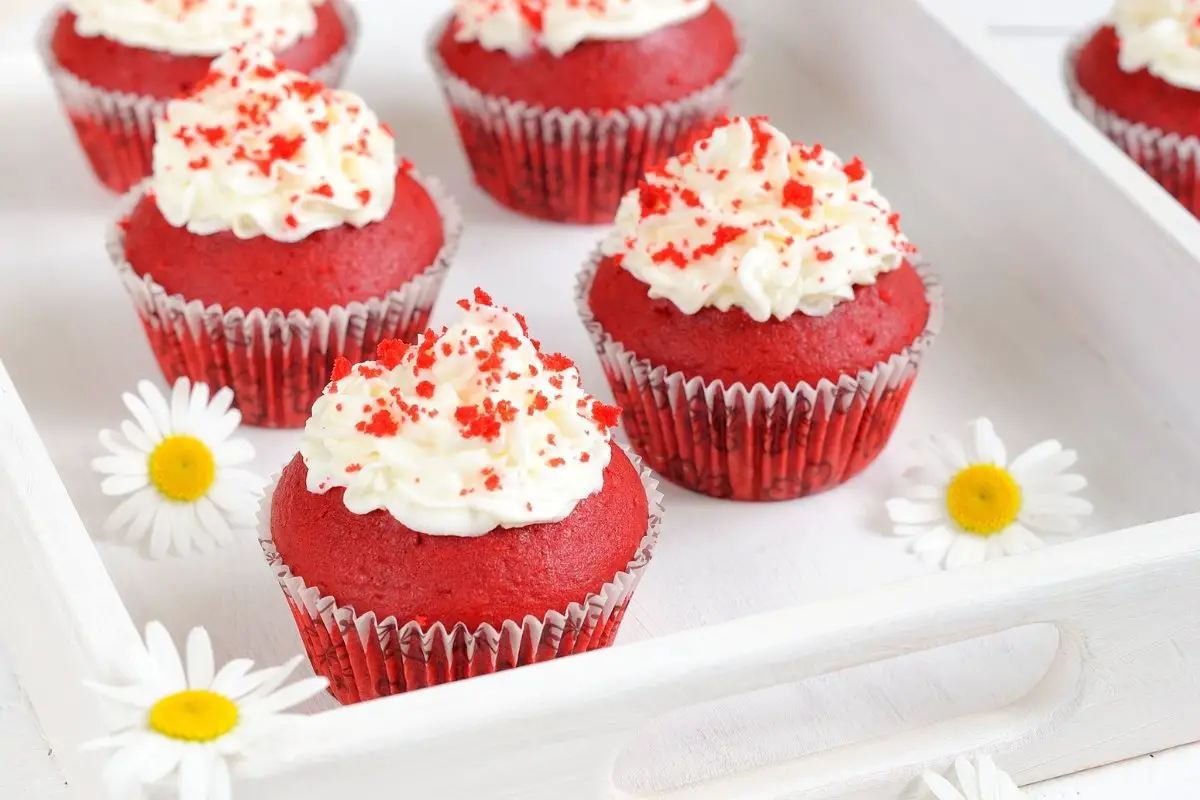
Do you want to make the best cream cheese and cool whip frosting that is super easy? And perfect for your delicious red velvet cupcakes? Then this recipe is for you. So what are you waiting for? Make this anytime and serve for any occasion like birthdays, baby showers, winter picnics, valentines, or holidays.
What You Will Need
Ingredients For The Cream Cheese And Cool Whip Frosting
- 8 ounces of softened cream cheese
- 16 ounces of cool whip frosting or whipped topping
- 1/2 cup of powdered sugar
- 1/2 teaspoon of vanilla extract
- 3.5 ounces or one pack of instant vanilla pudding mix
For The Red Velvet Cupcakes
- 1 1/2 cups of sugar
- 1/2 cup (1 stick) butter kept at room temperature
- 2pcs of large eggs kept at room temperature
- 1 tsp of distilled white vinegar
- 2 1/3 cups of cake flour
- 1 tsp of vanilla extract
- 2 tbsp of Dutch-processed cocoa powder
- 1 tsp of baking soda
- 1 tsp of baking powder
- 1/2 teaspoon of salt
- 1 cup of buttermilk
- 1 1/2 tablespoons red food coloring
Equipment
- Mixing bowls
- Measuring cups
- Measuring spoons
- Rubber spatula
- Electric Mixer
- Piping bags
- Piping tip (closed or open star)
- Sprinkles (optional)
- Cupcake pans/muffin pans
- Cupcake liners
- Sieve
- Cooling wire rack
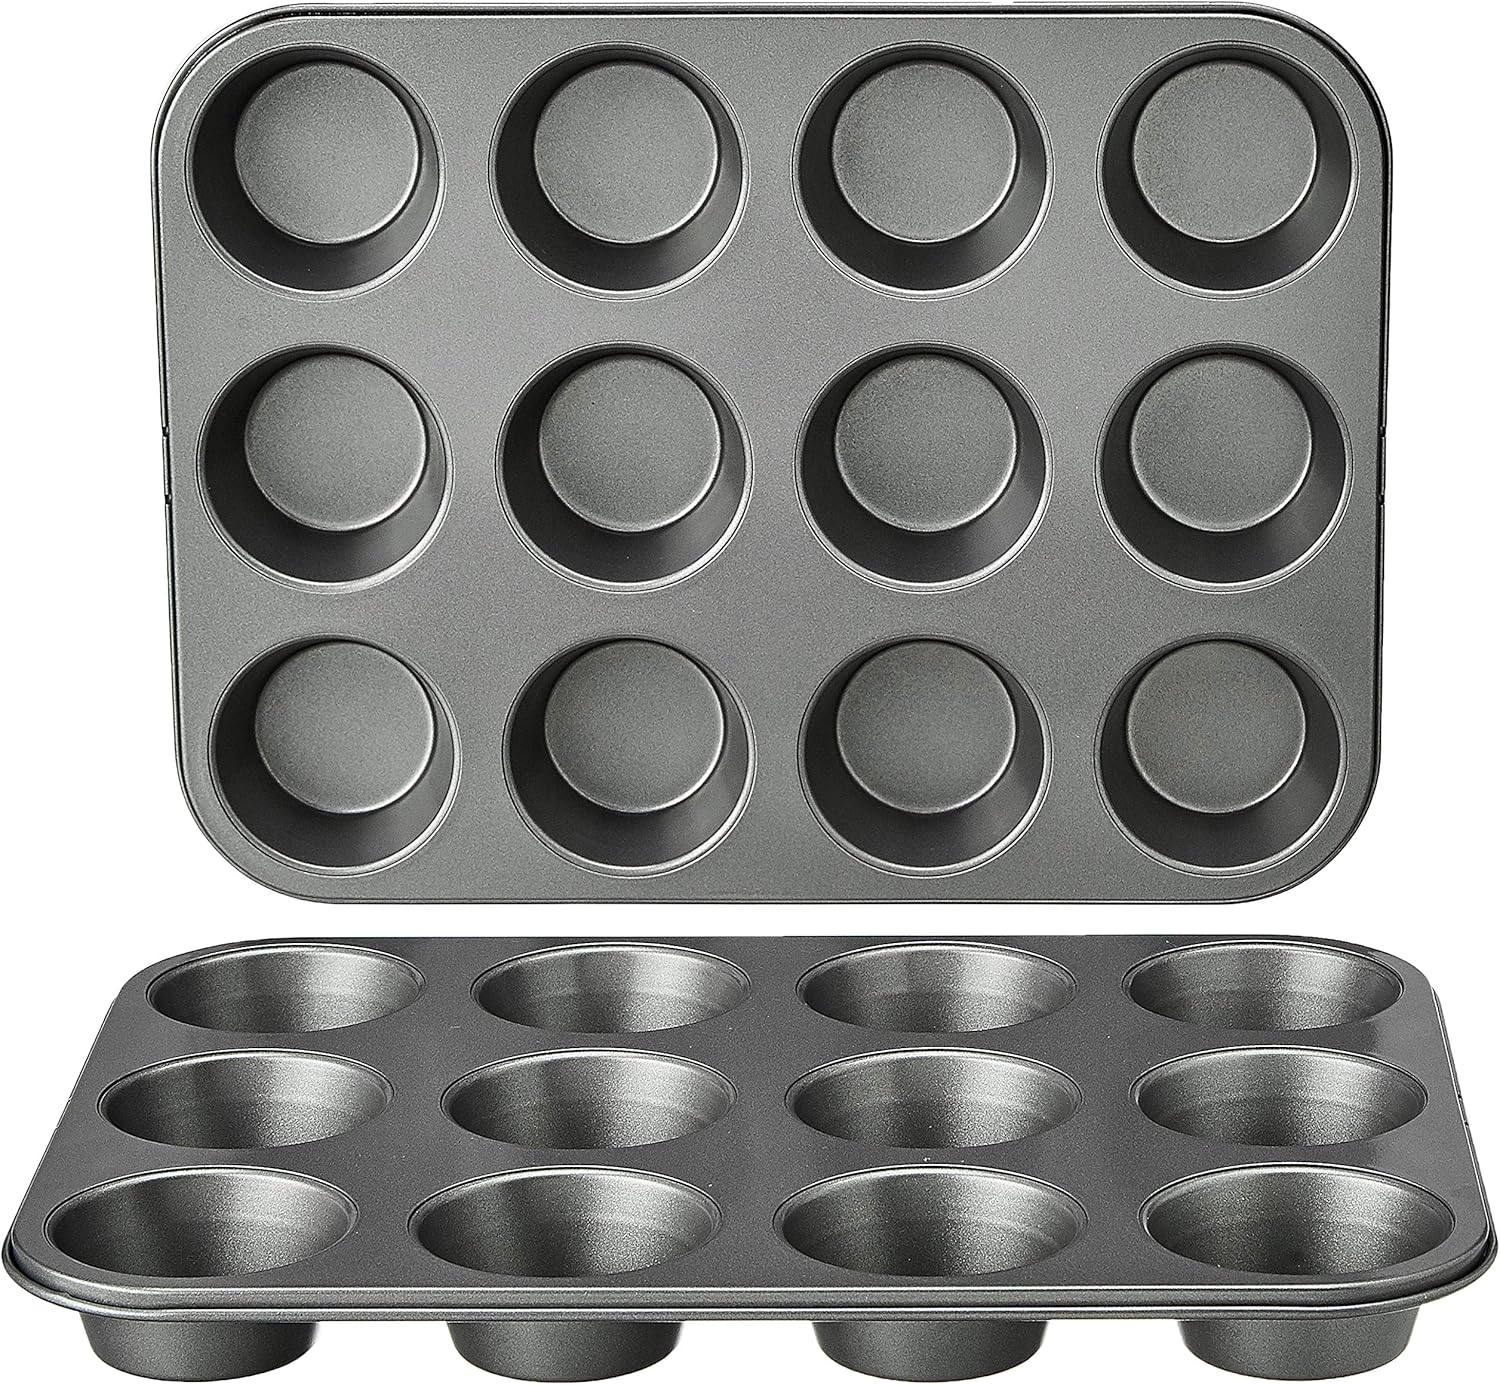
Amazon Basics Nonstick Muffin Baking Pan, 12 cups – Set of 2
Step-by-Step Instructions
For The Red Velvet Cupcakes
Step 1
Before anything else, preheat your oven. And then make sure to set it to 350 degrees Fahrenheit.
Step 2
Afterward, line your cupcake pans or muffin pans with cupcake liners. Then, set it aside.
Step 3
To make your cupcake batter, start by creaming the butter using an electric mixer for two to three minutes. Do this till the butter becomes lighter in color.
Step 4
After that, gradually add the sugar to the butter. Make sure to beat at a medium speed. Ensure to do it until the mixture becomes light and fluffy.
Step 5
Afterward, place the eggs one at a time. With that, make sure to beat after each addition of the egg to incorporate it fully. Then, scrape down the bowl’s sides using a rubber spatula to mix evenly.
Step 6
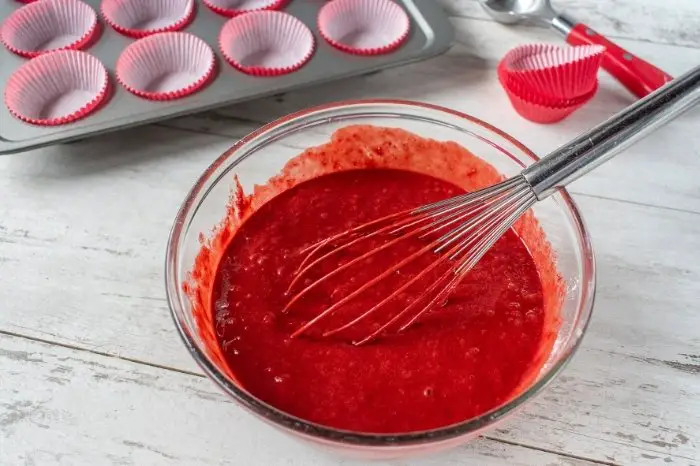
Using a large mixing bowl, sift the cake flour, cocoa powder, baking soda, baking powder, and salt together. Likewise, prepare another mixing bowl. And whisk together the wet ingredients like; buttermilk, vinegar, vanilla extract, and red food coloring.
Step 7
Then, make sure to add one-third of the dry ingredients to a big mixing bowl. Mix it with half of the wet mixture and combine. Next, gradually add the other one-third of the dry mixture and combine. Then, add the other half of the wet mixture to the bowl and mix. Make sure not to over-mix. Just mix until the mixture barely combines. After that, add the remaining one-third of the dry mixture and combine all the ingredients.
Step 8
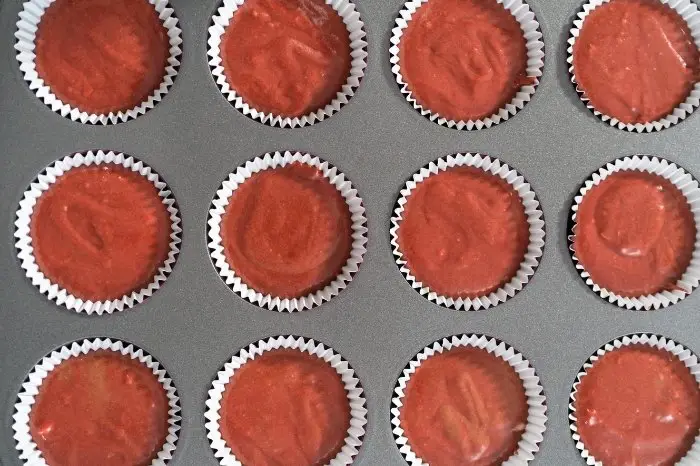
Next, divide the cupcake batter into each cupcake liner. Ensure to scoop it and fill each cupcake liner about 3/4 way full.
Step 9
Then, bake the cupcakes for about 18 to 25 minutes. Or until the cupcakes cook thoroughly. With that, you can check by using the toothpick method or by pressing.
Step 10
Once the cupcakes cook entirely, allow the cupcakes in the cupcake pan to cool over the counter for 2 minutes. Next, transfer each cupcake to a cooling wire rack. And let them cool completely. Finally, set aside for the frosting.
For Cream Cheese Frosting With Cool Whip
Step 1
Prepare a large mixing bowl. Then, make sure to put the softened cream cheese together with the cool whip. And mix using an electric mixer.
Step 2
After that, combine the ingredients. Afterward, add the sugar, vanilla, and pudding mix. Because of this, make sure to mix all the ingredients until well combined.
Step 3
Scrape the sides of the bowl. And place the cream cheese and cool whip frosting inside a piping bag. With this, you can use an open star or closed star piping tip. Then, set aside.
Cupcake Assembly
Step 1
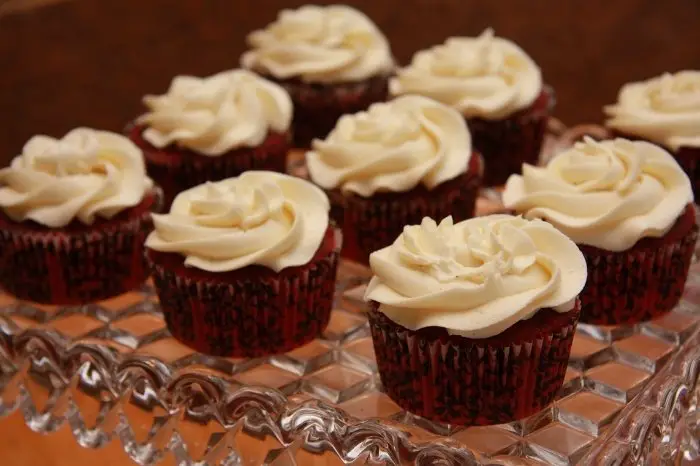
Take your cupcakes and make sure that it cools completely. Then, pipe each red velvet cupcake with your cream cheese and cool whip frosting. With that, ensure to use an open star tip or closed star tip.
Step 2
When done with frosting the cupcakes, you can add sprinkles on top if desired. Serve and enjoy! You can also store it in the refrigerator or chiller for later.
How to Make Whipped Cream Cheese Frosting Thicker?
If you’re looking for a quick way to make your whipped cream cheese frosting thicker, all you need to do is add a tablespoon of cornstarch into your frosting and mix well. If this isn’t enough, you can keep adding more until you’ve reached a consistency that you’re happy with. However, it’s important not to add more than around 1/2 cup of cornstarch as this is likely to ruin your frosting entirely.
To make the tastiest whipped cream cheese frosting, all you’ll need is:
- 1 cup of cream cheese
- 1 cup of powdered sugar
- 1 teaspoon of vanilla extract
- 2 1/2 cups of heavy whipping cream
Now all you need to do is:
- Chill your mixing bowl before you begin and then add your cream cheese to the bowl and mix until smooth.
- Now gradually add your powdered sugar slowly and mix for around one minute.
- Once fully mixed, add your vanilla and turn the speed to high.
- Now slowly add your heavy whipping cream, mixing as you go.
- Once your frosting reaches soft peaks, it’s ready to use.
- Use immediately, or place in an airtight container in the fridge for around 3 days.
How Do You Make Frosting With Heavy Whipping Cream Without Cream Cheese?
It’s super easy to make whipped cream frosting without cream cheese, all you’ll need is:
- 2 cups of heavy whipping cream
- 1 cup of powdered sugar
- 1 teaspoon of vanilla extract
Now all you need to do is:
- Grab a bowl and add the heavy whipping cream.
- Beat the cream until soft peaks begin to form.
- At this point, gradually add the powdered sugar and the vanilla extract.
Once stiff peaks form, your whipped cream frosting is ready!
Can Cream Cheese Frosting Be Baked?
Unfortunately, cream cheese frosting can not be baked. Once cream cheese frosting gets too warm, it’ll simply melt and become incredibly runny. It’s not like normal cream cheese that can be used in a range of cooking recipes with ease; cream cheese frosting will melt and spoil whatever it is you’re trying to bake.
How to Turn Cream Cheese Frosting Into Cheesecake?
If you have any cream cheese frosting left over, you can easily turn it into a cheesecake filling. All you need to do is:
- Add the cream cheese frosting to a bowl, along with 1/2 cup of sour cream and 1/4 teaspoon of salt.
- Then all you need to do is beat the mixture until completely smooth and then add it to your cheesecake.
You can either use the cheesecake filling immediately or store it in an airtight container in the fridge for up to 48 hours.
How Long Does Cream Cheese Frosting Last at Room Temperature?
Cream cheese frosting doesn’t last very long at room temperature. This is because it contains perishable ingredients and therefore needs to be refrigerated. The FDA recommends that cream cheese frosting doesn’t sit out at room temperature for more than two hours. However, some bakers claim that as long as it’s cool, cream cheese frosting will be okay for anywhere up to 8 hours. Personally, I would never leave any frosting containing dairy products out for more than two hours; for me, it simply isn’t worth the risk.
Tips and Tricks For Cool-Whipped Frosting And Red Velvet Cupcakes
You can store frosted cupcakes at room temperature. However, if the place is warmer than 21 degrees Celsius, you have to store them inside the refrigerator. Doing this avoids the frosting from melting.
Moreover, you can store unfrosted red velvet cupcakes in a sealed container at room temperature. You can also store the cupcakes inside the freezer. To store inside the freezer, wrap the cupcakes individually. And place them in a container.
Also, you can keep the cream cheese and cool whip frosting in the fridge. And it can last a week. If you freeze the frosting, it can last up to 2 months. Suppose you are planning to use the frosting from the freezer. Make sure to allow the frosting to reach room temperature before using it to frost your cupcakes.
Moreover, you can substitute the dutch processed cocoa with a natural cocoa powder for the red velvet cupcake recipe.
For this recipe, you can substitute the cake flour with all-purpose flour. However, the cupcakes will not be as soft and light.
In addition to that, if buttermilk is unavailable, you can always make your own. Because of that, add a tablespoon of distilled white vinegar to a cup of milk. And ensure to let it sit for ten minutes.
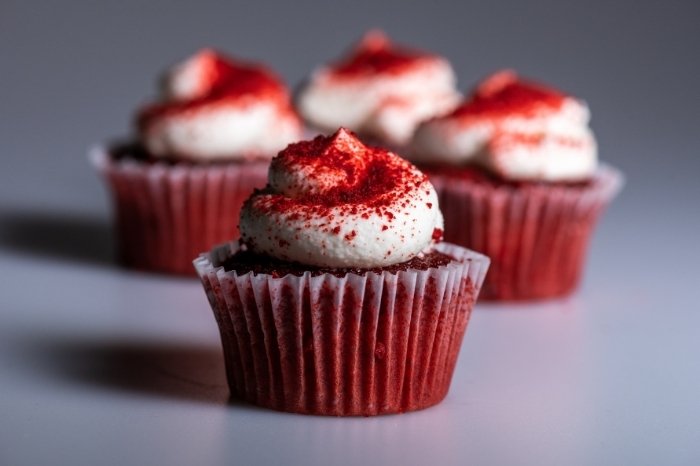
Furthermore, you can use red gel food coloring. But use less than 1 1/2 tablespoons in the recipe. Then, add the gel food coloring to the buttermilk mixture. Do this until you can achieve the red color you desire.
Best Cream Cheese And Cool Whip Frosting
Equipment
- Mixing bowls
- Measuring cups
- Measuring Spoons
- Piping bags
- Piping tip (closed or open star)
- Sprinkles (optional)
- Cupcake pans/muffin pans
- Cupcake liners
- Sieve
- Cooling wire rack
Ingredients
For The Cream Cheese And Cool Whip Frosting
- 8 ounces of softened cream cheese
- 16 ounces of cool whip frosting or whipped topping
- 1/2 cup of powdered sugar
- 1/2 teaspoon of vanilla extract
- 3.5 ounces or one pack of instant vanilla pudding mix
For The Red Velvet Cupcakes
- 1 1/2 cups of sugar
- 1/2 cup 1 stick butter kept at room temperature
- 2 pcs of large eggs kept at room temperature
- 1 tsp of distilled white vinegar
- 2 1/3 cups of cake flour
- 1 tsp of vanilla extract
- 2 tbsp of Dutch-processed cocoa powder
- 1 tsp of baking soda
- 1 tsp of baking powder
- 1/2 teaspoon of salt
- 1 cup of buttermilk
- 1 1/2 tablespoons red food coloring
Instructions
For The Red Velvet Cupcakes
- Before anything else, preheat your oven. And then make sure to set it to 350 degrees Fahrenheit.
- Afterward, line your cupcake pans or muffin pans with cupcake liners. Then, set it aside.
- To make your cupcake batter, start with creaming the butter using an electric mixer for two to three minutes. Do this till the butter becomes lighter in color.
- After that, gradually add the sugar to the butter. Make sure to beat at a medium speed. Ensure to do it until the mixture becomes light and fluffy.
- Afterward, place the eggs one at a time. With that, make sure to beat after each addition of the egg to incorporate fully. Then, scrape down the bowl's sides using a rubber spatula to mix evenly.
- Using a large mixing bowl, sift the cake flour, cocoa powder, baking soda, baking powder, and salt together. Likewise, prepare another mixing bowl. And whisk together the wet ingredients like; buttermilk, vinegar, vanilla extract, and red food coloring.
- Then, make sure to add one-third of the dry ingredients to a big mixing bowl. Mix it with half of the wet mixture and combine. Next, gradually add the other one-third of the dry mixture and combine. Then, add the other half of the wet mixture to the bowl and mix. Make sure not to over mix. Just mix until the mixture barely combines. After that, add the remaining one-third of the dry mixture and combine all the ingredients.
- Next, divide the cupcake batter into each cupcake liner. Ensure to scoop it and fill each cupcake liner about 3/4 way full.
- Then, bake the cupcakes for about 18 to 25 minutes. Or until the cupcakes cook thoroughly. With that, you can check by using the toothpick method or by pressing.
- Once the cupcakes cook entirely, allow the cupcakes in the cupcake pan to cool over the counter for 2 minutes. Next, transfer each cupcake to a cooling wire rack. And let them cool completely. Finally, set aside for the frosting.
For Cream Cheese Frosting With Cool Whip
- Prepare a large mixing bowl. Then, make sure to put the softened cream cheese together with the cool whip. And mix using an electric mixer.
- After that, combine the ingredients. Afterward, add the sugar, vanilla, and pudding mix. Because of this, make sure to mix all the ingredients until well combined.
- Scrape the sides of the bowl. And place the cream cheese and cool whip frosting inside a piping bag. With this, you can use an open star or closed star piping tip. Then, set aside.
Notes

Zarah is an experienced pastry chef whose creations have delighted countless customers. With a passion for baking, Zarah has developed a unique style that combines classic techniques with modern flavors. Her desserts are consistently crafted with the finest ingredients, and her attention to detail is evident in the stunning and delectable results. Zarah has a wealth of experience in the pastry kitchen, and loves to share her knowledge with others. Whether it is teaching a class or creating a custom cake for a special occasion, Zarah is committed to making sure every customer is satisfied.

