
Last Updated on February 12, 2023
The thing that got me into baking was a triple-tiered cake I saw the first time I went to a wedding reception. It had the most gorgeous white decorations and the moment the bride and groom cut it open was so magical. And getting a piece was incredible!
I still remember it was a coconut sponge, filled with strawberry buttercream. It was covered in fondant, though, which is not my favorite. So today I am going to show you how to make a 2 tier cake with buttercream icing. Get ready, cause it is going to be a doozy!
You will need a good 4 hours to make this and should allocate more time if you are planning on doing some decorations. You can always try and divide the time into a couple of days. Maybe bake the sponges and mix the buttercream the day before. Even try crumb-coating them that day and assembling and decorating the next one.
This recipe will yield enough for a double-layer 8-inch tier and one double-layer 6-inch tier.
How to Make a 2-Tier Cake
1. How to Make the Coconut Sponge
Ingredients
- 6 large eggs at room temperature
- 3 cups of granulated sugar
- 4 ½ cups of all-purpose flour
- 6 teaspoons of baking powder
- 3 teaspoons of salt
- 3 sticks of unsalted butter
- 3 cups of coconut milk (canned works great!)
- 3 teaspoons of vanilla extract
- 6 teaspoons of coconut extract
- 3 ¾ cups of sweetened flaked coconut
How to Make 2-Tiered Cake
Step 1
Preheat the oven to 350°F. Afterward, butter and lightly flour the pans you will be using. It would be best to use two (or three if you prefer thinner layers or more space for filling) of each pan size. You could also use cooking spray with flour in it. It is a time saver!

Step 2
Grab the eggs and place them in the stand mixer’s bowl or a large bowl if you are using a hand mixer. Gradually add the granulated sugar while mixing on high. You should mix for at least 5 minutes or until it reaches the ribbon stage (that means that, when taking out the paddle, the mix leaves a trace on top of the rest of the batter).
2 Tiered Cake Toppings
Step 3
Melt the butter in the microwave in 20-second intervals, mixing in between. Let sit for 5 minutes, until it is no longer piping hot, and add the coconut milk and the extracts. Mix well.
Step 4
Add this mixture to the eggs and sugar. Beat for 2 minutes on high speed or until well combined.

Step 5
Sift and combine the dry ingredients in a separate bowl: the flour, baking powder, and salt. Add them to the batter gradually while mixing on medium speed.
2 Tiered Cake Blend
Step 6
Once everything is blended, separate two cups of the mixture into a medium-sized bowl. Combine it with the coconut flakes and then add it to the batter. This is called “liaison” and it will help with achieving an even distribution of coconut flakes throughout the batter.
Step 7
Separate into the pans. To do this, we recommend measuring how much batter you have in total and dividing it into thirds. Two-thirds will go to the 8-inch pans and one-third to the 6-inch pans. If you eyeball it that is fine too!
Step 8
Bake for 35 to 45 minutes. Check to see if they are done by sticking a knife in the center of the cake. If it comes out clean, then you are good to go!
Remember that if you are baking all of them at once, they will take longer to bake. Also, the heat in the oven may not be even, so you should interchange the places of the pans to allow them to cook evenly.
Step 9
Once baked, take them out and let them sit for 10 minutes before un-molding them onto a cooling rack. You should leave them to cool off completely – at least one hour. Preferably, you could place them in the fridge.

Your cakes are done! Now onto the strawberry buttercream.
2. How to Make All-Natural Strawberry Buttercream
Ingredients
- 12 cups of powdered sugar
- 3 cups of salted butter
- 2 cups of strawberries
How to Make It
Step 1
Sift the powdered sugar before starting! Clean and take the stems out of your fresh strawberries. Chop them up as finely as you can and save 1/2 cup for later.
Step 2
Place your chopped strawberries in the food processor and let them go until you have a puree consistency. You will need approximately ¾ cup of puree for this frosting, but that will depend on the weather you live in!
Step 3
In the stand mixer, whip the butter and the sifted powdered sugar together on high until it is fluffy.

Step 4
Gradually add the puree. Be mindful of the consistency and do not add too much, because it can become loose and hard to work with. Also, remember that being an all-butter buttercream it is going to be looser than if you were using shortening.
You can always replace the butter for shortening or use a half-and-half split if you need it to crust and hold its shape better.
Step 5
Once everything is combined, add the ½ cup of chopped strawberries. Fold them in using a spatula.

3. How to Tier the Cake
First of all, remember that you need even layers. If the sponges turned out domed, then you will need to level them out using a serrated knife.
Hopefully, you will not need to cut the layers. But if you do, use toothpicks to mark where you want to cut. Slowly cut them with a serrated knife.
Fill the cakes out separately. Crumb coat the bottom tier and frost the top tier. Remember to always refrigerate in-between steps to help keep them stable.
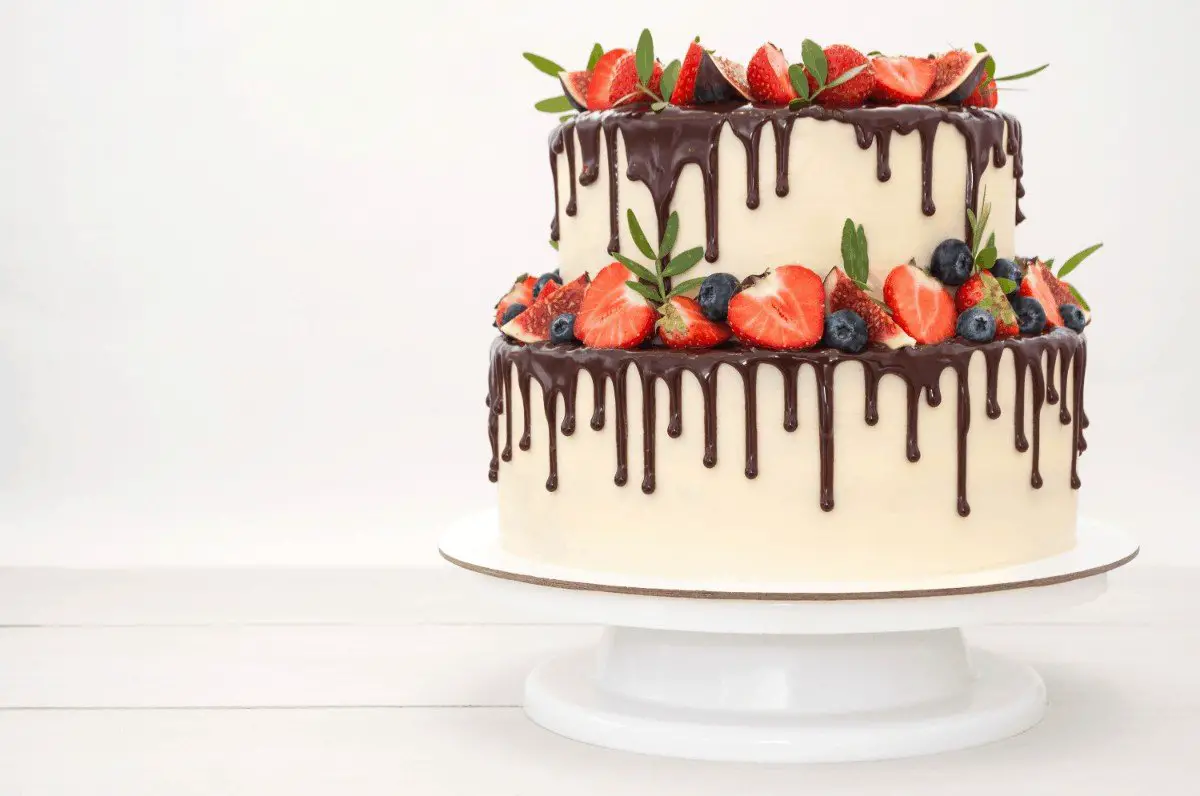
Once you are done, carefully place the top tier on top of the bottom tier. Proceed to cover them in the rest of the buttercream and decorate them with fresh strawberries.
Strawberry Cake Design 2 Layer Recipe
If you’re looking to make a strawberry two-tier layer cake, then look no further. For this recipe, you’ll need the following ingredients:
For the cake:
- 2 3/4 cups of all-purpose flour
- 1/2 cup of cake flour
- 1 cup of whole milk
- 1 cup of softened butter
- 3 large eggs
- 1 large egg white
- 2 cups of granulated sugar
- 1 teaspoon of salt
- 1 tablespoon of baking powder
- 1 1/2 teaspoons of vanilla extract
- 2 cups of finely chopped strawberries
For the frosting:
- 1 cup of softened butter
- 3 cups of confectioners’ sugar
- 1 cup of finely chopped strawberries
- 1/2 teaspoon of pure vanilla extract
- 1-2 drops of pink/red food coloring
Now all you need to do is:
- Gather all of the ingredients you need for this recipe and preheat your oven to 350F. You’ll also need to grease and line two round cake pans.
- Grab a bowl and sift the following ingredients: all-purpose flour, cake flour, salt, and baking powder. In a separate bowl, add the milk and vanilla extract; and mix well.
- In a stand mixer, add the butter and sugar. Cream them together for around 5 minutes. The mixture should be light and pale in color. Individually add the eggs and egg white; mixing and scraping the bowl as you go. Add in food coloring at this point, if desired.
- Alternately add the sifted ingredients and milk to your main bowl of ingredients. Keep stirring until the ingredients are fully combined. And then fold in the strawberries evenly.
- Pour the batter evenly into your two prepared pans and bake in the center of your oven for around 25 minutes. A toothpick in the center should come out clean when fully baked.
- Remove from oven and leave to cool. While you’re waiting for your cakes to cool, you can prepare your frosting.
- For the frosting, add your strawberries to a pan and warm over low heat. Mash them gently and stir often. Remove from heat and sieve the mixture. Leave to cool.
- Add the butter to a stand mixer and cream for a few minutes. Gradually add the confectioners’ sugar, vanilla extract, and food coloring.
- Once the strawberry mixture is cool, add around 1/4 cup of the strawberries to the frosting and beat for around 5 minutes. Stop beating when the frosting is fluffy.
- Use a serrated knife to level out the cakes. Place your first layer onto a stand or plate, and top the cake with a layer of buttercream, and a thin layer of strawberry mixture. Top the cake with your second layer.
- Add the frosting to the top and sides of your cake. Slice, serve, and enjoy!

Two Tier Cake Sizes
When it comes to two-tier cakes, there are a few common sizes. The most common sizes are:
- one 4″ layer and one 6″ layer
- one 6″ layer and one 8″ layer
- one 8″ layer and one 10″ layer
How Many People Does a Two-Tier Cake Feed?
The serving sizes of a two-tier cake depend on which size layers you’re using. Let’s take a closer look at the serving sizes of the most common sizes:
- one 4″ layer and one 6″ layer – around 20 servings
- one 6″ layer and one 8″ layer – around 40 servings
- one 8″ layer and one 10″ layer – around 64 servings
Conclusion
I hope this post has helped you to become more familiar with how to make a 2 tier cake. It may take some practice, but you’ll be making gorgeous layer cakes in no time. Do you have any tips or tricks when it comes to making 2 tier cakes? If so, please feel free to let me know in the comments below. Sharing is caring!
How to Make the Coconut Sponge
Ingredients
Coconut Sponge
- 6 large eggs at room temperature
- 3 cups of granulated sugar
- 4 ½ cups of all-purpose flour
- 6 teaspoons of baking powder
- 3 teaspoons of salt
- 3 sticks of unsalted butter
- 3 cups of coconut milk canned works great!
- 3 teaspoons of vanilla extract
- 6 teaspoons of coconut extract
- 3 ¾ cups of sweetened flaked coconut
All-Natural Strawberry Buttercream
- 12 cups of powdered sugar
- 3 cup of salted butter
- 2 cups of strawberries
Instructions
Coconut Sponge
- Step 1 - Preheat the oven to 350°F. Afterward, butter and lightly flour the pans you will be using. It would be best to use two (or three if you prefer thinner layers or more space for filling) of each pan size. You could also use cooking spray with flour in it. It is a time saver!
- Step 2 - Grab the eggs and place them in the stand mixer’s bowl or a large bowl if you are using a hand mixer. Gradually add the granulated sugar while mixing on high. You should mix for at least 5 minutes or until it reaches the ribbon stage (that means that, when taking out the paddle, the mix leaves a trace on top of the rest of the batter).
- Step 3 - Melt the butter in the microwave in 20-second intervals, mixing in between. Let sit for 5 minutes, until it is no longer piping hot, and add the coconut milk and the extracts. Mix well.
- Step 4 - Add this mixture to the eggs and sugar. Beat for 2 minutes on high speed or until well combined.
- Step 5 - Sift and combine the dry ingredients in a separate bowl: the flour, baking powder and salt. Add them to the batter gradually while mixing on medium speed.
- Step 6 - Once everything is blended together, separate two cups of the mixture into a medium-sized bowl. Combine it with the coconut flakes and then add it to the batter. This is called “liaison” and it will help with achieving an even distribution of coconut flakes throughout the batter.
- Step 7 - Separate into the pans. To do this, we recommend measuring how much batter you have total and dividing it into thirds. Two thirds will go to the 8-inch pans and one third to the 6-inch pans. If you eyeball it that is totally fine too!
- Step 8 - Bake for 35 to 45 minutes. Check to see if they are done by sticking a knife in the center of the cake. If it comes out clean, then you are good to go!
- Remember that if you are baking all of them at once, they will take longer to bake. Also, the heat in the oven may not be even, so you should interchange the places of the pans to allow them to cook evenly.
- Step 9 - Once baked, take them out and let them sit for 10 minutes before un-molding them onto a cooling rack. You should leave them to cool off completely – at least one hour. Preferably, you could place them in the fridge.
- Your cakes are done! Now onto the strawberry buttercream.
All-Natural Strawberry Buttercream
- Step 1 - Sift the powdered sugar before starting! Clean and take the stems out of your fresh strawberries. Chop them up as finely as you can and save 1/2 cup for later.
- Step 2 - Place your chopped strawberries in the food processor and let it go until you have a puree consistency. You will need approximately ¾ cup of puree for this frosting, but that will depend on the weather you live in!
- Step 3 - In the stand mixer, whip the butter and the sifted powdered sugar together on high until it is fluffy.
- Step 4 - Gradually add the puree. Be mindful of the consistency and do not add too much, because it can become loose and hard to work with. Also, remember that being an all-butter buttercream it is going to be looser than if you were using shortening.
- You can always replace the butter for shortening or use a half and half split if you need it to crust and hold its shape better.
- Step 5 - Once everything is combined, add the ½ cup of chopped strawberries. Fold them in using a spatula.
Notes
- First of all, remember that you need even layers. If the sponges turned out domed, then you will need to level them out using a serrated knife.
- Hopefully, you will not need to cut the layers. But if you do, use toothpicks to mark where you want to cut. Slowly cut them with the serrated knife.
- Fill the cakes out separately. Crumb coat the bottom tier and frost the top tier. Remember to always refrigerate in-between steps to help keep them stable.
- Once you are done, carefully place the top tier on top of the bottom tier. Proceed to cover them in the rest of the buttercream and decorate with fresh strawberries.
Did you like it? If you try it, definitely post a picture below!

Karen is a passionate pastry chef who loves to create delicious baked goods. She has been in the culinary arts for over 10 years, honing her skills and perfecting her craft. Karen is known for her creativity and attention to detail, creating unique desserts that bring a smile to everyone’s face. She is always looking for ways to challenge herself and come up with new recipes that are both tasty and visually appealing. Karen loves to experiment with different flavors and textures, and she is committed to providing the highest quality of products to her customers.