Last Updated on February 25, 2023
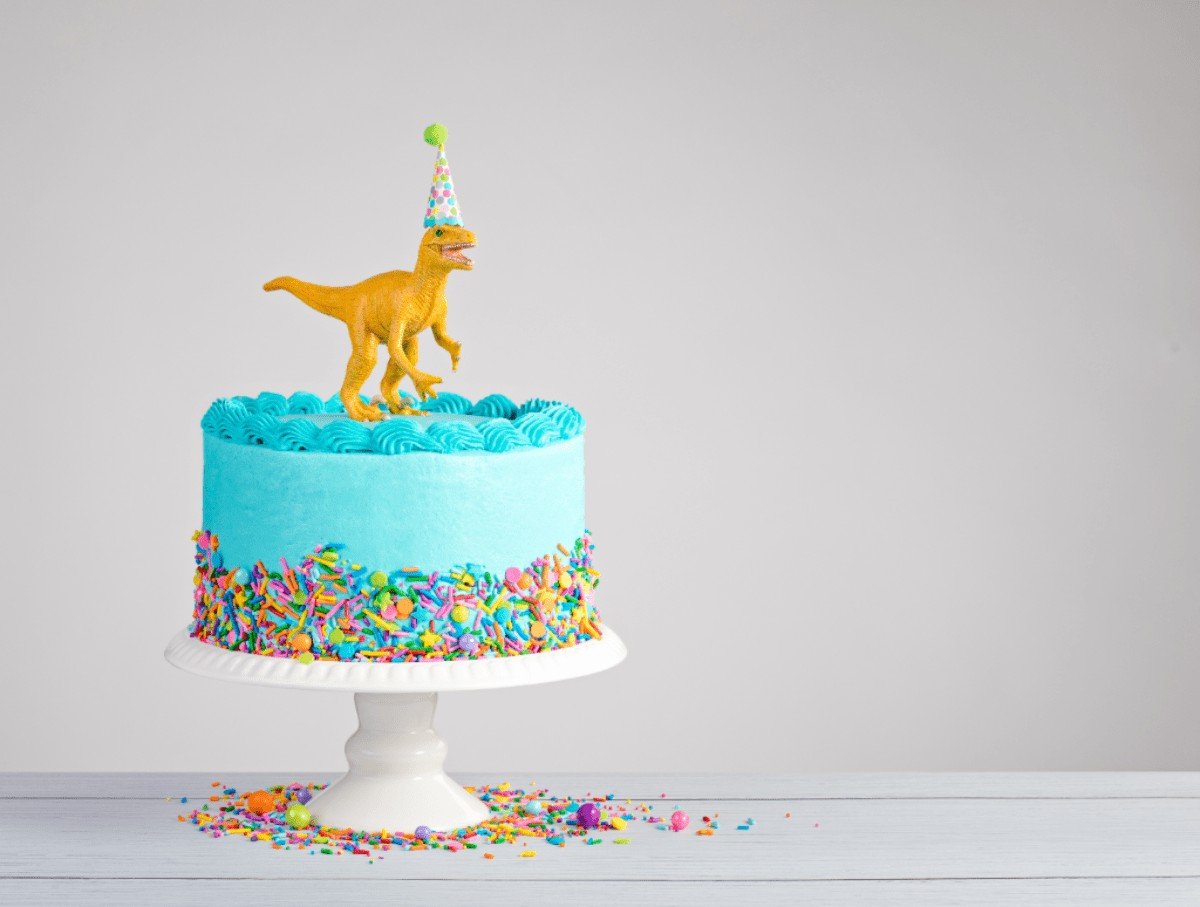
This beautiful seafoam icing is the perfect color for any occasion. It is a great choice to use on birthday cakes, graduation cakes, baby shower cakes, and holiday cakes.
Many families share a love for cooking and mine also. My grandmother used to make all my birthday cakes and I have such fond memories of her decorating and baking.
That is why I try to make our kitchen a spot to gather together and enjoy cooking. A place to share with my kids and create unforgettable memories.
Today I want to share with you how to make my grandmother’s own signature birthday cake with an old-fashioned seafoam icing recipe that will be a hit with any member of your family.
This is an old-timey recipe but it has been adapted to what I believe is convenient so that it is easier to make. It will make enough for a double-tier 9-inch cake and it will take you around 3 hours. We definitely recommend making everything the day before and not the day of the party!
How to Make a Perfect Old-Timey Birthday Cake with Seafoam Icing
Ingredients
For the cake
- 1 cup of softened margarine
- 1 3/4 cups of white sugar
- 3 eggs
- 1 1/2 tsp of vanilla extract
- 2 1/2 cups of all-purpose flour, gluten-free alternative
- 6 tablespoons of unsweetened cocoa powder
- 1 1/2 tsp of baking soda
- 1 tsp of salt
- 1 1/2 cups of whole milk
Sea-Foam Icing
- 3/4 cup of light brown sugar
- 3/4 cup of white sugar
- 1/3 cup of hot water
- 3 egg whites
- 1 tsp of vanilla
How to make seafoam icing
Step 1
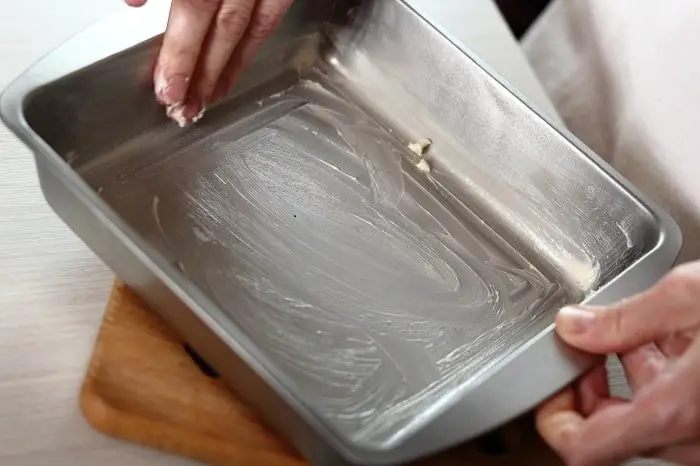
First, we need to preheat the oven to 350ºF. You will also need to butter and flour 2 cake pans 9-inch. You could place some parchment paper instead if you prefer.
Step 2
We will sift together all our dry ingredients so that we have an even cake mix. This includes flour, baking soda, salt, and cocoa.
Step 3
Using a stand mixer with a paddle attachment -or a hand mixer if you do not have one- cream together the margarine and sugar until they are nice and fluffy. You can also use butter for this recipe instead, but we prefer the lightness of the margarine.
Step 4
After that is done, beat in the eggs. Make sure they are incorporated fully before adding another one. Also, add in the vanilla. Do this over medium speed and do not move on until everything is well beaten together.
More steps for seafoam icing
Step 5
Add the cake mix in 3 stages alternating it with the milk. Use the mixer at a low speed to avoid getting sprayed with any flour or milk. Once everything is well incorporated, you will have the cake batter ready!
Step 6
Divide the batter evenly in the 2 pans and tap them on the counter softly to even them out.
Step 7
Bake for approximately 40 to 45 minutes. Always check that a skewer or knife comes out clean from the center. That is a fail-proof way to know if your cakes are done!
Step 8
Let them cool for 15 minutes before unmolding them and placing them upside down on a cooling rack to completely cool. If you have space in your fridge, then place them inside so that they cool faster.
Step 9
Moving onto the frosting while we wait for them to cool down, grab a medium saucepan and place the brown sugar, white sugar, and water in it.
Step 10
Over medium heat, dissolve the sugar in the water and cook it until you reach the thread stage. This can be tricky, so here are a few tips to help you.
First, you will want to stir the mixture over the heat until everything is dissolved. Once that happens, leave it until it reaches 223ºF to 235ºF. You will need to place a candy thermometer in to be sure.
This is called the “thread stage”. You can also make sure you are at the right temperature by dropping a small amount, a teaspoon maybe, of the syrup into a cup of cold water. If it forms threads, then you are there! If it is still liquid, it needs a bit more time.
Step 11
While the caramel gets to temperature, place the 3 egg whites on the stand mixer and whip them until you reach stiff peaks. It takes a while but we need the texture!
Step 12
Keep the mixer going at medium speed. Grab the saucepan with the syrup at the right temperature and carefully drizzle it into the whites. Be very careful not to pour it into the paddle, as it will form threads of caramel making your icing grainy.
Another thing to take into account is that you should not scrape the sides of the bowl until everything is well incorporated. This can also form grainy crystals.
Step 13
You will need to beat this mixture until you reach stiff peaks again. Here is when you need to add the vanilla to flavor it. You could also use almond extract!
Step 14
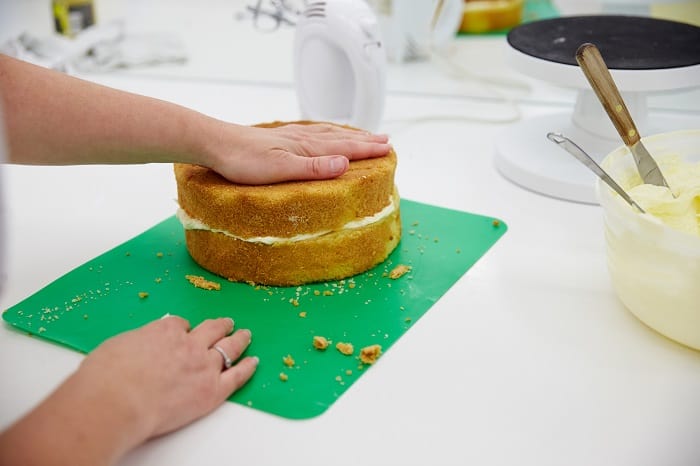
The icing is finished, so now we need to stack our cakes. Once they are cool, see if you need to trim down the tops of the cake. This can happen and it will make your cake look roundish and you will not be able to put one over the other.
Use a serrated knife to level them, place some frosting in the middle and add the second layer. Always secure the first layer with a dollop of frosting on the cake stand.
Step 15
Crumb coat the cakes with a thin layer of icing. Afterward, place them in the fridge to cool down and get firm.
Step 16
After 20 minutes, grab your cake again. This time, we will decorate it with a beautiful seafoam texture. This icing will let you achieve this easily and it is also very natural looking.
Using a spoon or spatula, place the frosting over the cake but do not smooth it out. Just create the texture you desire! You can always add some food coloring to make it stand out even more. There is no need to pipe and the effect is just beautiful.
Step 17
Decorate it with pearls or chocolate beads.
What is Old Fashioned Seafoam Icing?
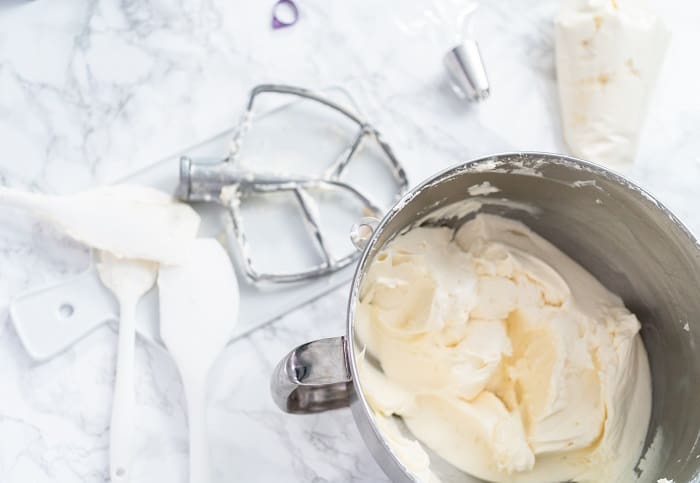
Seafoam icing, also known as foam icing, is a type of 7-minute frosting recipe. This old-fashion style of icing is made on the stovetop often using a double boiler. The ingredients and process for making foam icing it quite different than a traditional buttercream, which is made using a mixer.
Foam icing traditional is made of egg whites, brown sugar/and or white sugar, water, cream of tartar, and vanilla extract. The exact ingredients will vary depending on the individual recipe. Typically, foam icing made with brown sugar is referred to as seafoam icing but the names are also used interchangeably.
Essentially, seafoam icing is a type of meringue made by heating egg whites in a double boiler with sugar and other ingredients. The icing mixture is then whipped until it becomes light and fluffy.
To make the frosting safe, the egg whites are carefully heated to 160 degrees Fahrenheit. This process takes about seven minutes, hence the name, 7-minute frosting.
What makes seafoam icing so unique is the addition of brown sugar. Most frosting recipes, such as buttercream, will call for powdered sugar. The brown sugar will give the frosting a hint of caramel or molasses flavor, making it a truly delicious frosting.
Seafoam frosting has a fluffy texture that is not overly sweet. The frosting is smooth and you can easily create peaks on your cake with an offset spatula.
Be careful not to overbeat the egg whites, as they will collapse if they are beaten for too long. In addition, be careful not to heat the egg whites too much, as you will end up with scrambled eggs.
The Best Uses for Seafoam Icing Recipes
Seafoam icing is great for adding to spice cakes, pumpkin cakes, and chocolate cakes. It will also taste amazing on white cakes, yellow cakes, and caramel cakes.
You can also add seafoam icing to brownies and cookies. It also makes for a great snack when spread on graham crackers.
Can you add food coloring to seafoam icing?
Yes, you can add food coloring to your seafoam icing. Add the food coloring when you add the vanilla to your icing. Be sure to mix it well to fully incorporate the color.
For best results, use gel food coloring in seafoam icing. Gel food coloring is a good option as it won’t add as much liquid to your frosting as liquid food coloring will. It will help maintain the consistency of your frosting while giving you vibrant coloring.
How to store seafoam icing
Cakes or other baked goods decorated with seafoam icing should be stored in an airtight container in the fridge for three to five days. Any leftover seafoam frosting can be kept in the fridge for up to seven days.
Since seafoam icing is like a meringue, it generally does not freeze well. While you can store it in an airtight container for up to three months, you will likely see a change in texture when you thaw it.
The Best Birthday Cake with Sea Foam Frosting
Equipment
- 2 9-inch cake pans
Ingredients
For the cake
- 1 cup of softened margarine
- 1 3/4 cups of white sugar
- 3 eggs
- 1 1/2 tsp of vanilla extract
- 2 1/2 cups of all-purpose flour
- 6 tablespoons of unsweetened cocoa powder
- 1 1/2 tsp of baking soda
- 1 tsp of salt
- 1 1/2 cups of whole milk
Sea-Foam Icing
- 3/4 cup of light brown sugar
- 3/4 cup of white sugar
- 1/3 cup of hot water
- 3 egg whites
- 1 tsp of vanilla
Instructions
- First, we need to preheat the oven to 350ºF. You will also need to butter and flour 2 9-inch cake pans. You could place some parchment paper instead if you prefer.
- We will sift together all our dry ingredients so that we have an even cake mix. This includes flour, baking soda, salt, and cocoa.
- Using a stand mixer with a paddle attachment -or a hand mixer if you do not have one- cream together the margarine and sugar until they are nice and fluffy. You can also use butter for this recipe instead, but we prefer the lightness of the margarine.
- After that is done, beat in the eggs. Make sure they are incorporated fully before adding another one. Also, add in the vanilla. Do this over medium speed and do not move on until everything is well beaten together.
- Add the cake mix in 3 stages alternating it with the milk. Use the mixer at a low speed to avoid getting sprayed with any flour or milk. Once everything is well incorporated, you will have the cake batter ready!
- Divide the batter evenly in the 2 pans and tap them on the counter softly to even them out.
- Bake for approximately 40 to 45 minutes. Always check that a skewer or knife comes out clean from the center. That is a fail-proof way to know if your cakes are done!
- Let them cool for 15 minutes before unmolding them and placing them upside down on a cooling rack to completely cool. If you have space in your fridge, then place them inside so that they cool faster.
- Moving onto the frosting while we wait for them to cool down, grab a medium saucepan and place the brown sugar, white sugar and water in it.
- Over medium heat, dissolve the sugar into the water and cook it until you reach the thread stage. This can be tricky, so here are a few tips to help you.
- First, you will want to stir the mixture over the heat until everything is dissolved. Once that happens, leave it be until it reaches 223ºF to 235ºF. You will need to place a candy thermometer in to be sure.
- This is called the “thread stage”. You can also make sure you are at the right temperature by dropping a small amount, a teaspoon maybe, of the syrup into a cup of cold water. If it forms threads, then you are there! If it is still liquid, it needs a bit more time.
- While the caramel gets to temperature, place the 3 egg whites on the stand mixer and whip them until you reach stiff peaks. It takes a while but we need the texture!
- Keep the mixer going on medium speed. Grab the saucepan with the syrup at the right temperature and carefully drizzle it into the whites. Be very careful not to pour it into the paddle, as it will form threads of caramel making your icing grainy.
- Another thing to take into account is that you should not scrape the sides of the bowl until everything is well incorporated. This can also form grainy crystals.
- You will need to beat this mixture until you reach stiff peaks again. Here is when you need to add the vanilla to flavor it. You could also use almond extract!
- The icing is finished, so now we need to stack our cakes. Once they are cool, see if you need to trim down the tops of the cake. This can happen and it will make your cake look roundish and you will not be able to put one over the other.
- Use a serrated knife to level them, place some frosting in the middle and add the second layer. Always secure the first layer with a dollop of frosting on the cake stand.
- Crumb coat the cakes with a thin layer of the icing. Afterward, place them in the fridge to cool down and get firm.
- After 20 minutes, grab your cake again. This time, we will decorate it with a beautiful seafoam texture. This icing will let you achieve this easily and it is also very natural looking.
- Using a spoon or spatula, place the frosting over the cake but do not smooth it out. Just create the texture you desire! You can always add some food coloring to make it stand out even more. There is no need to pipe and the effect is just beautiful.
- Decorate it with pearls or chocolate beads.
Did you like this recipe? Leave us a comment below!

Karen is a passionate pastry chef who loves to create delicious baked goods. She has been in the culinary arts for over 10 years, honing her skills and perfecting her craft. Karen is known for her creativity and attention to detail, creating unique desserts that bring a smile to everyone’s face. She is always looking for ways to challenge herself and come up with new recipes that are both tasty and visually appealing. Karen loves to experiment with different flavors and textures, and she is committed to providing the highest quality of products to her customers.


