
Last Updated on April 9, 2024
So, is your heavy cream not whipping? Don’t panic, let us give you some tips and tricks to save it and keep it from not thickening.
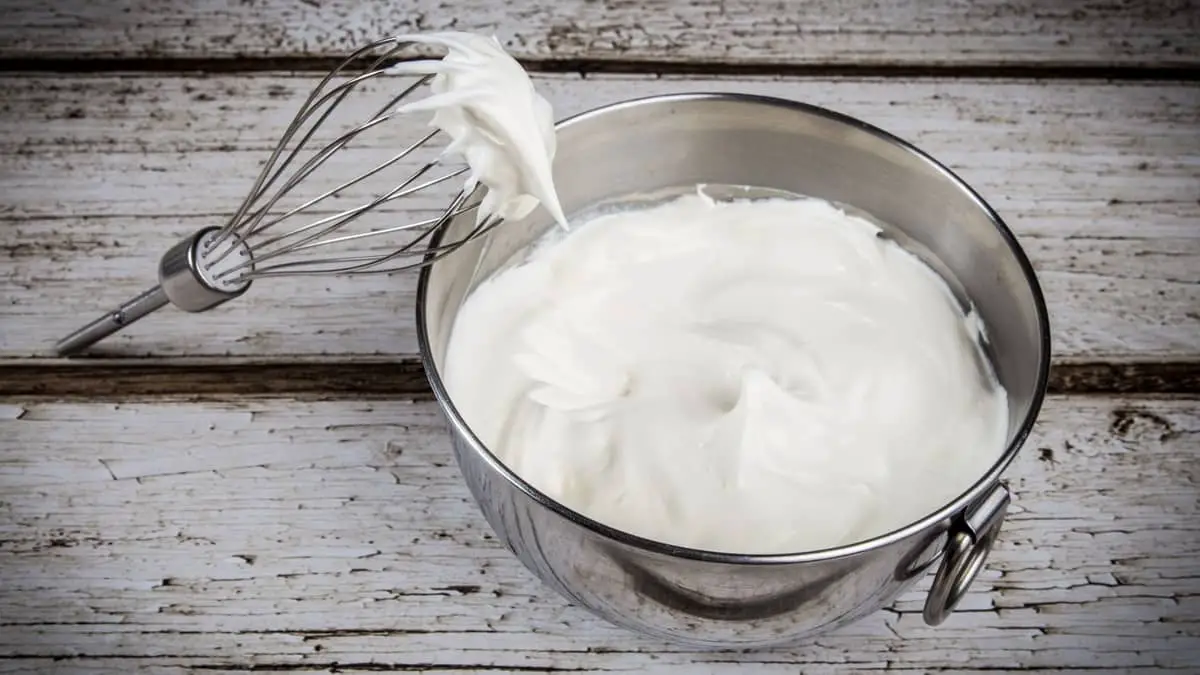
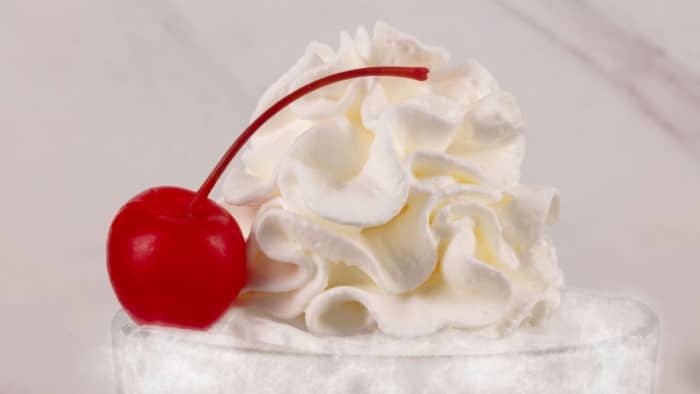
There’s nothing better than making our own whipped cream. When whipped cream is well-prepared, it has the power to make any dessert taste and look even better. From licking it with your finger to ice cream sundaes, pies, or hot chocolate.
Get ready for tips, tricks, and interesting facts about whipping cream.
Heavy Cream Not Whipping: How to Accurately Whip the Whipped Cream
Certainly, whipped cream is delicate, there will be times when the weather is not on our side, or the kitchen humidity is simply too much. All of these factors and some others may not be helping your cream to properly whip.
Here are some useful and easy-to-follow tips to get whipped cream without so many complications.
Tip #1: Cooling
To help the cream increase its volume more quickly, use it cold. The best way to do it is to refrigerate it one day in advance.
Tip #2: Don’t Freeze It
Never freeze the whipping cream and then beat it. Consequently, that unwanted effect that we call “curdled whipped cream” will occur. If we want to cool the cream more quickly it can be placed inside the freezer but make sure it doesn’t get frozen.
Tip #3: Ice Bath
If it’s a hot day or you want to keep the cold of our cream so that it does not cut when beating, put the bowl where the cream that we are beating is on a container that has ice.
Tip #4: Sugar Percentage
If what you need is sweet cream, simply add 10% sugar of about the total cream that is going to be beaten. That would be 100g of sugar per liter. Another interesting fact about granulated sugar is that it can dissolve more easily if we add it from the beginning.
Tip #5: Don’t Overbeat
It’s important to keep in mind that if we beat it for a long time there’s a risk of turning it into butter. The signs of overbeating are the change of color; yellowy and a lumpy texture. So if your whipping cream won’t whip, you should beat it at high speed for 1-2 minutes, or until it thickens a little.
Tip #6: Re-Whip
If you’re not going to use the cream immediately and you let it sit for a while, the best thing to do is that before using it, you should beat it again until you get the desired point.
Tip #7: Fat Percentage
We recommend you buy the 30% fat whipping cream to be able to beat it and get what you’re looking for; soft peaks. You must know that if it has less than 30% fat, it must have some thickener and stabilizer.
Tip #8: Move the Whisk, Not the Container
When the cream is beaten, the mistake of moving the container it’s usual, but the work must be done by the electric or manual beater. This way air is correctly introduced into the mixture so that it acquires a firm consistency.
Is Your Whipping Cream Not Thickening?
If you notice that the whipped cream does not stay hard or maintain its peaks and becomes liquid, you will need to consider the following possibilities and tricks:
- Possible changes in the quality/ingredients of the cream (although the brand is the same). Brands that used to work may have changed their formula in response to carrageenan shortages.
- Add powdered sugar to the liquid cream before beating it.
- The fridge isn’t cold enough (but then, isn’t the freezer cold enough either?) Check that your refrigerator is working properly. If not, consider giving a call to your maintenance provider to check on it.
- As we mentioned before, beating for too long causes a build-up of heat due to friction that melts it.
Time to Stabilize Your Whipped Cream
My favorite stabilizer is gelatin. Here are the step-by-step instructions:
Step #1: Moisten Your Gelatin
Sprinkle gelatin over water and let it sit for 5 minutes until it fully absorbs the water.
Step #2: Heat It
Heat it in the microwave for 10-15 seconds until fully melted.
Step #3: Mix
Add 1 teaspoon of heavy cream to the melted gelatin and stir. Start whipping your cream at medium speed, then go low and drizzle in your gelatin mixture. Keep mixing until your peaks are firm enough.
Plus, this will last firm in the fridge for up to three days. Also, you can use instant pudding mix, cornstarch, tartar, and powdered milk to stabilize it. Choose your favorite!
How to Fix Curdled Whipped Cream?
Did you know that curdled whipped cream can be fixed? Good news! Let us tell you how to fix this dense and spreadable paste, just keep reading.
Whipped cream doesn’t always turn out well; it can come out grainy, separated, too thin, or just messy. However, despite these difficulties, once you master the basics, you’ll be making perfect whipped cream every time.
When this happens, many people decide to start from scratch and make another whipped cream. But fortunately, you can apply a trick without needing to prepare it again. Check out these steps in the following paragraph.
Step #1: More Cream
To fix the curdled whipped cream it is necessary to have more whipping cream on hand. Start by adding a tablespoon and gently stir with a spatula.
Step #2: Re-Whip
It is important not to use the electric mixer and beat manually. Gradually it will recover its fluffy texture.
Zero Waste: Make Butter From Scratch
If you’ve gone too far, know that not all overbeaten cream is salvageable. If you see that it has completely separated, you’re better off thinking about making spreadable butter. So, avoid the “whipping cream won’t whip” or “I’ve gone too far¨ overthinking, you’re already halfway there anyway.
Take a look at this video, you’ll find 5 ways to make flavored butter!
Liquid Whipped Cream Recipe
If you’re looking for a way to make a liquid whipped cream, and make soft peaks, instead of stiff peaks, then look no further. For this recipe, you’ll need the following ingredients:
- 1 cup of heavy cream, chilled
- 1 tablespoon of maple syrup
- 1 teaspoon of vanilla extract
Now all you need to do is:
- Before you begin, you’ll need to chill your mixing bowl and beaters in the freezer. You should do this for at least 20 minutes for the best results.
- Remove your bowl from the freezer and add the following ingredients: heavy cream, maple syrup, and vanilla extract. Beat the ingredients together for a few minutes. At this point, the cream will double in volume.
- This recipe allows for soft peaks. Once you have whipped cream that is like ice cream, but slightly thinner, then your liquid whipped cream is ready to use.
- Add whipped cream to your baked goods. If you have any leftovers, you can keep them in an airtight container, in the refrigerator, for around 5 days.
How to Tell if Heavy Whipping Cream is Bad
Heavy whipping cream can turn bad fairly quickly. But there are a few key signs that you’ll need to keep an eye out for when deciding whether your heavy whipping cream is safe. It’s worth mentioning that if there’s a slight separation on the top, this isn’t usually a problem. But if the separation is intense, then it is bad. However, signs it’s gone bad are:
- smell. The smell of your cream is the easiest way to tell whether it’s bad. It will give off a sour smell that is similar to that of sour cream.
- mold. Any color change in, or on, the cream is a sign that your cream needs to be discarded.
You shouldn’t take any risks when it comes to whipping cream. If they show any signs of going bad, throw them in the bin immediately and buy more.
What to do With Over Whipped Cream
If you’re unsure what to do with over-whipped cream, just add a small amount of milk to help your whipped cream back to the texture you desire. Or you can keep whipping it and make your cream into delicious butter instead. Either way, it doesn’t need to be discarded and you can still make use of your cream.
How to Whip Whipping Cream by Hand
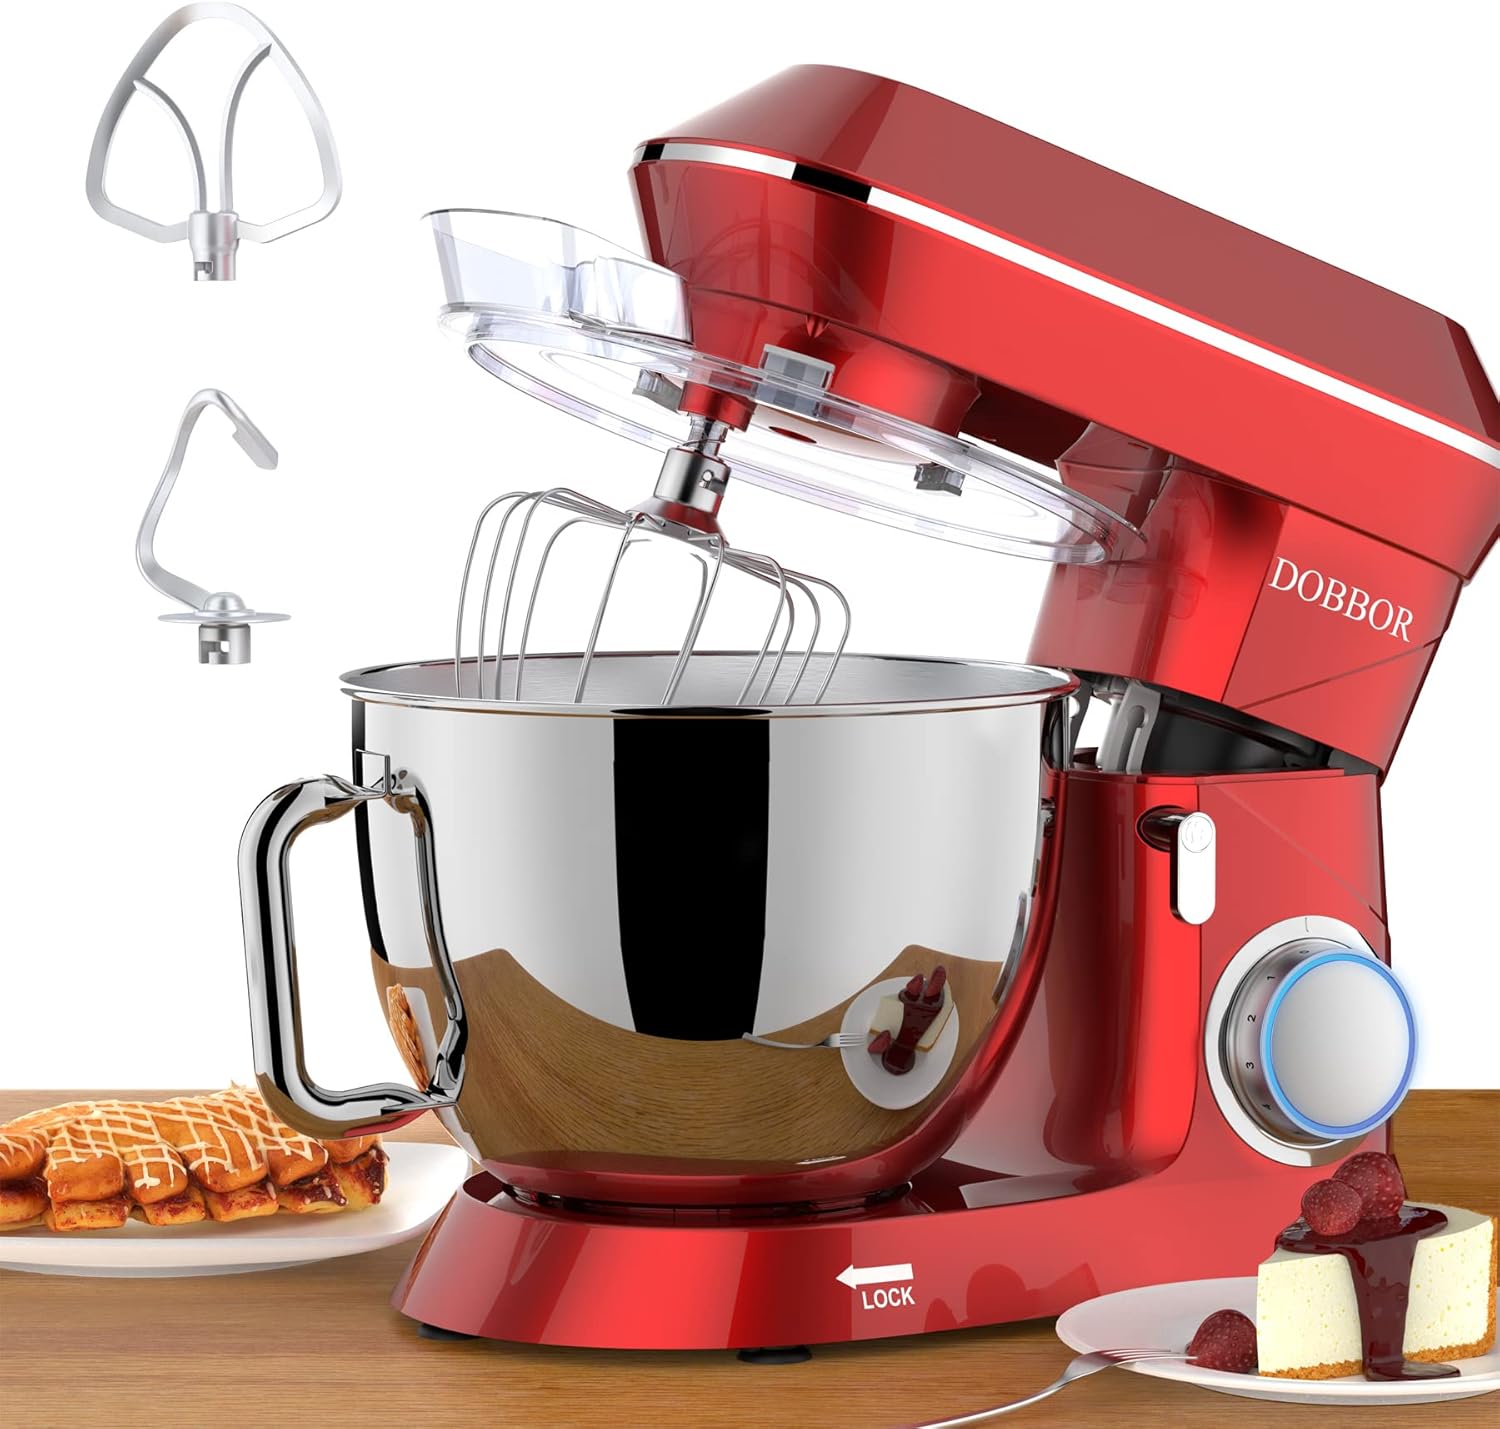
Whipping cream by hand is incredibly hard work, which is why it’s usually best to use a stand or electric mixer. However, you can do it by hand if it’s your only option. Follow the recipe above to make your whipped cream, but instead of using a beater, you can use a whisk instead. You must freeze both the bowl and whisk beforehand, for at least 15 minutes; this helps the whipping process, which is more important when doing the recipe by hand.
To Conclude
I hope this has helped to solve what to do if you have the problem of heavy cream not whipping. Life is full of real difficulties and obstacles, don’t let this be one! You already have some tips to save it or to make delicious butter.
If you have any tips or tricks when it comes to heavy cream not whipping, please feel free to let us know in the comments below. Sharing is caring!
Read more about How Long Heavy Whipping Cream Last