
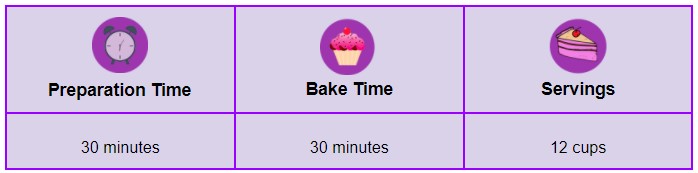
Last Updated on January 14, 2023
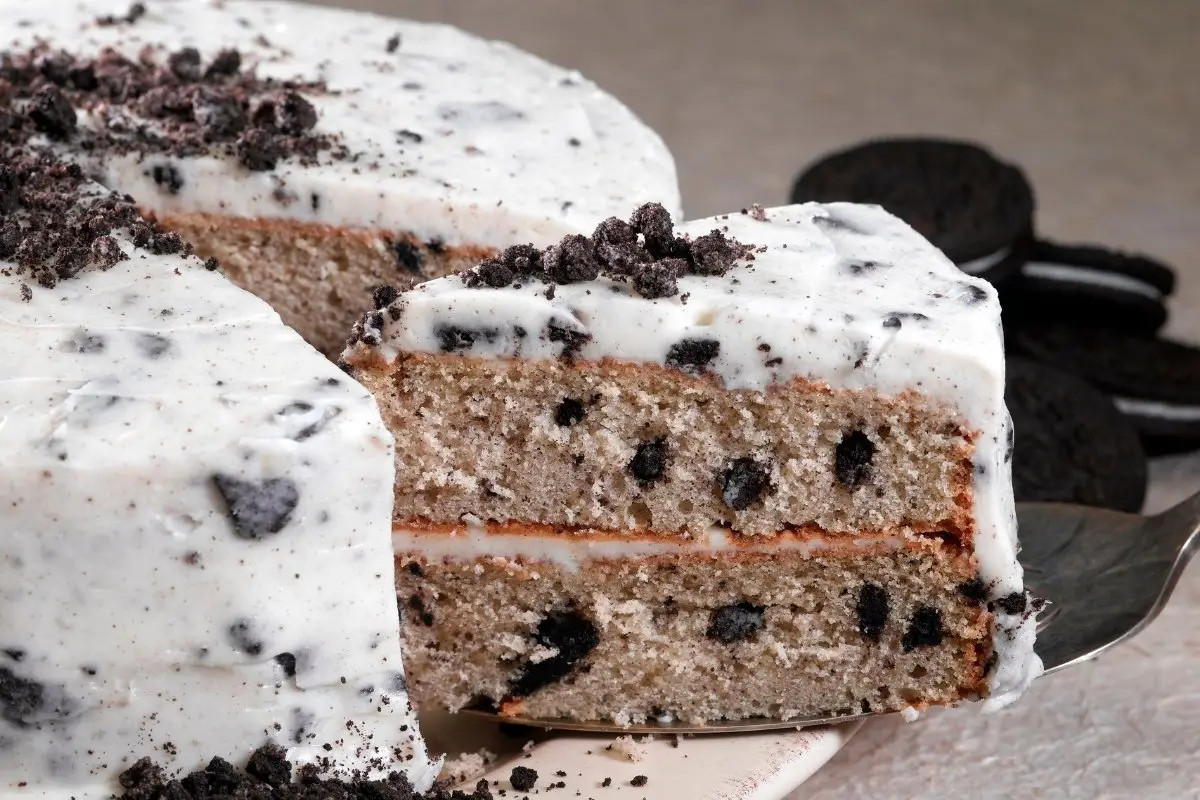
Who would have known that you can create an easy-to-make, delightful, and delicious Oreo cream filling for cake at home? Talk about a sweet and creamy dessert with Oreo crumbs throughout! Also, let’s not forget that the best part of an Oreo is the filling. This one is sure to be part of the baked goods you want to serve to your kids. For these reasons, I highly recommend that you try this recipe because it is a must for all Oreo lovers.
What is in Oreo Filling?
Oreo filling contains high fructose corn syrup, sugar, soy lecithin, palm or canola oil, and artificial flavor. In addition to that, it has emulsifiers and sweeteners. Before, the original recipe called for pig lard. But do not worry, Oreos officially became kosher in 1997. Moreover, Oreos are indeed a yummy snack. However, it is best if you do not consider Oreos as diet food.
Furthermore, there are no eggs in Oreos. But, Oreos contain milk as cross-contact. Also, Oreo products do not have traces of nuts. Additionally, Oreo has branched out various delectable flavors, such as red velvet, gingerbread, and many more. China has blueberry and raspberry, Japan has green tea ice cream, and Indonesia has blueberry ice cream flavor.
The cookie-to-cream proportion of an original Oreo cookie is seventy-one percent to twenty-nine percent. So with that, who would not agree that Oreos are the perfect cookie? Furthermore, the creme is exceedingly delectable, and as aforementioned, they indeed come in various flavors that you can barely count all of them.
What You Will Need: Oreo Cream Filling For Cake
Ingredients
- 2 1/2 cups unsalted butter
- 8 cups confectioners sugar
- 12 pieces of crushed Oreo Cookies
- 1 tsp vanilla extract
- 5 tbsp milk
Equipment
- Mixing bowl
- Measuring cups
- Measuring spoon
- Rubber spatula
- Hand or stand mixer
- Piping bag
- Piping tip
Measuring Cups: U-Taste 18/8 Stainless Steel Measuring Cups and Spoons Set of 10 Piece

Step by Step: Oreo Cream Filling For Cake
Step 1
Before anything else, start by beating your butter in a bowl with the hand or stand mixer. Make sure that you fit it with a wire attachment and beat at medium-high speed for a minute until creamy.
Step 2
Afterward, turn the mixer to low speed as you gradually add the confectioners’ sugar to the butter mixture. Then, progressively increase speed. After that, use a rubber spatula to scrape the bottom and sides of the bowl.
Step 3
Then, add the vanilla extract. After that, make sure to turn the mixer on low and gradually increase it to high. Next, turn the mixer to low speed and add the crushed Oreos; mix until completely incorporated. Afterward, scrape the bowl’s side to incorporate the mixture fully.
Step 4
To add consistency to the mixture, add one tablespoon of milk to have softer frosting. After that, add 1/4 of the powdered sugar cup to have a firmer frosting. After that, place it in a piping bag attached to a piping tip.
Step 5
You can use it immediately, or refrigerate it for up to 3 days. In addition to that, be sure to thaw at room temperature for 30 minutes before usage.
Additional Information: Oreo Cream Filling Recipe for Cakes
Tips and Tricks: Oreo Cream Filling for Cake
If crushed Oreos are not available, you can use Oreo crumbs or crush Oreo cookies in a food processor. Keep in mind that the structure and firmness of the Oreo cream filling will vary depending on the ratio of the liquid and sugar. The more you add confectioners’ sugar, the firmer the frosting; the more you add milk, the softer the buttercream will be. You can also use a paddle attachment as it adds more fluff to the buttercream. Please make sure not to overwhip the buttercream as it loses its integrity.
Moreover, you will need a firmer texture on cakes if you want to pipe them excellently. Also, add powdered sugar one cup at a time for the best results. Then, turn the stand mixer at the highest speed. Do this to achieve a fluffier texture.
Furthermore, you can make an Oreo cream-filling recipe for cakes up to two days ahead of time. Because of this, make sure to cover and chill when storing. Likewise, ensure to allow it to come to room temperature before using. You’ll also need to put the Oreo cream filling for cakes in the fridge till it is time to serve.
Oreo Cream Filling For Cake: Delicious Recipe
Equipment
- Measuring cups
- Measuring spoon
- Piping Bag
- Piping tip
Ingredients
- 2 1/2 cups unsalted butter
- 8 cups confectioners sugar
- 12 pieces of crushed Oreo Cookies
- 1 tsp vanilla extract
- 5 tbsp milk
Instructions
- Before anything else, start by beating your butter in a bowl with the hand or stand mixer. Make sure that you fit it with a wire attachment and beat at medium-high speed for a minute until creamy.
- Afterward, turn the mixer at low speed as you gradually add the confectioners’ sugar to the butter mixture. Then, progressively increase speed. After that, use a rubber spatula to scrape the bottom and sides of the bowl.
- Then, add the vanilla extract. After that, make sure to turn the mixer on low and gradually increase to high. Next, turn the mixer to low speed and add the crushed Oreos; mix until completely incorporated. Afterward, scrape the bowl’s side to incorporate the mixture fully.
- To add consistency to the mixture, add one tablespoon of milk to have softer frosting. After that, add 1/4 cup of powdered sugar to have a firmer frosting. After that, place in a piping bag attached with a piping tip.
- You can use it immediately, or refrigerate for up to 3 days. In addition to that, be sure to thaw at room temperature for 30 minutes before usage.
Notes
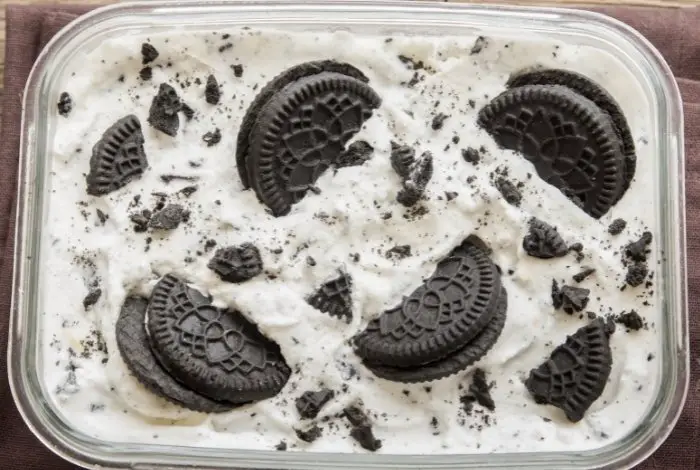
How to Make Cookies and Cream Ganache
Cookies and cream ganache make for the perfect Oreo cream filling for cake. And the best part is, it’s super easy to make! The only ingredients you’ll need for this recipe are:
- 3/4 cup of chopped white chocolate
- 1/2 cup of heavy whipping cream
- 1 teaspoon of vanilla extract
- 6 tablespoons of salted butter
- 2 1/2 teaspoons of powdered sugar
- 6 Oreo cookies, crushed
Now all you need to do is:
- Gather all of the ingredients you need and add the chopped chocolate to a heat-proof bowl. Leave to one side.
- Add your heavy cream to a saucepan. Warm over medium heat and remove from heat once hot. Pour the cream into your heat-proof bowl with the chocolate and leave for several minutes.
- Once melted, add the vanilla extract and salt and leave to cool at room temperature, or in the refrigerator.
- Now you’ll need to whip the ganache on a low speed, and gradually add the butter; mixing and increasing the speed as you go. Now slowly add the powdered sugar; mixing continually. After a few minutes, it should become fluffy in texture.
- Once fluffy, fold in the crushed Oreos and store in the fridge until ready to use. Enjoy!
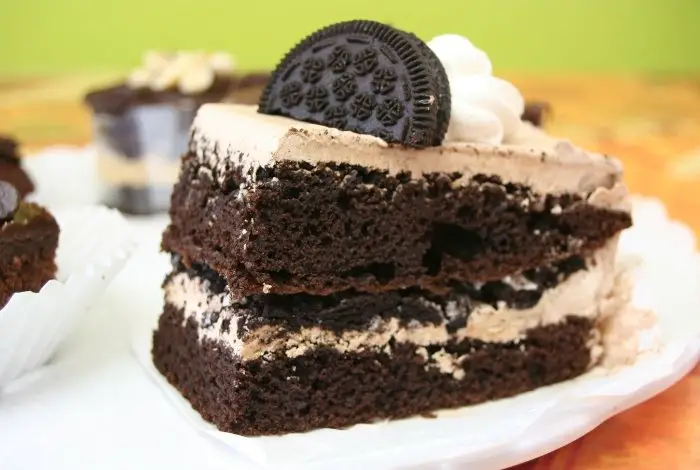
Oreo Drip Cake Recipe
Oreo drip cake is absolutely delicious, and above all, it looks incredible. It’s important to note that all dry ingredients should be sifted before using The ingredients you’ll need for this recipe are:
for the cake:
- 265g of self-rising flour
- 1 1/2 teaspoons of baking powder
- 350g of butter
- 350g of caster sugar
- 85g of cocoa powder
- 350g of eggs (around 5 large eggs)
- 3 tablespoons of milk
for the buttercream:
- 350g of butter
- 425g of powdered sugar
- 12 crushed Oreos
for drip and decoration:
- 100g of dark chocolate
- 2 teaspoons of oil
- 10 whole Oreos
- 6 crushed Oreos
Now all you need to do is:
- Grease and line two baking pans with parchment paper and cooking spray. You’ll also need to preheat your oven to 340F.
- Grab a bowl and add the flour, baking powder, and cocoa powder. Mix and leave to one side.
- In a separate bowl, beat the sugar and butter together for around 5 minutes, or until fluffy. Gradually add the eggs to this bowl. Only add the next egg once the previous egg is combined. #
- Add half of the bowl of dry ingredients and half of the milk, and mix well. Now add the remaining dry ingredients and mix until just combined.
- Pour the batter evenly into your prepared pans and bake for around 20-25 minutes. A toothpick in the center should come out clean when fully baked. Remove from oven and leave to cool before cutting each layer in half (you’ll need 4 even cake layers).
- Once cut, add one cake layer to a cake stand and frost. Repeat with all remaining layers and the sides of the cake. Using an offset spatula, smooth the top and sides of your cake and add some crumbs of Oreo to the rim of the cake.
- Add the oil and chocolate to a bowl and heat in 20-second increments in a microwave. Keep stirring until melted. Pour the mixture over your cake carefully so it runs down the sides. Place in the refrigerator for around 30 minutes.
- Decorate with whole Oreos and Oreo crumbs, as you desire. Slice, serve, and enjoy!
Conclusion
I hope this post has helped you to become more familiar with how to make Oreo cream filling for cake. It makes for the perfect, creamy filling, that’s sure to be a hit with all of the family. Do you have any tips or tricks when it comes to making Oreo cream filling for cake? If so, please feel free to let me know in the comments below. Sharing is caring!

Zarah is an experienced pastry chef whose creations have delighted countless customers. With a passion for baking, Zarah has developed a unique style that combines classic techniques with modern flavors. Her desserts are consistently crafted with the finest ingredients, and her attention to detail is evident in the stunning and delectable results. Zarah has a wealth of experience in the pastry kitchen, and loves to share her knowledge with others. Whether it is teaching a class or creating a custom cake for a special occasion, Zarah is committed to making sure every customer is satisfied.