
Last Updated on January 14, 2023
Don’t have a piping bag, but need to frost a cake? Break your piping nozzle and need a replacement? If you don’t have a proper piping bag, you will want to know how to make a piping bag without nozzle.
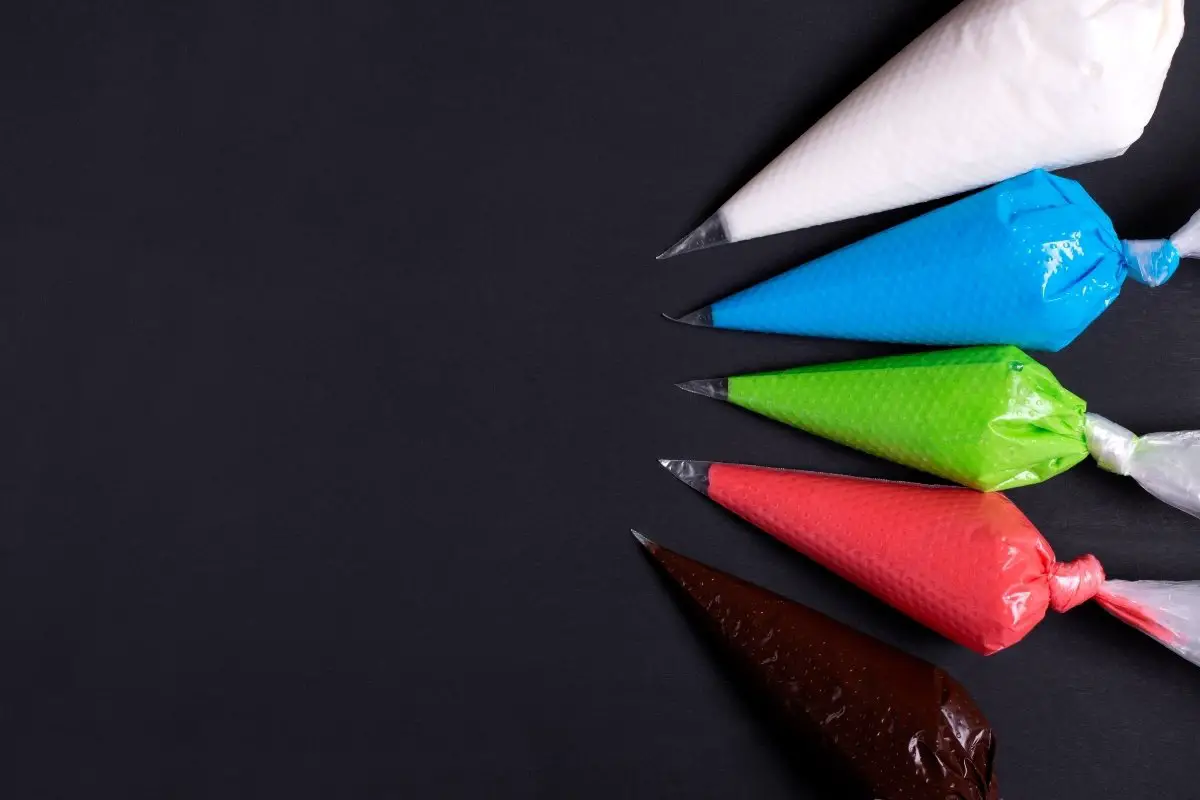
Nozzles can be an excellent tool for frosting your cakes and cupcakes. Different styles can allow you to create different designs and patterns. However, you can still beautifully decorate your baked goods even without a piping nozzle.
Piping tip nozzles are oftentimes made of plastic or metal. Piping nozzles can be expensive, especially when you buy several and they can be a hassle to clean. You often need a special brush to make sure you clean out all the remaining frosting after you are done decorating.
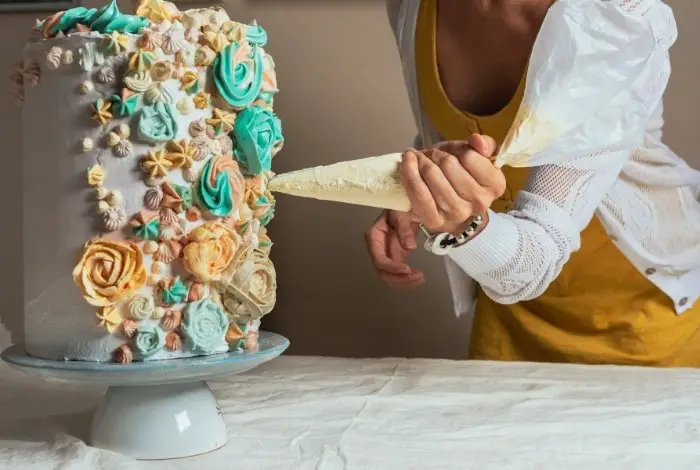
Luckily, you can still pipe some incredible designs with just bags and no nozzles. Once you get the hang of it, this simple hack will be a great addition to your decorating skills.
What You Will Need to Make a Piping Bag without a Nozzle
To make a piping bag without a nozzle, you will need:
- Ziploc bags
- Scissors
- Tape
- Spoon
- Buttercream Frosting
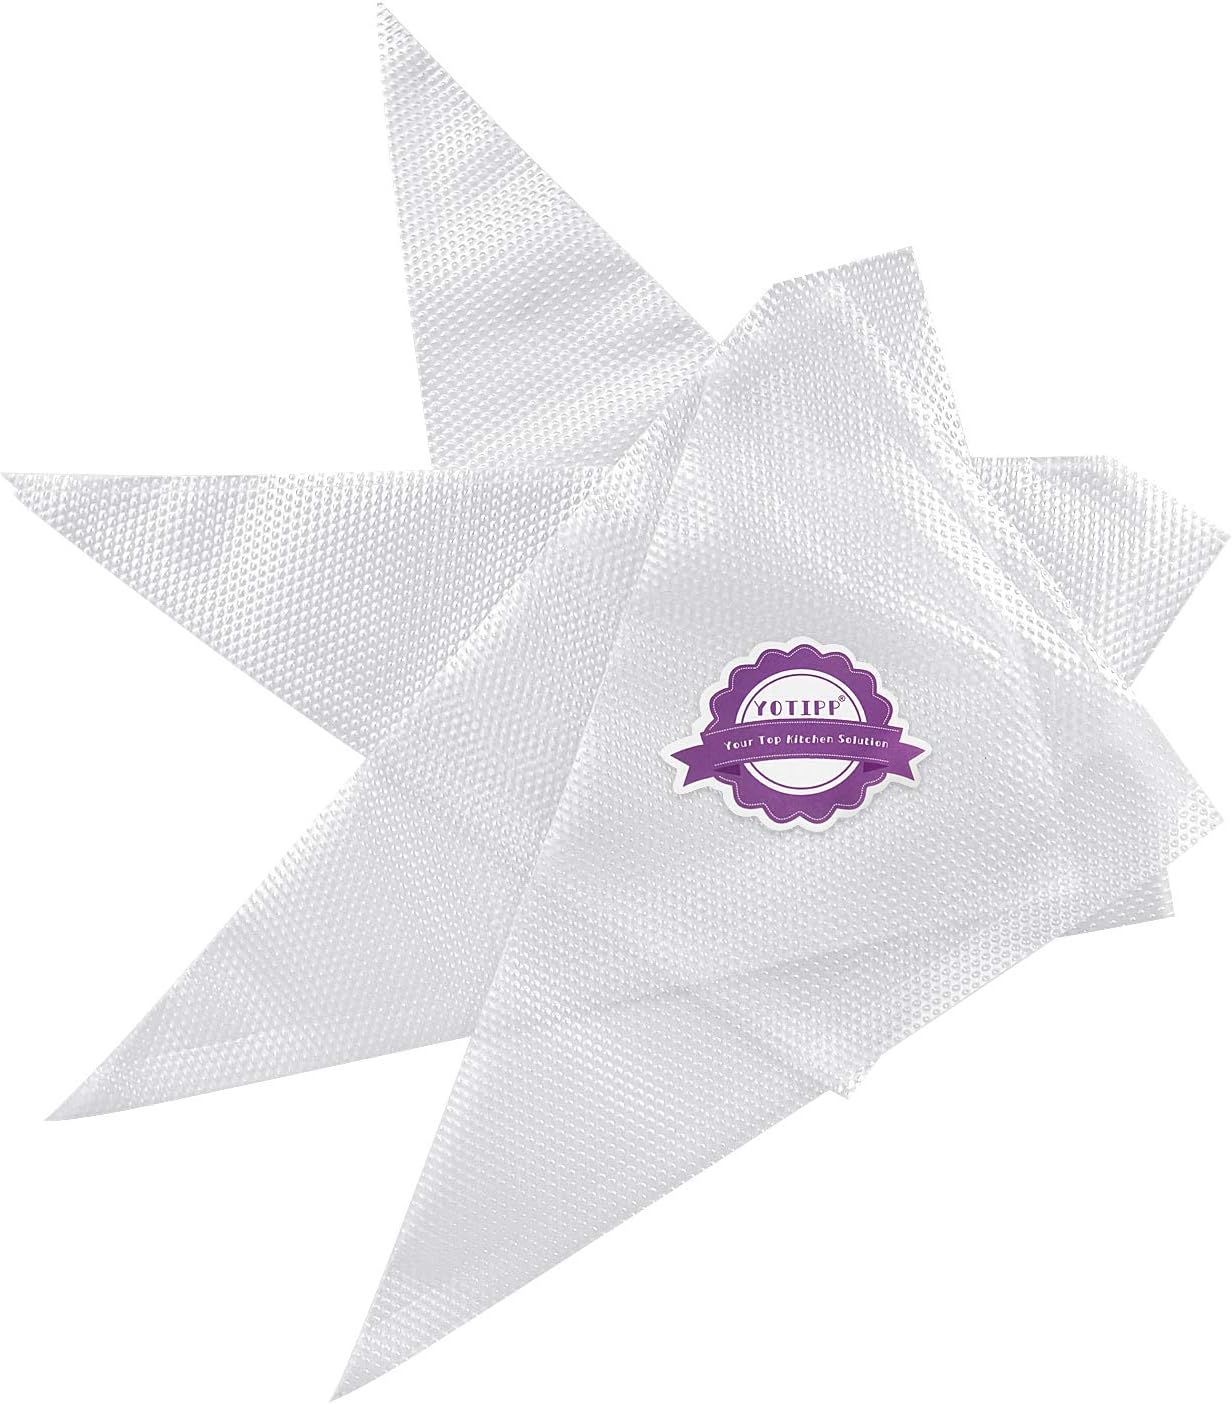
Thickened 100pcs/set Disposable Pastry Bag Icing Piping Bag
Step-by-Step Instructions
Step One: Prepare Your Piping Bag
Take your Ziploc plastic bag and tape the corner tip of the side you are going to use. Flip the bag and tap the other side of the corner.
Step Two: Cut Your Piping Bag
Once you have taped your piping bag, cut a small hole using your scissors. A small hole will be ideal for writing letters on your cake.
To create a piping bag for frosting swirls and zig-zags, cut a half-circle into your piping bag. For a star design, cut a V shape into the piping bag, then open up the bag and push the slits together, and cut right down the middle. Now you can create star shapes by pressing and pushing up with your piping bag or you can use it to create swirl designs.
To make a rose tip, simply cut a small horizontal slit at the bottom of the corner. Now you can create rose petals or zig-zag designs. For a leaf tip, cut a backward V into your piping bag. If you want to make a simple piping bag, cut a large hole at the bottom to make it easy to frost cupcakes or cakes.
Step Three: Fill Your Piping Bag
Once you have cut your desired style into your piping bag, take a spoon and spoon in your buttercream frosting. It is best to start with a small amount of frosting in the bag, as you do not want to overfill it. Decorate your cake however you desire.
Find more frosting recipes for your cakes:
- Amazing Walnut Buttercream Frosting
- Sensational Maple Buttercream Frosting with Maple Extract
- Delicious Raspberry Buttercream Frosting Martha Stewart
Tips and Tricks for DIY Piping Tips
A classic DIY piping tip can be made using common household items, such as plastic bottles or bags, to pipe frosting or other decorating materials onto cakes and pastries. It may not be as precise or durable as professional pipe tips, but it can be a suitable substitute if you don’t have any on hand.
When choosing what bag to use for your piping bag, it is best to go with a Ziploc freezer bag. Not only are they sturdier, but they give you plenty of room to hold your frosting.
Be sure not to skip putting tape on the corner of your piping bag, as this provides much-needed reinforcement. Without the tape, it will be much more difficult to pipe, as the bag won’t have the support it needs. This simple trick will make a big difference.
When making a piping bag for writing letters, don’t fill up the bag with too much frosting. If your bag has a lot of frosting, it can cause your hand to shake when you grip it, which can lead to uneven writing.
When piping with buttercream frosting, it needs to be slightly thick to hold its designs. You may have to add a tablespoon or more of powdered sugar to your buttercream frosting to make sure it is thick enough to decorate with.
Another great advantage of using Ziploc bags besides being budget-friendly is that you can use them to store any leftover frosting in the fridge. Simply put the Ziploc bag in the fridge with your frosting and store it in there for up to one week. When you are ready to use it again, allow the frosting to reach room temperature before decorating, as this will make it much easier to work with.
How Do You Make a Star Tip Piping Bag With a Ziplock?
If you’re looking to make the end of your Ziplock bag into a star-tip piping bag, it may not be perfect, but it will certainly get the job done. All you need to do is grab your Ziplock bag and snip a small amount from one of the corners of the bag. Using scissors, snip 3 small triangles into the corner you just cut off. Once you’ve done this, you can add your icing to your bag and push it down towards the star tip you’ve made. Pipe as you usually would!
Furthermore, a star piping bag can be used in all kinds of ways to decorate cakes, cupcakes, cookies, and other confectionery goods. It can be used to pipe borders, stars, flowers, and many other designs, basically anything you can think of.
Star tips are especially good to create symmetrical and repetitive motifs like rosettes, shells, flowers, and geometric shapes. As previously said, the number one method for making a star-tip piping bag at home is to use a Ziplock bag, and here is another slightly more detailed guide on how to make star tip piping bag with Ziplock:
Materials needed:
- A quart or gallon-size ziplock bag
- A star tip for the piping bag (can be found in most baking supply stores or online)
- Fondant or icing for decorating
Instructions:
- Fill the ziplock bag halfway with the fondant or frosting you intend to pipe. The fondant or icing can be made with your own hands in your kitchen or store-bought, and it can be tinted or flavored to taste. The world’s most famous confectioners strongly recommend using stiffer icing such as buttercream or royal icing as they can hold their shape better when piped.
- Never forget to press out any excess air from the bag before sealing it. This is critical because if you allow any extra air to remain trapped in the bag, it is very likely that it will cause the icing to come out unevenly when piped.
- Cut off the bottom of the plastic bag to make a long plastic tube. Make the opening as small or as large as you need, depending on the size of the star tip you want to have. The thing is that the size of the opening in the bag will dictate the size of the design that may be formed, therefore selecting the optimum size is critical.
- Fold the tube in half lengthwise. Cut a tiny part of the folded tube, approximately an inch long, off one end. Trim the fringe around the folded edge of the tube using this small section as a guide, leaving the guide section untrimmed. Unfold the tube and shape it into a star shape.
- Squeeze the bag gently to test the pressure, adjusting the size of the clipped corner as necessary. To ensure that the icing comes out evenly and in the proper form, you may need to alter the size of the clipped corner.
That’s it, you are ready for piping! The process is very simple and doesn’t require any special skills, so it is suitable even for beginners. All you have to do is hold the bag with one hand while using the other hand to guide the tip to create the desired design.
Finally, there is one extremely crucial point to address. This technique does not have the same professional appearance as a standard pastry bag, which is made of washable and durable material that can withstand more pressure while keeping the piping neat. Additionally, classic ziplock bags aren’t as strong and sturdy as traditional or professional pastry bags and may burst all around if exposed to too much pressure.
How to Pipe Cupcakes without a Nozzle?
Even if you believe it will never happen to you, you might find yourself without a nozzle at any time. For example, if the nozzle is lost or misplaced, if the nozzle is not cleaned properly and becomes clogged, or if the nozzle is damaged and needs to be replaced, there are several reasons why you could be the main actor in this scenario.
Piping cupcakes without a nozzle may seem daunting, especially when it comes to beginners who have not had the opportunity to encounter this technique before, but with a little effort and the appropriate technique, you may create gorgeous results. The secret is to use a plastic bag instead of a typical piping bag to regulate the flow of frosting and create various patterns and designs.
Here are the detailed steps to pipe cupcakes without a nozzle:
- First, make the frosting. Be sure to check that it is the right consistency for piping, so it shouldn’t be too runny or too stiff. It’s preferable if it can keep its form after being piped.
- Fill a plastic bag halfway with icing. Make sure you have about the right quantity of frosting in the bag so you don’t run out during piping.
- Seal the bag tightly, but pay special attention to squeezing out as much air as possible, as the icing should be the sole item inside the bag.
- The next step is to poke or cut a hole in the bag. Honestly, this is very simple, all you need to do is cut a small corner of the bag with scissors, or use a hole punch, a simple needle, or a toothpick and punch a hole. Whatever you have on hand will work! The size of the frosting that comes out will be determined by the size of the hole. A quarter-inch measurement is a reasonable starting point.
- It’s time to start piping the icing! All you have to do is hold the bag in your dominant hand and guide and press it with your other hand. Begin by gently pressing the bag against the cupcake at a 90-degree angle, and this will result in a lovely circular shape.
- Once done, simply release the pressure on the bag and lift it to end the piping.
How Do I Make Donuts Without a Piping Bag?
While it’s easiest to pipe your donut batter with a piping bag, you do not have to use one; you can simply make your own! Just pour the batter into a Ziplock-style bag, cut off the end of one of the corners and pipe the batter as you usually would.
Can You Make Macarons Without Piping Bag?
Of course! Making macarons without a piping bag doesn’t need to be difficult. Quart-sized plastic bags are the best alternative to use. These are bags like Ziploc. Pour your batter into one corner of the bag and push down, like you usually would. Now twist the open end of the bag and close it. Using scissors, snip an opening at one corner of the bag and then pipe the macaron batter, as needed. Dispose of the makeshift bag after one use.
How to Make Meringue Nests Without a Piping Bag?
When it comes to meringue nests, you can either make your piping bag or simply not use one at all! If you want to use a Ziploc bag, you absolutely can. Just fill the plastic bag with meringue mix and squeeze to ensure there is as little air inside the bag as possible and close. Snip a corner and then pipe your nests onto your baking tray. If you do not have a Ziploc bag, that’s no problem. Simply use a spoon to place the meringue onto a tray and make an indent in the middle of each one. They might not look as perfect, but they’ll still be just as tasty!
How Do You Make a Pipe Without a Bag?
If you don’t have a piping bag, or a Ziploc bag, the options do not end there – you can make a piping bag out of parchment paper! It can be quite fiddly to make, but if you’re set on piping your baked goods, it’s a suitable fix. Just cut a triangle out of your paper and fold it so it resembles a cone. Then fill your cone with frosting or batter, as you usually would.
Can You Make Eclairs Without a Piping Bag?
For eclairs, a pastry bag would be ideal. However, as you don’t need to be too precise when it comes to piping eclairs, you can stick to using a zip-top bag. Much like the other methods we’ve looked at, you just add the mix to your piping bag and push it down into one corner. Once pushed down, snip around a 1/4 from the corner. Pipe as you usually would.
An Easy and Affordable Solution to Piping Nozzles
Though piping nozzles can be great for decorating, you don’t need one to make elegantly decorated cakes and cupcakes. With just Ziploc bags, tape, and scissors, you can easily create different piping tips. Not only will it save you money, but also the hassle of cleaning piping nozzles.
Did you enjoy this tutorial on how to make a piping bag without nozzle? If so, please share this article and write your opinions down below in the comments.

Ever since she was a young girl, Anna has been a lover of desserts. As an adult, she enjoys
baking a variety of desserts from cakes, cookies, brownies, bread, and more from scratch. She
enjoys sharing her passion for baking with others who also have a sweet tooth. From properly
measuring ingredients to making sure they are the correct temperature, Anna knows the
importance small details can make in baking. She wants to share her experience with others in
hopes they can make the most delicious baked goods. When she’s not busy blogging, Anna
enjoys trying new recipes in the kitchen.