
Last Updated on March 4, 2023
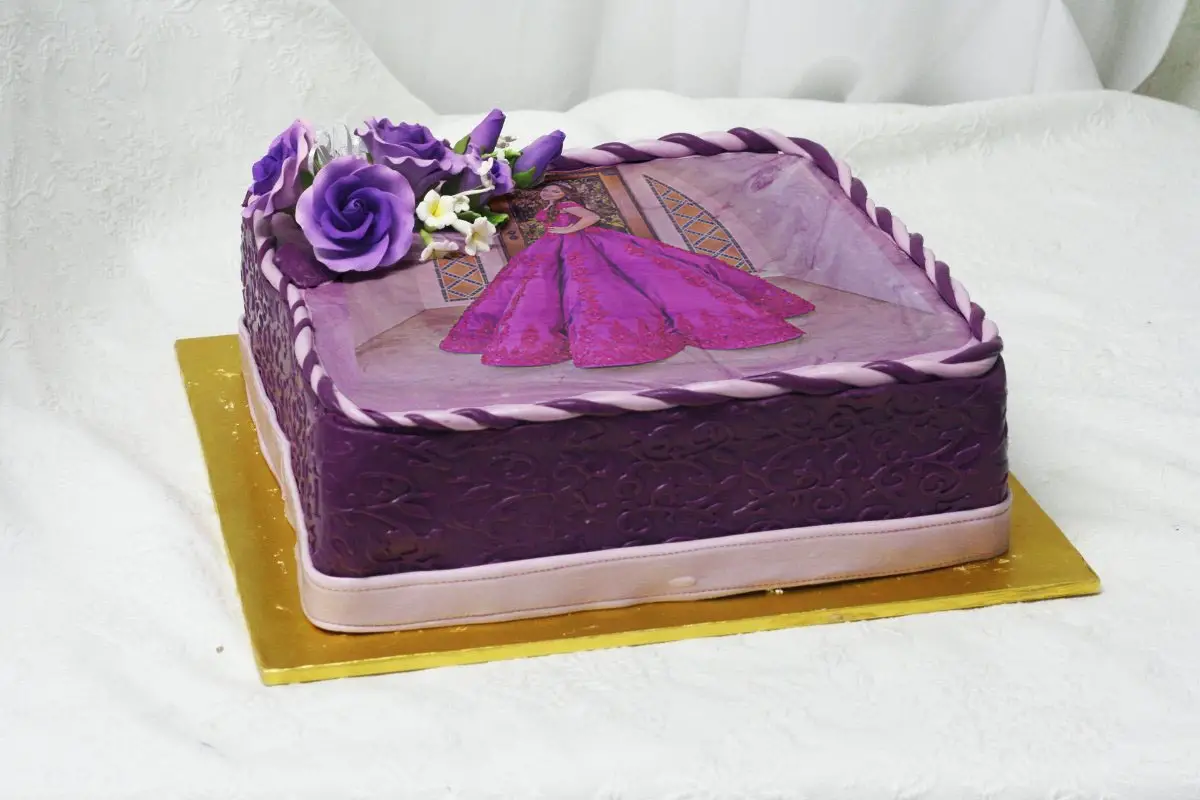
There are many ways how to put a picture on a cake. There’s hand painting, stenciling, airbrushing, and many more. However, the edible picture is the easiest and most convenient way. Usually, only a few people have access to a printer that uses edible ink. Also, wafer paper or edible icing sheets are expensive unless you own a cake shop. But, if you want a picture on your cake, they are still ways to achieve that.
So with that, I will share a way to put a cake using buttercream or royal icing design transfer. Hence, this technique is achievable and fun. In most cases, edible photos on the cake have no flavors whatsoever and have exceedingly little texture. In addition to that, they easily dissolve on a moist surface. So how to put a picture on a cake? Let’s take a look.
What You Will Need: How to Put a Picture on a Cake
- Royal Icing or buttercream
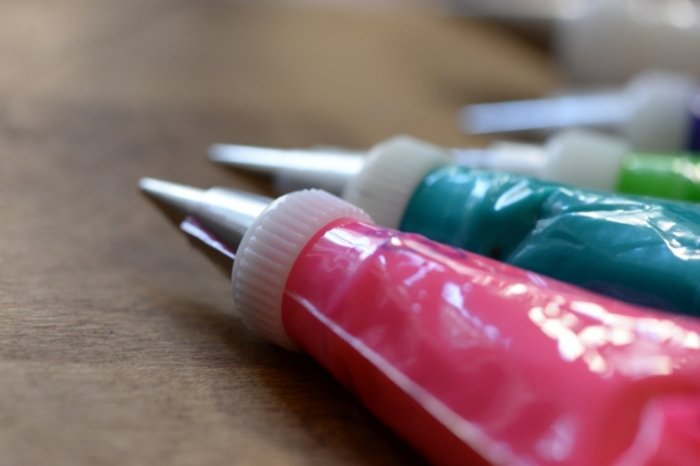
- Piping bags
- Couplers
- Piping tips
- Offset spatula
- Tracing paper (you can use wax or parchment paper)
- Edible pens or marker
- Piece of glass (for tracing)
- Masking Tape
- Picture of the design you want
- Printed picture of the design
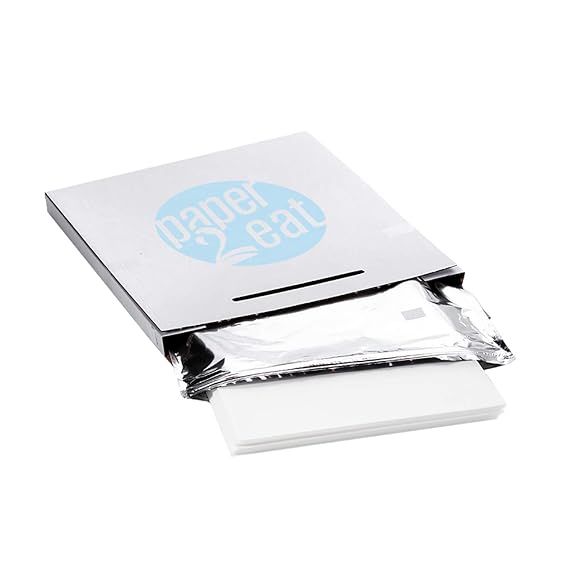
paper2eat Frosting Sheets Premium (Icing Sheets) 8.5“ x 11“ – 24 count – White Edible Printer Paper
Step-by-Step Instructions: How to Put Photo on Cake
Step 1
Before anything else, prepare the picture that you want to put on the cake. First, print the picture on a piece of paper. Make sure to choose a clear, detailed, and well-highlighted picture.
Step 2
Afterward, measure the picture on your cake. Make sure that the image will fit on the cake. Do the same thing with your tracing paper.
Step 3
After that, place the picture on top of a glass table. Preferably, it would be best if you have a light source below, then put the tracing paper on top.
Step 4
Next, with an edible marker with a fine tip, begin tracing the picture on the tracing paper.
Step 5
Then, remove the printed picture and the picture that you traced from the glass. After that, take the traced picture, turn it over face down on the glass, and secure it with masking tape.
Step 6
Afterward, take a piping bag attached to a small writing piping tip. And then, fill it with black-colored buttercream or royal icing.
Step 7
Begin outlining the picture.
Step 8
After you outline the picture, fill the other piping bags with different colors. Make sure they match the picture and fill the gaps in your outlined picture.
Step 9
To prevent smudging when using buttercream, freeze the picture after every application of buttercream. But, if you decide to use royal icing, you need to rest until it hardens a bit; there is no need to put it inside the freezer.
Step 10
Then, you can put a color on the background of the picture if you desire. However, it would help to ensure that the background matches the color of the cake. After that, you can smoothen the background with a spatula (when using buttercream).
Step 11
Ensure to fill every spot; please do not leave empty spots.
Step 12
If you used buttercream, freeze the picture overnight. If you used royal icing, just let it rest in a cool place until it hardens.
Step 13
Finally, when the buttercream or royal icing picture is ready, place it on top of the cake.
Tips and Tricks: How to Put Picture Onto a Cake
First of all, you can paint a picture on wafer paper or an edible icing sheet using luster dust or petal dust. Keep in mind that you can ask cake shops and art craft shops to print the picture for you if preferred.
Moreover, edible pens and markers are great for creating a picture on the cake; you can directly draw on fondant and sugar cookies. If you are great with free-hand drawing, then that’s a plus for this method. You can also draw on edible paper like an icing sheet, and you can put them on cakes.
Furthermore, the difference between wafer paper and icing sheets is their production. Manufacturers produce wafer paper from potato starch, oil, and water. On the other hand, they make icing sheets from thin layers of hard-pressed icing into a plastic backing.
Icing sheets are thicker than wafer paper, making it preferable to create high-quality pictures. Also, if you end up using a printed edible picture and have a hard time removing the plastic in your icing sheet, take a hairdryer and heat the back of the icing sheet for approximately sixty seconds with the plastic backing removed.
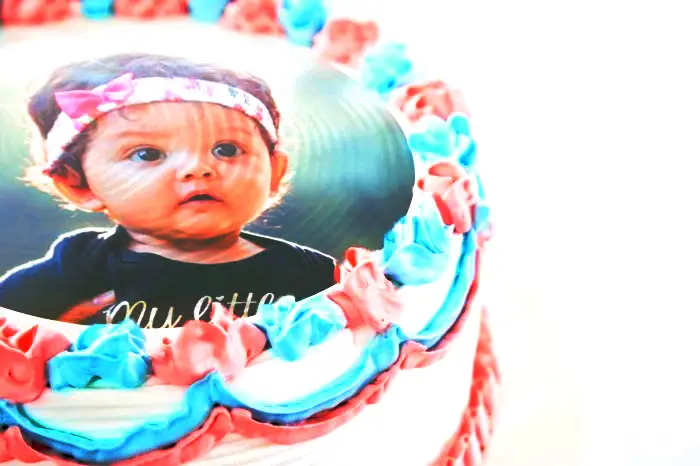
How Photo Cake is Made
You may be wondering how a photo cake is made. There are a few ways but the most common is using edible ink. You use a printer that holds edible ink, which prints onto one of two options: wafer paper sheets or sugar frosting sheets. Once it’s printed, it’s cut to size and then placed on top of your cake. It’s usually secured by simply placing it on top of the cake. It’s made to dissolve into the cake, and look like it’s been there all along!
While there are specific printers that’ll do the job, you can usually use typical inkjet printers, such as Canon. These printers are much more inexpensive than printers made for this purpose.
How Far in Advance Can You Put an Edible Image on a Cake?
You may be wondering how far in advance you can add edible photos to a cake. If your cake is made by a bakery, they typically use frosting that’s much stronger and harder. With this cake, you can place up to 48 hours before the event. However, it shouldn’t be done any further away from the event than that.
If you’ve made the cake yourself, it may be more susceptible to fading. As it’s super easy to do, you can do this on the day of the event; even around an hour before, for the best results.
Can You Print Edible Images With a Regular Printer?
You absolutely can! However, if this is the option you’re choosing, you should ensure that the printer has not been used before. If it’s been used with standard ink, it will likely be ineffective; so the printer should be used for the sole purpose of edible printing.
What is the Best Cake Picture Printer?
Many printers are compatible with edible ink. However, I’ve found that the best choice for this is Canon PIXMA IX6820. It doubles as both a standard printer and an edible ink printer. It’s also FDA-compliant, which is great if you’re a professional baker. Whether you’re making wafers, chocolate, cookies, or cakes – this printer can do it all. The speed is relatively fast and the colors are great. It’s also worth mentioning that this printer works best on frosting sheets.
You can find this printer from stores such as Amazon, for around $229.99. While this is an expensive option, it’s long-lasting and will cover all of your printing needs. Buy this printer here.
Some other options you may like to consider are Epson Pro Edible Printer Kit -ST2000, Canon TS702, or the Canon G3200. The last option is ideal if you’re on a budget.
Conclusion
I hope this post has helped you to become more familiar with how to put a picture on a cake. Adding photos to the cake doesn’t have to be difficult. As long as you use the correct equipment and tools to do so, it can be much easier than you first thought! Do you have any tips or tricks when it comes to how to put a picture on a cake? If so, please feel free to let me know in the comments below. Sharing is caring!

Zarah is an experienced pastry chef whose creations have delighted countless customers. With a passion for baking, Zarah has developed a unique style that combines classic techniques with modern flavors. Her desserts are consistently crafted with the finest ingredients, and her attention to detail is evident in the stunning and delectable results. Zarah has a wealth of experience in the pastry kitchen, and loves to share her knowledge with others. Whether it is teaching a class or creating a custom cake for a special occasion, Zarah is committed to making sure every customer is satisfied.