
Last Updated on January 3, 2023
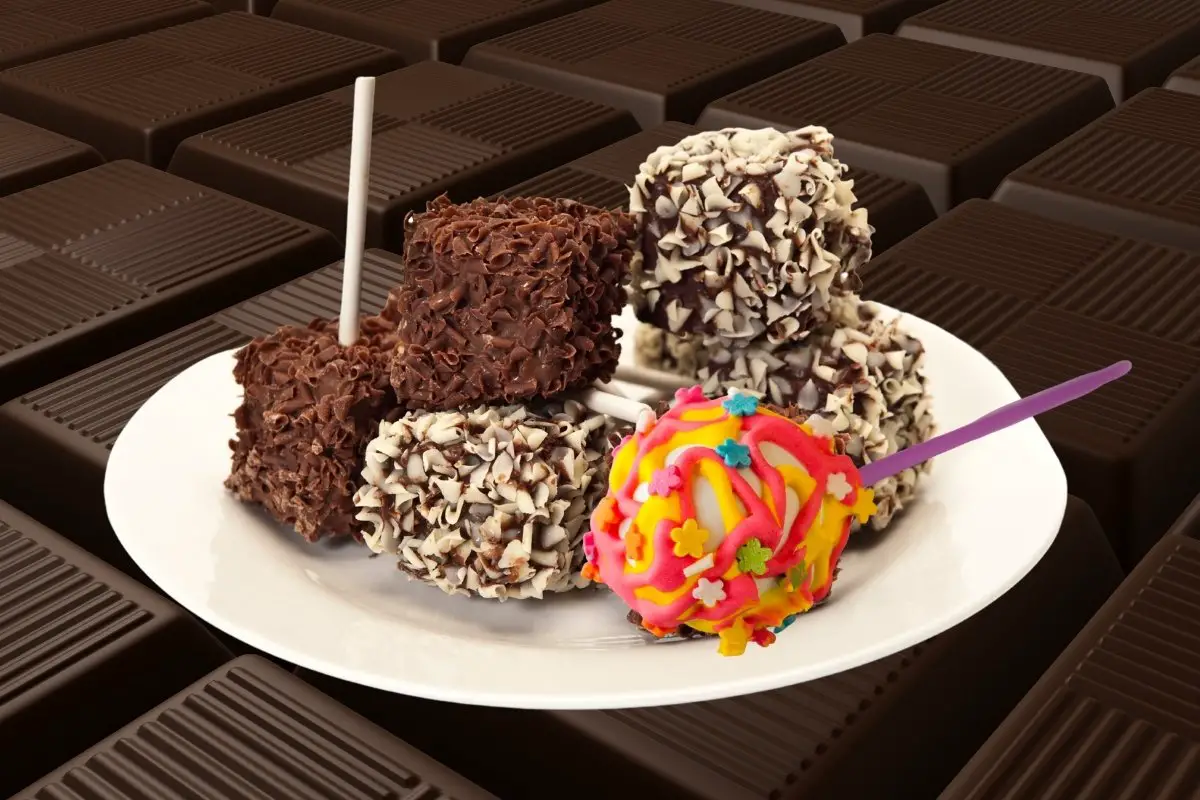
How to make a choco lollipop, you say? It is a beloved treat for children since they cannot relax for desserts, unlike us adults. One of the most common sweet-tasting desserts in the world is chocolate. The misconception about chocolate is that it must be harmful to your health if it tastes too good, but it depends on the type of chocolate you are eating.
In making a choco lollipop, the chocolate needs to solidify and set ahead to remove them out of the mold. The best approach is to put the choco lollipop in the freezer. Make sure that the mold is not tipped to the side because the chocolate will not set equally. And it usually takes ten minutes for the lollipops to set completely. But the time it takes to harden depends greatly on the size of the choco lollipops. For this reason, smaller lollipops take five minutes to cool, and larger ones take longer than ten minutes. Choco lollipops are ready when you touch it, and there is no fingerprint.
Health Benefits of Chocolates
If you pick your chocolate carefully, it does potentially have certain health benefits. Chocolates can make us live longer with these creamy chocolate confections. Vitamins A, B1, C, D and E, and potassium are present in chocolate. Essentially, dark chocolate is healthy because it contains more cacao and less milk sugar than milk chocolate, indicating that it may reduce blood pressure.

Check out more delicious recipes with chocolate: Sensational Chocolate Drizzle Recipe with Cocoa Powder and Yummy Chocolate Chip Zucchini Cake
Choosing the Best Lollipop Molds
Beginners begin by using molds with hearts, circles, or stars with a single color. Molds shaped in animals or fruits require much more experience since multiple colors are added to it to make it look better. So, be cautious with the selection of molds. Essentially, lollipop molds have a small space for the stick, and that is the most appropriate mold to make a choco lollipop.
Deciding the Right Type of Lollipop Sticks
The bigger the mold, the more stick is needed. Ensure to roll the stick around at least once to cover it with chocolate entirely. Doing this will help the stick stay tightly in the chocolate. When making the choco lollipop, lay the stick properly into the mold to stick about halfway into the chocolate.
What You Will Need – How To Make Choco Lollipop
Ingredients
- 150g chocolate of your choice
- Sprinkle decorations
Equipment
- Mixing bowls
- Measuring cups
- Rubber spatula
- Lollipop sticks
- Piping Bag
- Silicone mold
- Baking sheet
- Parchment paper
Wilton Chocolate Chocolate Fountain

Step by Step Instructions to Make Choco Lollipop Recipe
Step 1
Melt your desired chocolate in the microwave for 30 seconds, and repeat the method until melted. Also, you can melt the chocolate in a bain-marie or double boiler.
Step 2
Once the chocolate melted, stir it lightly and let it cool for approximately 5 minutes.
Step 3
Prepare your silicone mold and place the lollipop sticks. If you don’t own a silicone mold, you can line a baking sheet with parchment paper.
Step 4
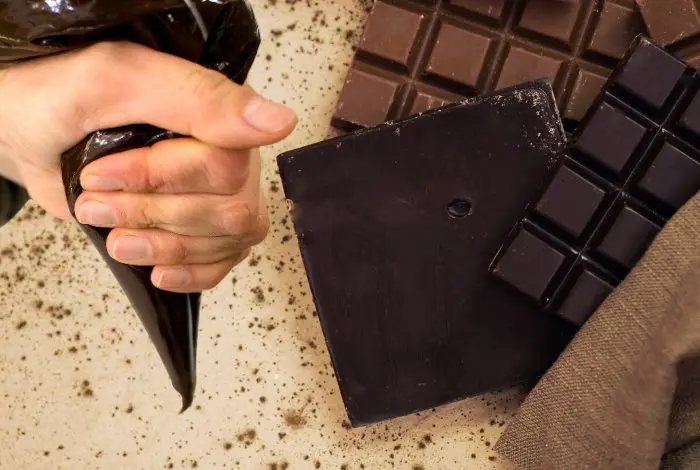
Fill up 3/4 of the piping bag with melted chocolate and gently fill in the molds, making sure it does not overflow.
Step 5
For those who do not have molds, take a spoonful of melted chocolate and pour it into the parchment paper, then you can add the lollipop stick. Tap the mold or baking sheet lightly to prevent bubbles and to have a smooth surface.
Step 6
Cover your chocolate with designs like sprinkles and marshmallows. Then, for around 30 minutes, let it rest in a cool place.
Step 7
Take out the lollipops from the mold or the parchment paper, serve and enjoy!

Tips and Tricks on How to Make Choco Lollipop
Use white chocolate and add food coloring if you want other colors for your choco lollipops. Make sure to turn the mold upside down and tap it at the back before taking out the lollipops. It is easy and fun to make choco lollipops; however, it can be time-consuming, so it is ideal to have good molds available at home to make all of the lollipops you desire at once as opposed to using the same tray over and over again.
It is easier to add the decorative extras to the mold first before pouring the main chocolate. For instance, add a small number of crushed cookies or sprinkles to the mold. Afterward, pour in the melted chocolate on top of that. Doing this will incorporate the decorative extras into the lollipop. Alternatively, use the melted chocolate as glue to add different decorations to the lollipop.
How To Make Choco Lollipop Recipe
Equipment
- Mixing bowls
- Measuring cups
- Lollipop sticks
- Piping Bag
- Silicone mold
- Baking sheet
- Parchment paper
Ingredients
- 150 g chocolate of your choice
- Sprinkle decorations
Instructions
- Melt your desired chocolate in the microwave for 30 seconds, and repeat the method until melted. Also, you can melt the chocolate in a bain-marie or double boiler.
- Once the chocolate melted, stir it lightly and let it cool for approximately 5 minutes.
- Prepare your silicone mold and place the lollipop sticks. If you don’t own a silicone mold, you can line a baking sheet with parchment paper.
- Fill up 3/4 of the piping bag with melted chocolate and gently fill in the molds, making sure it does not overflow.
- For those who do not have molds, take a spoonful of melted chocolate and pour it into the parchment paper, then you can add the lollipop stick. Tap the mold or baking sheet lightly to prevent bubbles and to have a smooth surface.
- Cover your chocolate with designs like sprinkles and marshmallows. Then, for around 30 minutes, let it rest in a cool place.
- Take out the lollipops from the mold or the parchment paper, serve and enjoy!
Notes
Servings and Preparation Time


Zarah is an experienced pastry chef whose creations have delighted countless customers. With a passion for baking, Zarah has developed a unique style that combines classic techniques with modern flavors. Her desserts are consistently crafted with the finest ingredients, and her attention to detail is evident in the stunning and delectable results. Zarah has a wealth of experience in the pastry kitchen, and loves to share her knowledge with others. Whether it is teaching a class or creating a custom cake for a special occasion, Zarah is committed to making sure every customer is satisfied.