Last Updated on February 6, 2023
Looking for the perfect way to decorate your cake? Want something with a natural look? Then this tutorial for how to make a buttercream birch tree cake will help you create the perfect cake.
What is a Birch Tree Cake?
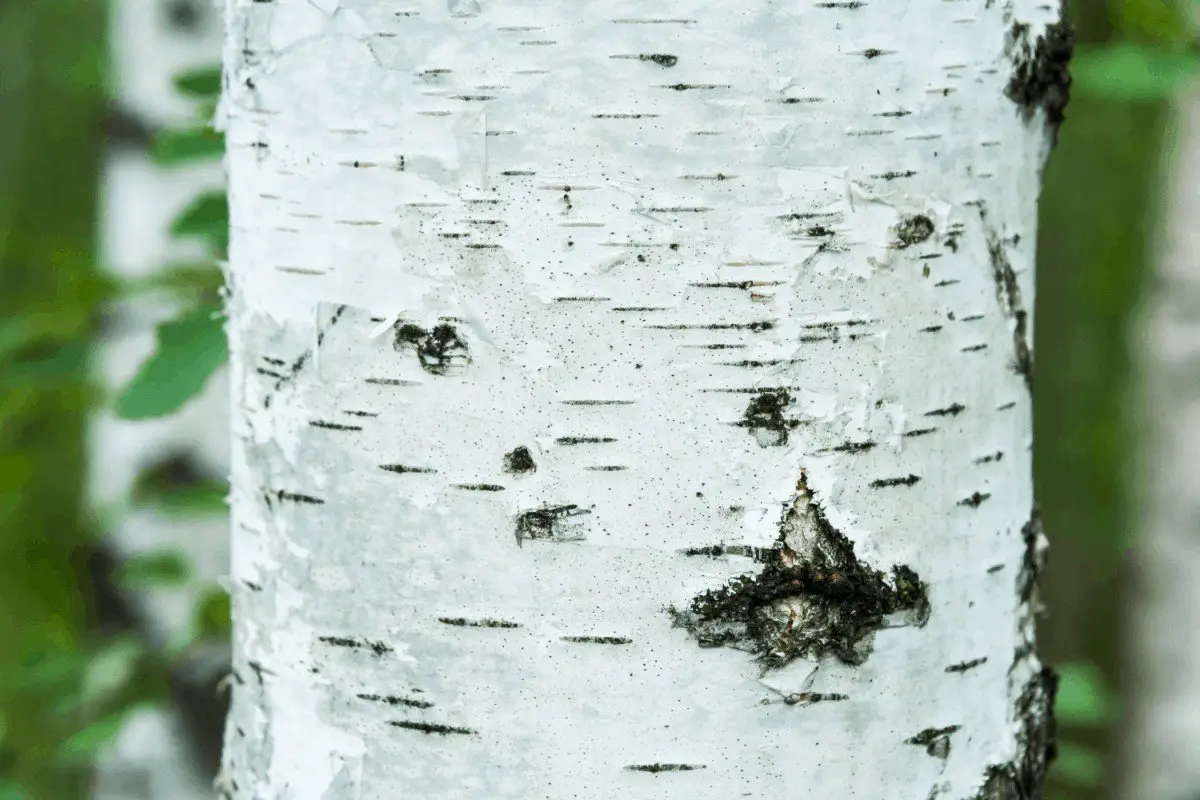
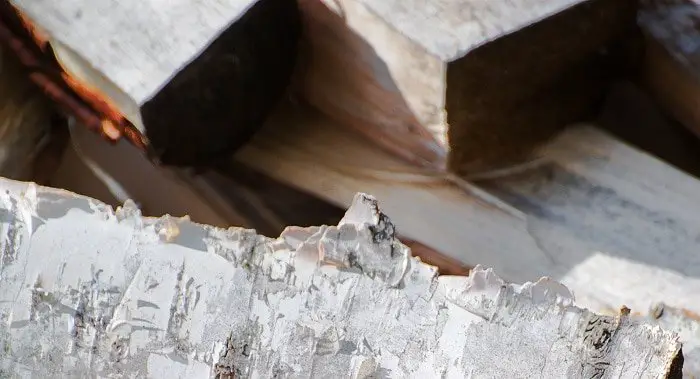
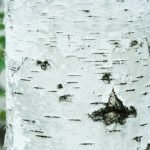
A birch tree cake is a cake decorated in buttercream frosting that is designed to look like a piece of wood cut from a birch tree. They are off-white with brown marks throughout, replicating the pattern of a birch tree. They are generally simple to make and provide a beautiful nature-inspired look.
Birch tree cakes have become a popular wedding cake. Many brides and grooms love the rustic woodland-inspired look they have. They are especially popular for fall weddings.
Birch tree cakes are loved because they are simple to make and have an elegant look. Your friends and family will adore how beautiful and natural your birch tree cake looks. Thankfully, you don’t have to go to a bakery to get a birch tree cake, you can easily make one from the comfort of your own home.
What You Will Need: Birch Tree Cake Tutorial
To follow this tutorial for making a buttercream birch tree cake, you will need:
- Round cake, crumb coated
- ½ cup light brown buttercream
- ½ medium brown buttercream
- 1 cup dark brown buttercream
- 1 cup white buttercream
- Brown food coloring
- Food grade paintbrush
- Piping bags
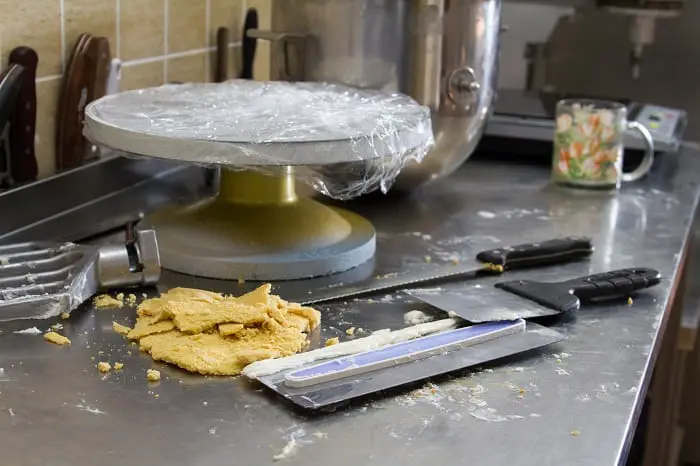
- Turntable
- Straight icing spatula
- Flat edge
If you prefer, you may use chocolate buttercream as a substitute or in addition to any of the brown frostings. Otherwise, you may use brown food coloring to dye the buttercream various shades of brown.
Step-by-Step Instructions
Step One: Crumb Coat the Cake
Place the cake on the turntable and add a thin layer of white buttercream, creating a crumb coat.
Step Two: Prepare the Frostings
Add approximately 20 drops of food coloring to one cup of buttercream for dark brown, five drops to half a cup for medium brown, and three drops to have a cup for light brown. You can adjust to your reach your desired shades. You may also use chocolate buttercream instead.
Step Three: Frost the Top of the Cake
Fill a piping bag with light brown and another piping bag with medium brown frosting. Pipe a circle in the middle with medium brown buttercream. Pipe a few rings of light brown buttercream, then one of medium brown buttercream, and then finish with more light brown rings.
Step Four: Smooth Out the Rings
Using the straight icing spatula, gently smooth out the rings. Position the tip of the spatula over the center and tilt the blade of the spatula up. Carefully place the lower flat edge of the spatula on the buttercream and slowly spin the turntable, smoothing the lines out.
Step Five: Apply the White Buttercream
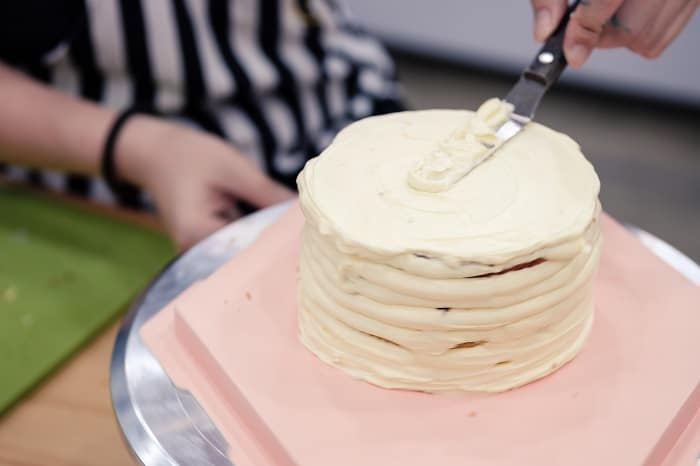
Apply a thick layer of white buttercream along the sides of the cake. Try not to let the buttercream go above the top, but it is alright if it pokes up some over the top.
Step Six: Smooth the Cake
Using the straight icing spatula, smooth the sides of the cake and around the top.
Step Seven: Pipe Dark Brown Buttercream
Pipe the sides of the cake with dark brown streaks. Pipe the streaks going horizontally around the cake, making them thin and random.
Step Eight: Smooth the Frosting
Use a flat edge to smear the brown lines on the cake. Repeat until the cake reaches the birch appearance you desire.
Step Nine: Add Finishing Touches
Use the back end of a paintbrush to create a small hole that only goes through the white layer of frosting. Repeat as you feel necessary. If you wish, add buttercream leaves or carve initials into the side.
Birch tree cakes make beautiful wedding cakes. They have a natural woodland look that many people love.
Tips and Tricks
It is important to crumb coat a cake because the base frosting coat allows it to catch any crumbs that might appear through the frosting. It is an easy way to ensure a smooth cake. Adding a crumb coat is a good practice to do when frosting any cake you plan to decorate.
This cake can be stored in an airtight container for two to three days at room temperature. It may be stored in the fridge for up to a week and in the freezer for up to six months. If you store your cake in the fridge or freezer, allow it to reach room temperature before serving.
Birch tree cakes give you a lot of freedom to add decorations you like. You can add buttercream frosting leaves, real leaves, sculptured or fondant creatures or mushrooms, initials, sugar ferns, or whatever you like.
If you want to use white buttercream for all the frosting layers, you can buy brown food coloring to achieve all the different shades of brown. You can buy brown food coloring in most grocery stores and online.
Liquid gel food coloring is generally the best food coloring to use with buttercream frosting. It takes fewer drops to achieve your desired color and has less impact on the flavor of the frosting. However, any type of food coloring will work.
White Birch Wedding Cake Recipe
If you’re looking to make a white birch wedding cake, then look no further. However, it’s worth mentioning that this cake is reasonably difficult and is probably not ideal for beginners. For a white birch wedding cake, you’ll need the following ingredients:
For the cake:
- 1 1/2 cups of all-purpose flour
- 1/2 cup of cocoa powder
- 1/2 teaspoon of baking soda
- 1 teaspoon of baking powder
- pinch of salt
- 8 eggs
- 1 1/2 cups of white sugar
- 1 cup of buttermilk
- 1 teaspoon of vanilla extract
For the frosting:
- 2 packets of softened cream cheese
- 1 1/2 cups of confectioners’ sugar
- pinch of salt
- 1/2 teaspoon of vanilla extract
- 2 tablespoons of chocolate chips
- 4 cups of heavy whipping cream
Now all you need to do is:
- Gather all of the ingredients you need for this recipe and preheat your oven to 350F. You’ll also need to grease and line a baking sheet with parchment paper (16×22 is ideal).
- Add the following ingredients to a bowl: baking powder, baking soda, flour, salt, and cocoa powder. Mix well and set aside.
- In a separate bowl, add the sugar and eggs. Beat well until pale in color, and creamy. Carefully pour in the remaining liquid ingredients: buttermilk and vanilla extract.
- Add your bowl of dry ingredients to your egg mixture gradually; mixing as you go. Be careful not to overmix.
- Pour your batter into your prepared baking pan and place it in the center of your preheated oven. Bake for around 15 minutes. Remove from oven and leave to cool.
- Repeat all of the above steps, with the above measurements, and make a second cake on your 16×22 baking sheet.
- While your cakes are cooling, you’ll need to make the frosting. Melt your chocolate chips in 15-second intervals and leave to cool once melted.
- Add the cream cheese to a bowl and beat until light. This should take a few minutes. Gradually pour in the sugar; mixing well as you go.
- Pour in both the vanilla, salt, and heavy cream. Keep mixing until you have a light and creamy frosting.
- Once your cakes are cooled, cut them in half vertically, so you have 4 equal pieces.
- Add a layer of frosting to each of your cake strips and spread it out evenly with a spatula.
- Roll one strip into a cake roll; carefully to ensure there’s no breakage. Line the next cake strip to the other and roll where the first one ends. Once you’ve made one long roll, you can place the whole cake upright. You can secure it with parchment paper and scotch tape.
- Frost the top of your cake lightly and chill in the fridge for at least a few hours.
- Remove the parchment paper and frost the tops and sides of the cake completely.
- Using your melted chocolate, use a spoon to spread it sporadically around the cake, creating a rustic look. Then add decorations of choice, such as fruit and leaves.
- Chill for a few hours. Slice, serve, and enjoy!
How to Make a Cake Look Like Wood With Buttercream
The best option for making the cake look like wood with buttercream is by using crusting buttercream. All you need to do is make your frosting the color of the wood you’re wanting, smooth, and leave it to crust. Once you’ve made varying shades of your wood, pipe in various places, in lines, and leave to crust. Smooth with a rough paper towel; this will create the wood grain effect.
Rustic Icing Technique
To make a simple rustic icing for your cake, you’ll need the following ingredients:
- thin buttercream
- cake layers
- spatula
- bench scraper
Now all you need to do is:
- Ensure your cake layer are level. Slice off any domes with a serrated knife. Fill and stack your layers with the filling of your choice.
- Frost the top and sides of your cake. Use your spatula to smooth out the buttercream evenly. It’s important to only use a thin layer of buttercream, as this helps to achieve the rustic look. It’s fine for some of the cake to be visible through the buttercream.
- Use your offset spatula to move the buttercream to the middle of the cake to remove any extra buttercream that you do not need; there is likely to be some.
- You can now add decorations to your rustic cake, such as flowers, leaves, and herbs. ganache, etc. Chill for a few hours. Slice, serve, and enjoy!
A Beautifully Elegant Cake
Whether for a wedding, party, or any special event, a birch tree cake is a great choice to have. They are simple to make, elegant, and have a beautiful natural look to them.
Birch tree cakes are guaranteed to be a crowd favorite. If you tried making a birch tree cake, please share your experience making it.
Please comment and share if you enjoyed this article or have any remarks regarding this recipe!
Birch Tree Cake: Awesome Recipe to Create Gorgeous Wood Effect
Equipment
- Piping bags
- Turntable
- Flat edge
Ingredients
- Round cake crumb coated
- ½ cup light brown buttercream
- ½ medium brown buttercream
- 1 cup dark brown buttercream
- 1 cup white buttercream
- Brown food coloring
- Food grade paintbrush
Instructions
- Step One: Crumb Coat the Cake
- Place the cake on the turntable and add a thin layer of white buttercream, creating a crumb coat.
- Step Two: Prepare the Frostings
- Add approximately 20 drops of food coloring to one cup of buttercream for dark brown, five drops to half a cup for medium brown and three drops to have a cup for light brown. You can adjust to your reach your desired shades. You may also use chocolate buttercream instead.
- Step Three: Frost the Top of the Cake
- Fill a piping bag with light brown and another piping bag with medium brown frosting. Pipe a circle in the middle with medium brown buttercream. Pipe a few rings of light brown buttercream, then one of medium brown buttercream and then finish with more light brown rings.
- Step Four: Smooth Out the Rings
- Using the straight icing spatula, gently smooth out the rings. Position the tip of the spatula over the center and tilt the blade of spatula up. Carefully place the lower flat edge of the spatula on the buttercream and slowly spin the turntable, smoothing the lines out.
- Step Five: Apply the White Buttercream
- Apply a thick layer of white buttercream along the sides of the cake. Try not to let the buttercream go above the top, but it is alright if it pokes up some over the top.
- Step Six: Smooth the Cake
- Using the straight icing spatula, smooth the sides of the cake and around the top.
- Step Seven: Pipe Dark Brown Buttercream
- Pipe the sides of the cake with dark brown streaks. Pipe the streaks going horizontal around the cake, making them thin and random.
- Step Eight: Smooth the Frosting
- Use a flat edge to smear the brown lines on the cake. Repeat until the cake reaches the birch appearance you desire.
- Step Nine: Add Finishing Touches
- Use the back end of a paint brush to create a small hole that only goes through the white layer of frosting. Repeat as you feel necessary. If you wish, add buttercream leaves or carve initials into the side.
- Birch tree cakes make for beautiful wedding cakes. They have a natural woodland look that many people love.
Notes
- It is important to crumb coat a cake because the base frosting coat allows it to catch any crumbs that might appear through the frosting. It is an easy way to ensure a smooth cake. Adding a crumb coat is a good practice to do when frosting any cake you plan to decorate.
- This cake can be stored in an airtight container for two to three days at room temperature. It may be stored in the fridge for up to a week and in the freezer for up to six months. If you stored your cake in the fridge or freezer, allow it to reach room temperature before serving.
- Buttercream frosting does not hold up well in the heat. If you are serving this cake outside on a summer day, keep it inside or in a fridge until it is ready to serve. This will help prevent any melting of the frosting and allow it to keep its natural look.
- Birch tree cakes give you a lot of freedom to add decorations you like. You can add buttercream frosting leaves, real leaves, sculptured or fondant creatures or mushrooms, initials, sugar ferns or whatever you like.
- If you want to use white buttercream for all the frosting layers, you can buy brown food coloring to achieve all the different shades of brown. You can buy brown food coloring in most grocery stores and online.
- Liquid gel food coloring is generally the best food coloring to use with buttercream frosting. It takes less drops to achieve your desired color and has less impact on the flavor of the frosting. However, any type of food coloring will work.

Karen is a passionate pastry chef who loves to create delicious baked goods. She has been in the culinary arts for over 10 years, honing her skills and perfecting her craft. Karen is known for her creativity and attention to detail, creating unique desserts that bring a smile to everyone’s face. She is always looking for ways to challenge herself and come up with new recipes that are both tasty and visually appealing. Karen loves to experiment with different flavors and textures, and she is committed to providing the highest quality of products to her customers.

