Last Updated on December 30, 2022
Graham cracker crusts are wonderful for pies and cheesecakes, as they provide a delicious base. However, sometimes your graham cracker crust sticks to the pan, which can be frustrating and lead to a messy final product.
When the crust sticks to the pan, it often makes your dessert hard to serve, resulting in a sloppy situation. The good thing is that there are some simple steps you can take to prevent this from happening. By doing so, you will have delicious pies and cheesecakes that will look as good as they taste when served.
Why Does Your Graham Cracker Crust Stick To The Pan?
Even when you think you do everything right, you can still end up with a graham cracker crust stuck to your pan. This makes it very difficult to serve, as slices won’t come up easily after cutting them. This can be particularly stressful if you baked something for a holiday or party.
The crust sticking to the pan is a common problem many people have when baking. There are a few reasons that can cause it to happen. By identifying them, you can help prevent this annoying situation from happening.
You Added Too Much Butter
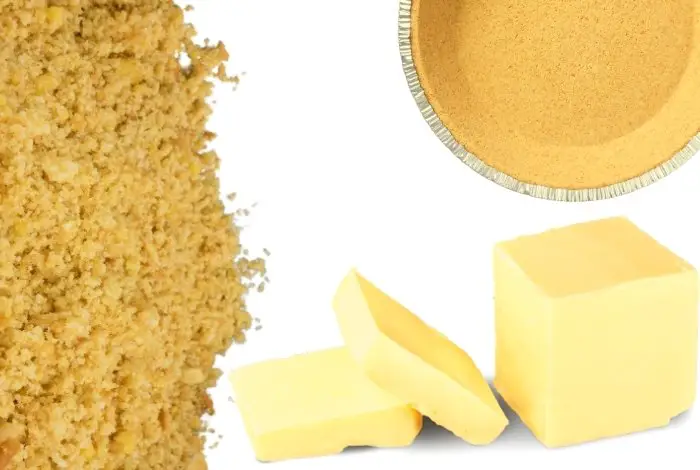
Butter is a key ingredient when making a graham cracker crust. Not only does it help hold the crust together, but it also gives it a delicious flavor.
However, too much butter in your crust can lead to it sticking to the pan. When in the fridge, the butter will harden up and in return stick to the pan.
You Pressed Down Too Hard When Making the Crust
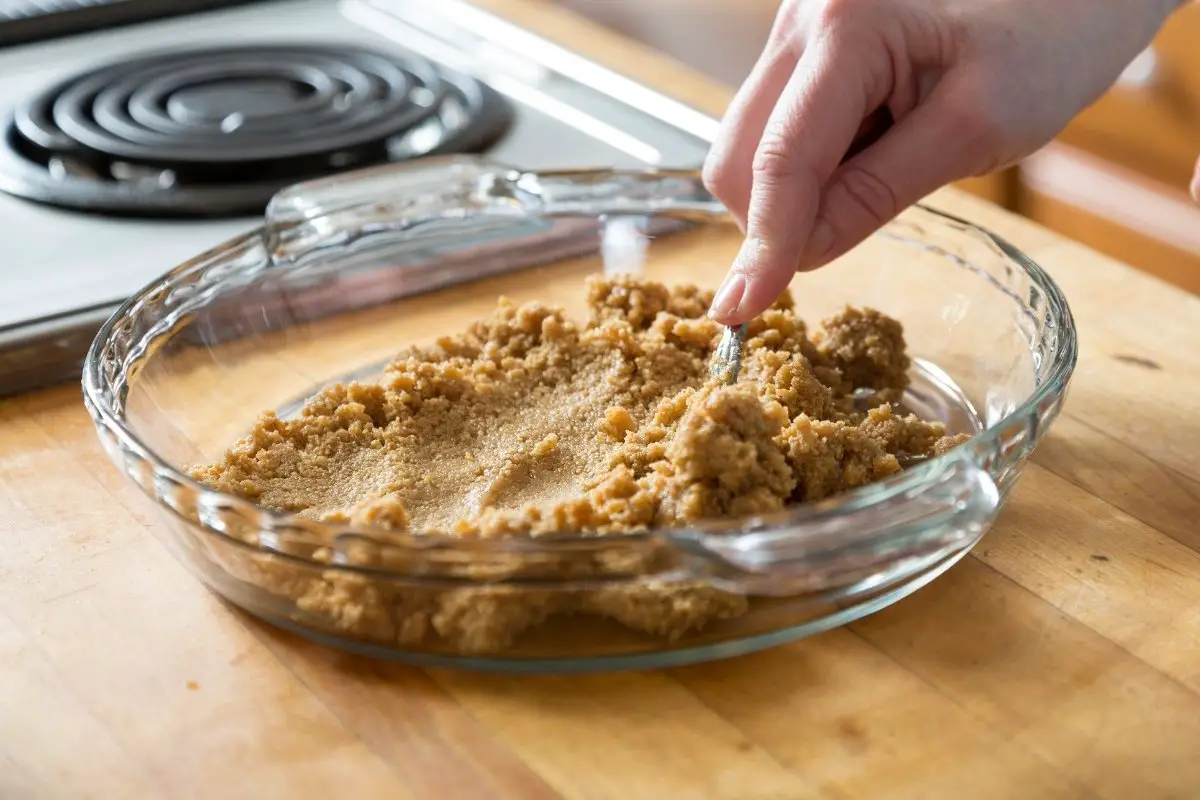
When making a crust, you need to press it down to ensure that it will hold together. However, it can be very easy to press down too hard. This can cause the graham cracker crust to become stuck to the bottom of the pan.
You Didn’t Properly Grease Your Pan
Greasing your pan can help the crust from not sticking, allowing for easy slicing. However, in some cases, if you don’t properly grease your pan, your crust will become stuck. This is a common problem many people struggle with.
You Overcooked Your Crust
Baking the crust allows it to fully come together and holds its shape. It allows for a nice, crispy bite with your soft pie or cheesecake.
It can be easy to accidentally overcook your crust. However, this can lead to it sticking. Be sure not to cook it for too long or at too high of a temperature.
Toaster Oven 4 Slice, Multi-function Stainless Steel Finish with Timer
How To Prevent Your Graham Cracker Crust From Sticking
Fortunately, there are some easy steps you can take that will allow for an easy way to slice and serve your dessert. These steps can prevent your graham cracker crust from sticking. This will save you stress and time in the kitchen.
Grease Your Pan
Before making your crust, grease the pan. You can rub the pan with butter or shortening, greasing it up thoroughly. You can also use non-stick cooking spray as well, or if you are really worried, use a bit of both.
Make sure to not only grease the bottom but also the sides. This will allow for a much easier cut when serving.
Use a Large Spoon to Press Down the Crust
To quickly press down the crust, use the back of a large spoon. This will help form it without pressing it down too hard. In addition, you can also use the bottom of a measuring cup as well.
Don’t Go Overboard on the Butter in the Crust
Though butter is delicious, make sure not to add too much. This can mess up the texture and cause the excess butter to harden in the fridge, making it difficult to slice.

Use Parchment Paper for Cheesecakes
If you are making a cheesecake, line the bottom of the pan with parchment paper. Since you use springform pans to make cheesecakes, parchment paper will allow it to easily come out of the pan without sticking. Be sure to also use non-stick cooking spray as well for an easy release out of the pan.
Recipes for graham cracker pie crust: The Best Lemon Meringue Pie With Graham Cracker Crust
Homemade Graham Cracker Pie Crust Cookies
I think store-bought cookies are standard and accessible for cheesecakes. But if you’d like to make them yourself, here is a recipe for homemade graham crackers.
Ingredients
1/2 cup butter
3/4 cup brown sugar
1/4 cup honey
3 Tbsp milk
1 tsp vanilla
3/4 tsp salt
1 cup AP flour
1 cup whole wheat flour
1 tsp cinnamon
1 tsp baking soda
Equipment
Rolling Pin
Mixing bowl
Kitchen Aid with Paddle or Beaters and Bowl
Measuring Cups and Spoons
Plastic Wrap
Parchment paper
Baking Sheet
Prep Time: 25 minutes
Rest Time: 1 hour
Bake Time: 15 minutes
Serving Size: 24 cookies, or enough crumbs for about 2 cheesecakes
Step-by-Step Instructions
Step One: Prep Your Oven
Preheat oven to 350° F.
Step Two: Mix Together Dries
Whisk together flour, salt, cinnamon, and baking soda. Set aside.
Step Three: Cream Butter and Sugar
In the bowl of a kitchen aid with the paddle attachment, or with beaters, beat brown sugar and butter until light and fluffy, about 2 to 3 minutes.
Step Four: Add dries, then wets
Slowly add dries until the mix just comes together. Add honey, milk, and vanilla, and beat until combined.
Step Five: Chill the dough
Form the dough into a ball, wrap it in plastic wrap, and chill in the refrigerator for about an hour.
Step Six: Roll Out Dough
Roll out dough to about 1/8 inch thickness, then transfer to a parchment-lined baking sheet. Since it will be pulsed into crumbs, it doesn’t have to be perfect.
Step Seven: Bake Cookies
Bake for fifteen minutes, then check. They will be deliciously fragrant and have a deep brown color and should be brown and crunchy around the edges. They might still be soft in the center when you take them out but will crisp up as they cool.
Once cooled, simply break apart the cookies and pulse to desired crumbs. If you ever want to use these for actual graham crackers, cut them in 2×4 rectangles after rolled out, then prick them with a fork to get the iconic graham cracker look. Bake for 8-10 minutes on parchment-lined baking sheets.
How Do You Remove Graham Cracker Crust From a Tart Pan?
Place your tart pan on a small bowl or stand and carefully slide the ring off of the tart down the stand. Then, carefully take down the tart and slide off the bottom round onto your plate.
Most of the time, a graham cracker crust will not stick to a pie or tart pan becomes of the butter it contains. However, sometimes it still manages to your tart pan regardless, leaving you with a mess to clean up.
If your graham cracker crust sticks to the pan, gently run a butter knife along the edges to help loosen it. Be sure to let your graham cracker crust cool first before removing it. You can also add a warm towel to the pan and let it sit for a few minutes before attempting to remove it again.
To help prevent sticking, you can lightly grease your pan before making your graham cracker crust. Be sure to also use a clean tart pan and cook your graham cracker crust according to the instructions.
How Do You Fix Too Much Butter in a Graham Cracker Crust?
To fix too much butter in your graham you can add more graham cracker to your crust to help even it out. However, if you are unable to add more graham cracker crumbs as the step you are at, there is no need to worry as you can still salvage it.
After baking your graham cracker crust, allow the crust to fully cool. Then, add it to the fridge as you make your filling. Adding it to the fridge will allow it to set, as it will harden in the fridge.
After letting set in the fridge for around 20 to 30 minutes, you can add the filling to your crust. Proceed with the recipe as the instructions state.
How Do You Soften a Graham Cracker Crust?
If your graham cracker crust is too hard, you can soften it by heating it in the oven. If your graham cracker crust has been in the fridge or freezer, let it sit at room temperature to soften. When the graham cracker crust is cold, it will harden.
Be sure not to add too much butter to your graham cracker crust. Too much butter can cause your crust to harden and make it harder to chew.
You can use fresh graham crackers or graham crackers that are slightly stale to make your graham cracker crust. Just be sure they are not too stale or have expired.
When Do You Bake a Graham Cracker Crust?
You should bake your graham cracker crust before you start baking your pie or cheesecake filling. Graham cracker crusts are easy to make, as you only need sugar, butter, and graham cracker crumbs. You will need 1 and 1/2 cups of graham cracker crumbs,
1/4 cup of granulated sugar and six tablespoons of unsalted butter, melted.
Crush your graham cracker crumbs in a food processor or will a rolling pin until they are a fine powder, then add in your butter and sugar and mix them. Add to your pie dish and bake in the oven for 10 minutes at 350 degrees Fahrenheit. Allow it to cool for at least 10 minutes before adding your filling.
You can also make your graham cracker crust ahead of time. It will last for three days at room temperature or three months in the freezer in the pan you made it in wrapped in plastic wrap.
No More Sticking Crusts
Graham cracker crusts make for a delicious base for some of your favorite pies and cheesecakes. However, they can easily stick making it very frustrating to try to cut them and serve them. Fortunately, there are some great tips to help ensure an easy-to-slice dessert.
Do you have any questions about why your graham cracker crust sticks to the pan? If so, please ask your questions in the comments down below.

Ever since she was a young girl, Anna has been a lover of desserts. As an adult, she enjoys
baking a variety of desserts from cakes, cookies, brownies, bread, and more from scratch. She
enjoys sharing her passion for baking with others who also have a sweet tooth. From properly
measuring ingredients to making sure they are the correct temperature, Anna knows the
importance small details can make in baking. She wants to share her experience with others in
hopes they can make the most delicious baked goods. When she’s not busy blogging, Anna
enjoys trying new recipes in the kitchen.


