
Last Updated on December 5, 2022
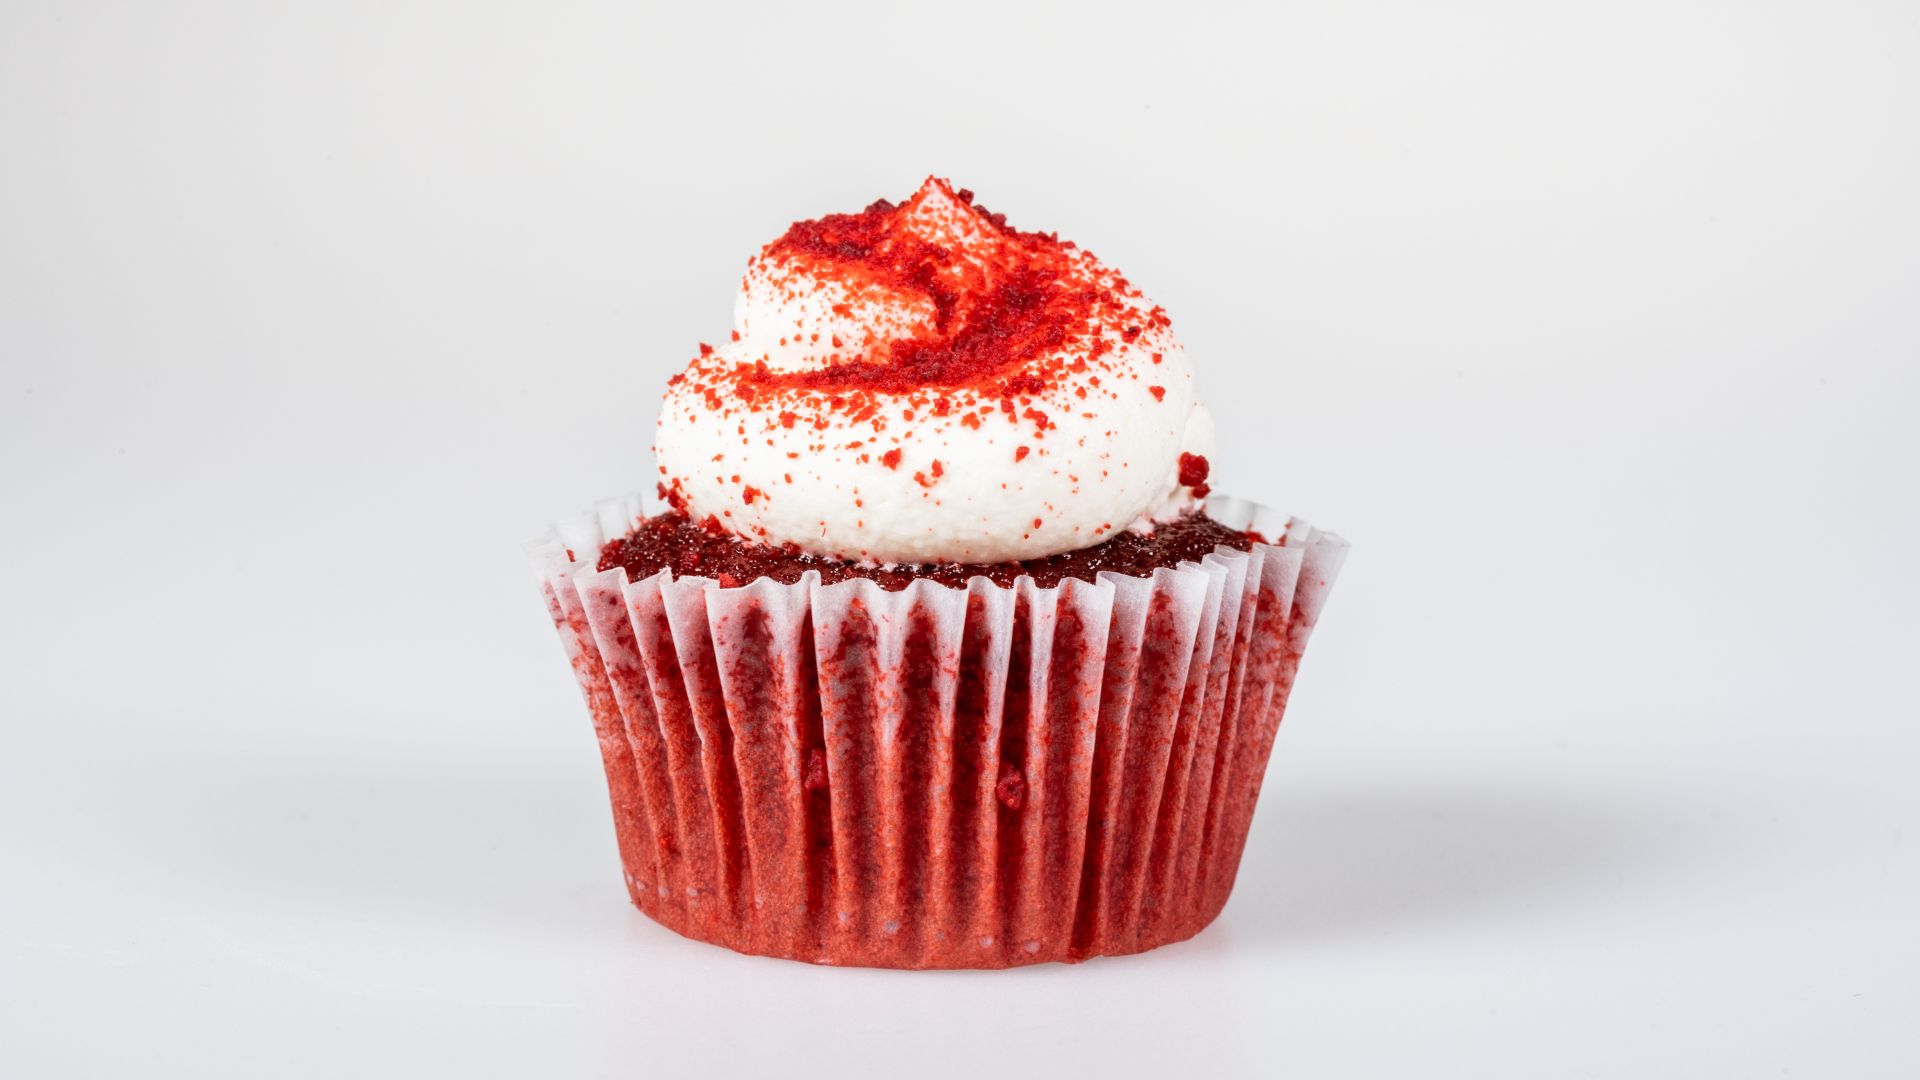
Take a look at this article and find out how to make the best gluten-free red velvet cupcakes with cheesecake filling.
Are you looking for the perfect treat for Valentine’s Day, kids’ birthday parties, or in fact any other occasion that calls for a chocolate dessert? You have come to the right place! They’re moist, delicious, and best of all they’re made with just a few pantry staples.
Therefore, keep reading and find out how to make the best gluten-free red velvet cupcakes with cheesecake filling.
How to Make The Best Gluten-Free Red Velvet Cupcakes With Cheesecake Filling
Ingredients
Red velvet cupcakes
- 1 1/2 cups of 1-to-1 gluten-free flour blend
- 1/2 cup of oat flour
- 1 tablespoon of cocoa powder
- 1 1/2 teaspoons of baking powder
- 1/2 teaspoon of baking soda
- A pinch of salt
- 3/4 cup of sugar
- 3 eggs
- 1/2 cup of vegetable oil
- 1/2 cup of buttermilk
- Pure beet juice for coloring
Cheesecake filling
- 18 ounces of cream cheese
- 1/3 cup of sour cream
- 1/4 cup of sugar
- 1 teaspoon of vanilla extract
Cheesecake frosting
- 8 ounces of cream cheese
- 1/2 cup of butter (preferably unsalted)
- 4 cups of powdered sugar
- Salt to taste
- 1 tablespoon of vanilla extract
Instructions
Step #1: Prepare the cupcake batter
a) The first thing that almost always needs to be done is to preheat the oven, in this case, the ideal temperature is around 350°F. Then, line standard muffin/cupcake pans with liners.
b) Whisk dry ingredients, flour (gluten-free flour blend, oat flour, cacao powder, baking powder and soda, and finally salt).
c) In a separate bowl, beat the wet ingredients (eggs, oil, buttermilk, and pure beet juice).
d) Combine the wet and dry mixture together and stir until everything is nice and even.
Step #2: Prepare the cheesecake filling
a) In a separate bowl, combine cream cheese, sugar, vanilla, and sour cream. We always choose a hand mixer, but you can also use a whisk if you prefer.
Step #3: It’s baking time
a) Divide the cupcake batter into the previously prepared cupcake liners. For a perfect look and shape, place about 2-3 tablespoons of batter into the bottom of each liner.
b) Add about 1 or 1 1/2 tablespoons of the cheesecake mixture to the previously added cupcake batter and smooth it well with a spoon.
c) It will take up to 30 minutes for the cupcakes to be completely done. Also, the baking time depends on the power of your oven.
d) After testing with a toothpick and making sure they are baked, take them out and let them cool completely. Confectioners recommend chilling the cookies for at least 2 hours before frosting once they have reached room temperature.
Find more tips and tricks that could make it easier for you to prepare this delicious dessert in this article.
Step #4: Make the cheesecake frosting
While your cupcakes are resting, you can start making the frosting.
a) Simply beat cream butter and cream cheese with a mixer until you get the well-known fluffy texture, and only then add in powdered sugar, salt, and vanilla.
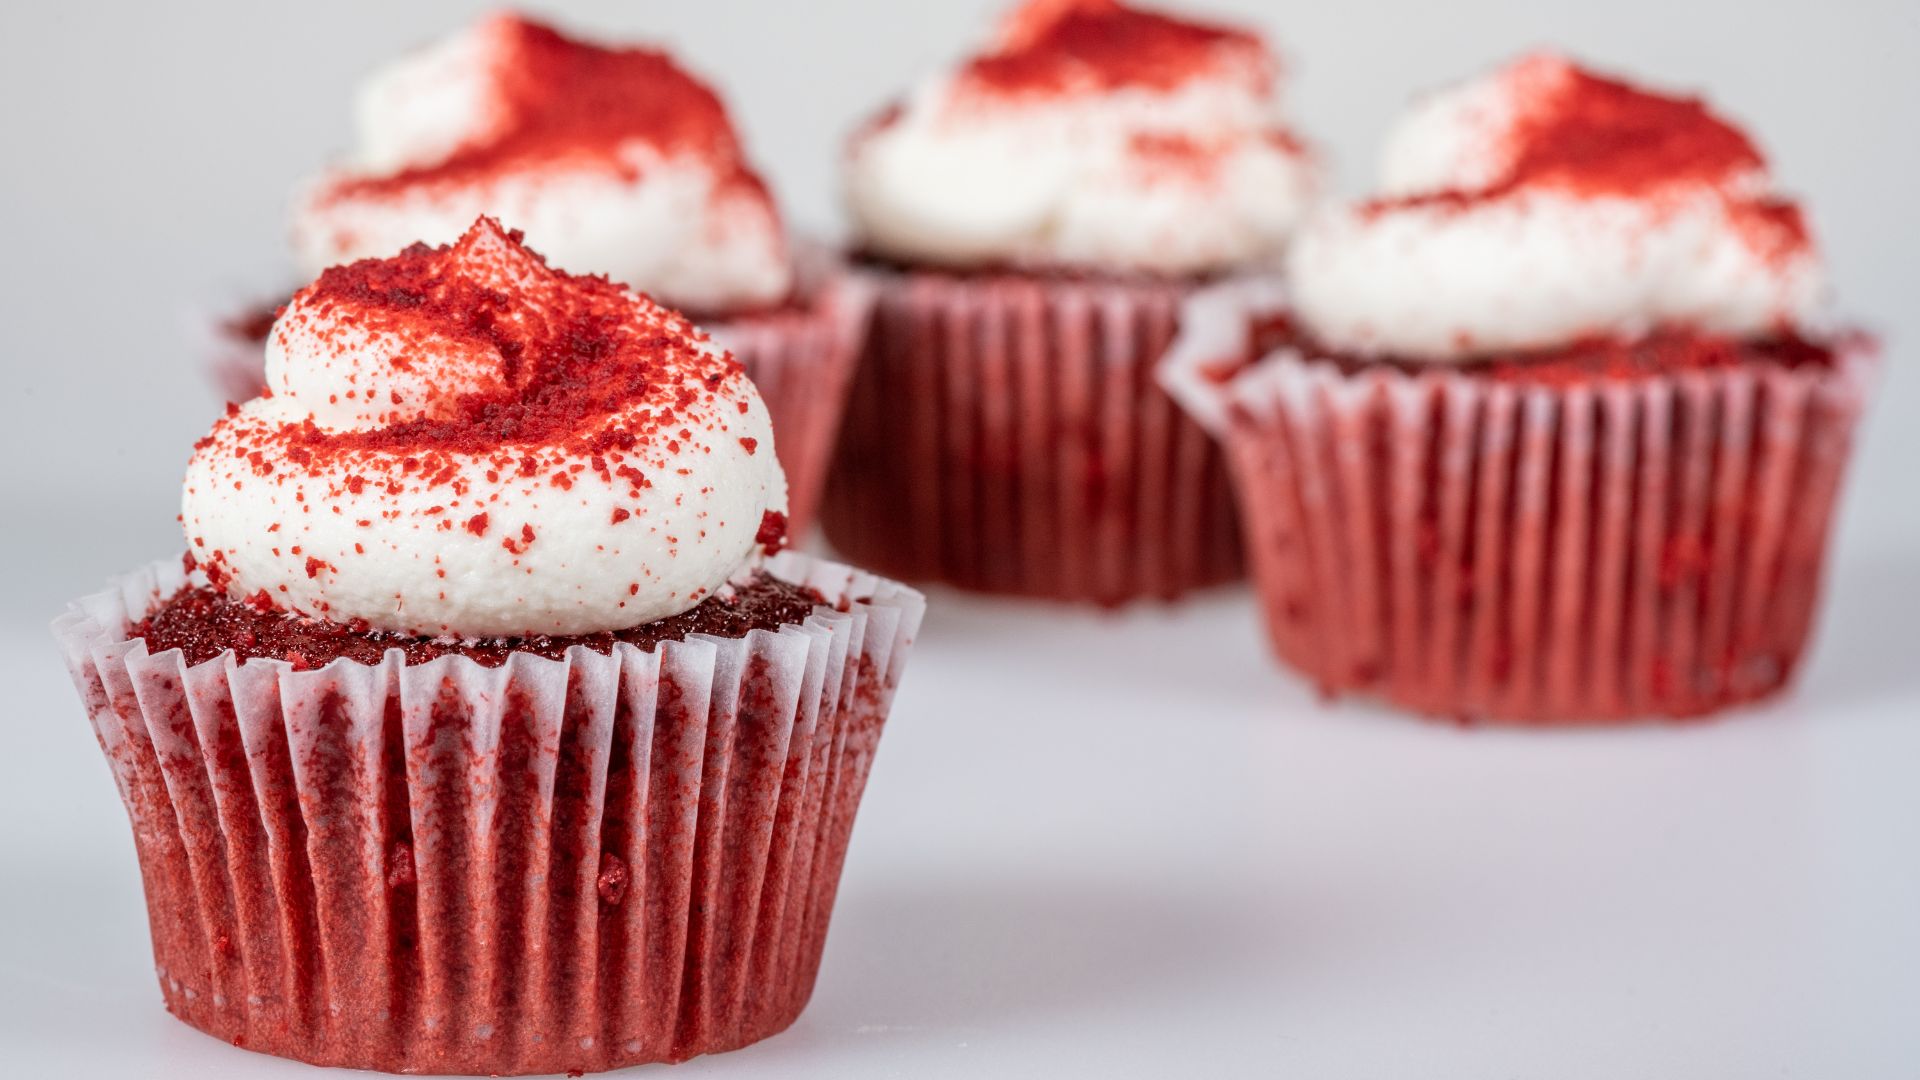
b) As soon as the cupcakes cool down, they are ready for further assembly. All you have to do is top each red velvet cupcake with some frosting and some other decorations of your choice such as sprinkles, chocolate shavings, cake crumbs, coconut, nuts, etc.
That would be it! They are ready to be served.
Check out this video for another cheesecake-filling option!
To Wrap Up
Did we tell you, they’re super easy to make and only require a few pantry staples? You can store them in the refrigerator or put them in the freezer and take them out as needed, but in case you decide to freeze them, frost them just before serving.
That’s it, now you know how to make the best gluten-free red velvet cupcakes with cheesecake filling.
Let us know when you try the recipe, we look forward to hearing if you like it.
Read more about Find Out Why Red Velvet Cake Is Red!