
Last Updated on January 10, 2023
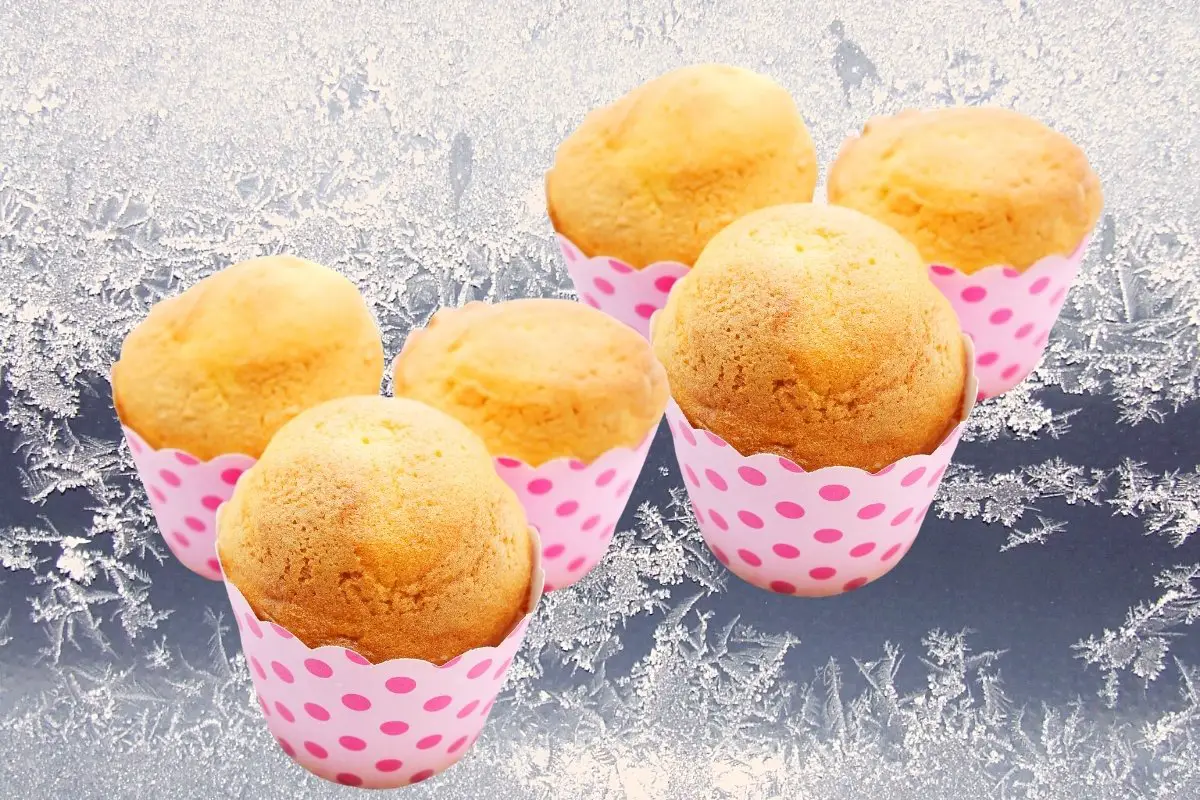
Look to save time before your next party. Wanting to bake your cupcakes in advance? Freezing cupcakes with liners are an easy and effective way to plan.
If you have a busy schedule, it can be hard to find time for baking and decorating. Fortunately, you can save the hassle of all this stress by baking ahead of time. Freezing is an easy and convenient way to have homemade cupcakes on hand.
What You Will Need To Follow This Tutorial
To freeze cupcakes:
- Freshly baked cupcakes, baked in liners
- Plastic Wrap
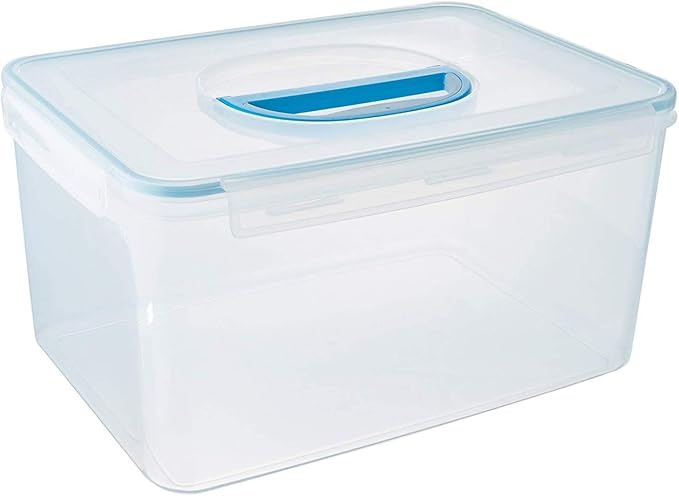
- Ziploc bag or airtight container
To freeze frosted cupcakes with liners:
- Freshly baked frosted cupcakes, in liners
- Large plate or tray
- Plastic wrap
- Airtight container
Komax Biokips Extra Large Food Storage Container (48.6-Cups)
Step By Step Instructions: Unfrosted Cupcakes
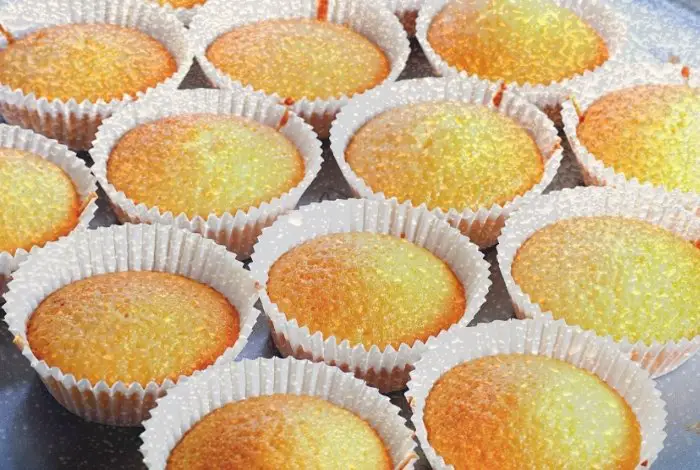
Step One: Bake Your Cupcakes
Bake your favorite cupcake recipe. Allow the cupcakes to fully cool on a wire rack after baking.
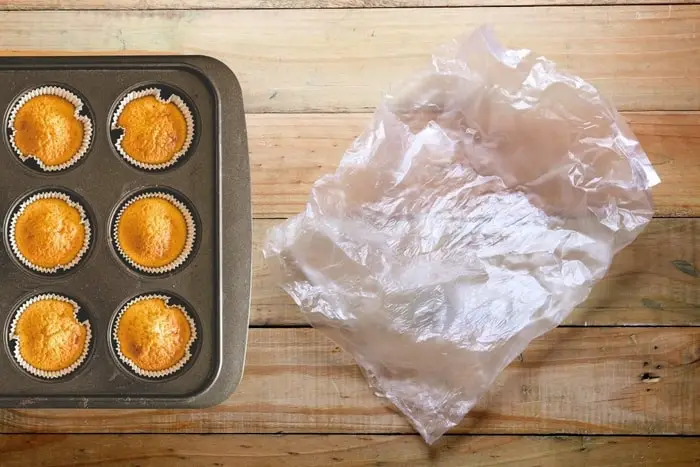
Step Two: Wrap Your Cupcakes
Once your cupcakes are completely cool, leaving the liners on, carefully wrap each individual cupcake in plastic wrap. Be sure to cover the entire cupcake in plastic wrap.
Step Three: Place Cupcakes in Ziploc Bag or Airtight Container
Place your wrapped cupcakes in a Ziploc bag or an airtight container. Make sure to give the cupcakes enough room so they do not get squished.
Step Four: Freeze the Cupcakes
Carefully place the cupcakes in the freezer so they are upright. Cupcakes can be kept in the freezer for 3-6 months.
Once ready to use, allow cupcakes to fully thaw before frosting. Eat cupcakes within two days of defrosting, storing them in an airtight container in the fridge.
Step By Step Instructions: Frosted Cupcakes
Step One: Bake and Frost Cupcakes
Bake your favorite cupcake recipe and allow them to fully cool on a wire rack. Once fully cool, decorate the cupcakes with your choice of frosting.
Step Two: Place Frosted Cupcakes in Freezer
Place your frosted cupcakes, with the liners still on, on a large tray or plate. Next, place them in the freezer, uncovered for 1-2 hours. This will allow the frosting to freeze.
Step Three: Wrap the Cupcakes
Once the frosting has been frozen on the cupcakes, carefully wrap each individual cupcake in plastic wrap. Be sure to completely cover every bit of the cupcake.
Step Four: Place The Cupcakes in an Airtight Container
Carefully place each cupcake in an airtight container. Be certain not to place them too close to avoid squishing them.
Step Five: Freeze the Cupcakes
Place the airtight container so the cupcakes are upright. They can be frozen for 3-6 months.
Once thawed, eat the cupcakes within two days. Store them in an airtight container in the fridge in the meantime.
Tips And Tricks – Freezing Cupcakes With Liners
It is very important to make sure your cupcakes are completely cool before freezing them. Placing warm cupcakes in an airtight container can lead to steam forming. In return, this can cause the top of the cupcakes to become sticky, which will make the liners hard to get off.
Your cupcakes should cool for at least one hour at room temperature. They should be cool to the touch before you wrap them up. Be sure to use a wire rack to allow them to cool properly.
To avoid any freezer burn, it is important you fully cover the cupcakes in plastic wrap. Make sure the Ziploc bag is fully zipped, or if using an airtight container, make sure the lid is fully on.
To thaw the cupcakes, remove the plastic wrap and place them in the fridge overnight in an airtight container. You can also let them thaw unwrapped at room temperature for 1-2 hours.
For frosted cupcakes, you must freeze them for 1-2 hours uncovered at first. This will allow the frosting to freeze, so you won’t smudge the frosting while wrapping them in plastic wrap.
How Do You Keep Cupcakes From Separating From the Liner?
Cupcakes coming away from the liners is one of the most common problems that can occur once cupcakes have been baked. Your cupcakes may come out perfectly, but this small issue can really ruin the way your finished cupcakes look. However, there are several things you can do to stop this from occurring. I’ve found that the cupcake liner brand itself makes very little difference to whether the liner separates or not. It all comes down to how the cupcakes are made. Why not try some of these tips to help this from occurring?
Do not underbake
While this seems like an obvious one, if cupcakes are underbaked, they’ll shrink or sink and this will mean that they’ll come away from the liners. Cupcakes must be baked just right.
No grease
Some recipes will suggest spraying your liners with cooking spray, or even adding a small amount of shortening – please do not do this. Liners are perfect the way they are for baking and do not require any additional greasing.
Filling your liners
While it’s tempting to fill your cupcake liners to the top to get huge cupcakes, do not do this. They must be only 2/3 full. This gives them the chance to expand to the exact size of the liners and they will not pull away.
Use a cooling rack
Leave your cupcakes to cool at room temperature for around 5 minutes and then transfer them to a cooling rack. A cooling rack is the most effective way for cupcakes to cool without them peeling away from the liner.
Do not rush the cooling process
You may want to put the cupcakes in the fridge or freezer to cool down faster, but it’s best to leave them to come to room temperature naturally to avoid any problems.
How Do You Keep Muffins From Sticking to the Liner?
I don’t know what it is about muffins, but they always seem to get stuck to the liners! This is a common problem in baking and if this is happening to you, there are a few ways to prevent this from happening. The first is to buy non-stick liners. While they’re usually a little more expensive than standard liners, they really are effective at stopping your muffins from sticking. If you’re unable to buy non-stick liners, simply spraying a very small amount of cooking spray into your liner can stop this from happening to your muffins too. However, non-stick liners are the preferred option.
How Do You Keep Cupcake Liners From Turning Brown?
The most common reason for your cupcake liners turning brown is overbaking. Overbaking your cupcakes will not only brown the edges of your cupcake but will also turn the edges of your liner brown too. The best way to avoid this is to follow the exact time and oven temperature of the recipe you’re following. It’s also worth noting that the darker your pan, the darker the cupcake will be.
Some other ways to avoid this are to put a small amount of uncooked rice into the pan before you add the liners and even use two cupcake liners, instead of one. Following these tips should help your cupcakes (and the liners) to stay an even color throughout.
Hassle-Free Freezing Cupcakes in Liners
No matter the occasion, baking cupcakes ahead of time can save you time and stress in the kitchen. You can freeze them in the liners, both frosted and unfrosted. You can freeze them for up to 3-6 months, allowing you to plan.
Not only are freezing cupcakes easy, but they will also make the day of your event go smoothly. You don’t have to worry about getting enough time aside to bake. It is a great hack to have if you have a busy schedule.
Did you enjoy this tutorial on freezing cupcakes with liners? If so, please share your thoughts in the comments down below and share them with your friends and family.

Ever since she was a young girl, Anna has been a lover of desserts. As an adult, she enjoys
baking a variety of desserts from cakes, cookies, brownies, bread, and more from scratch. She
enjoys sharing her passion for baking with others who also have a sweet tooth. From properly
measuring ingredients to making sure they are the correct temperature, Anna knows the
importance small details can make in baking. She wants to share her experience with others in
hopes they can make the most delicious baked goods. When she’s not busy blogging, Anna
enjoys trying new recipes in the kitchen.