Last Updated on February 6, 2022
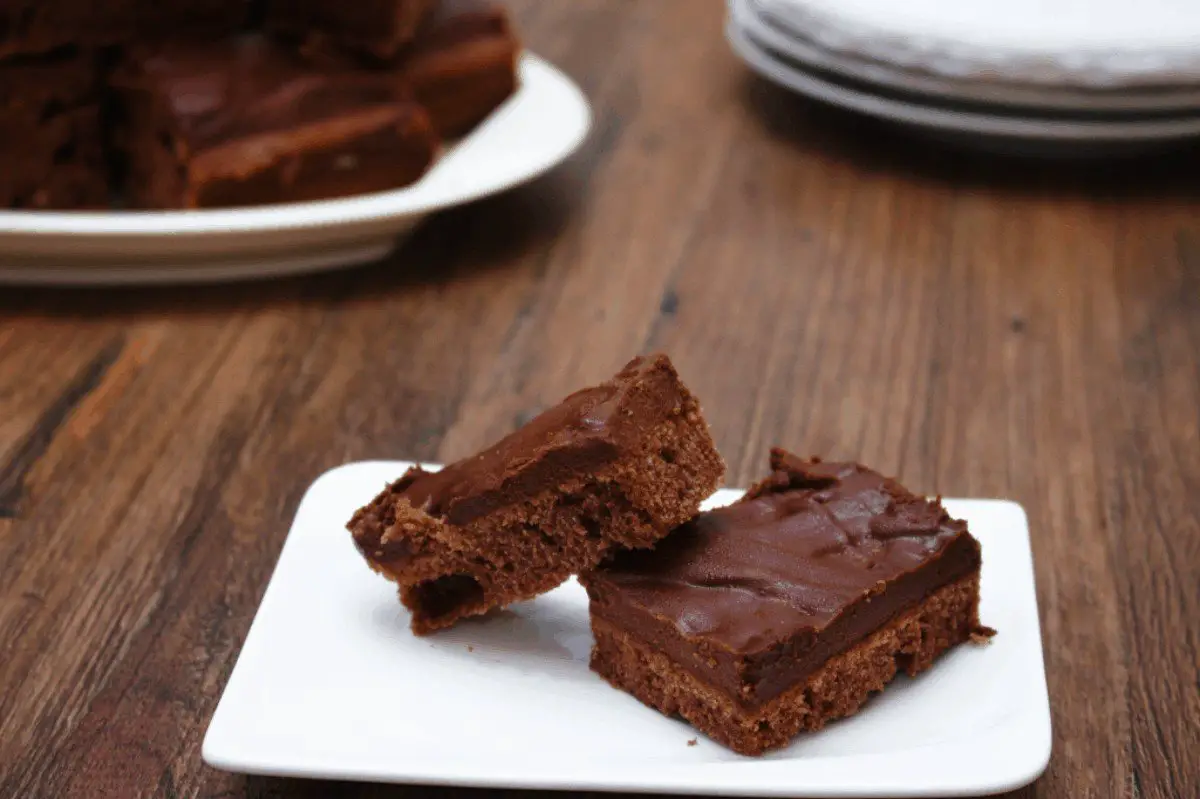
Peanut butter and fudge are a perfect combination. They pair together wonderfully, making an irresistible snack. This delicious peanut butter fudge bars recipe is a great combination of creamy peanut butter and smooth fudge.
These peanut butter fudge bars are a great snack to share with your friends and family. They are easy to make and require little baking experience. Pair them with a glass of milk for the perfect sweet treat.
Working with Peanut Butter Fudge Bars
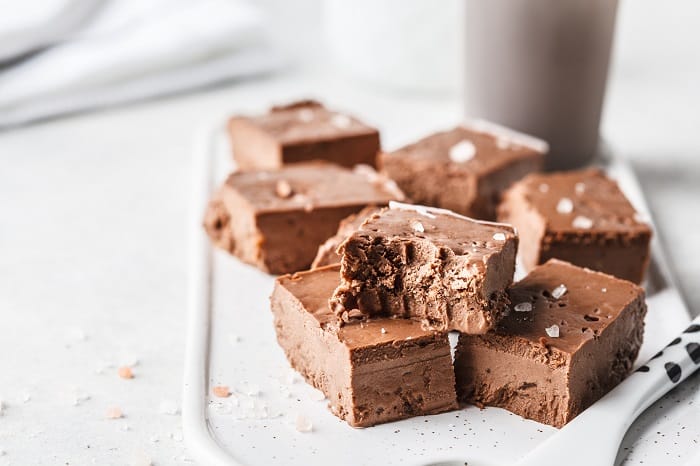
One of the great things about this recipe is that it contains a delicious layer of fudge. However, fudge can be a bit tricky to make. It can easily burn or overcook if left too long on heat or cooked at too high of a temperature.
It is always recommended to use a heavy saucepan when making fudge, as it will allow for the heat to disperse evenly and help prevent the fudge from boiling over. It is best to use a heavy saucepan that holds twice the volume of the fudge you are making.
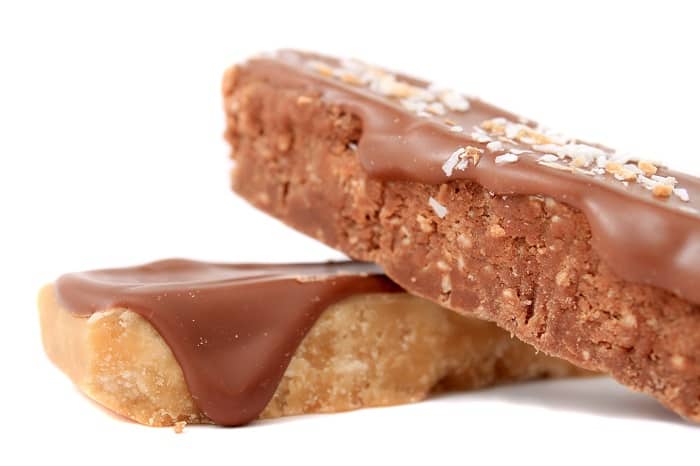
Fortunately, the fudge in this recipe is straightforward and only requires a few simple steps and ingredients. As long as you closely follow the steps in the recipe, your fudge should turn out just fine. Just be sure to keep a careful eye on it while you are making it.
What You Need to Make This Chocolate Peanut Butter Fudge Bars
To make this peanut butter fudge bar recipe, you will need:
- 1 package yellow cake mix, regular size
- 1 cup creamy peanut butter
- 1 egg
- 1 14 ounce can sweetened condensed milk
- 1 cup semisweet chocolate chips (6 ounces)
- 2 tablespoons butter
- ½ cup canola oil
To prepare this recipe, you will need:
Peanut Butter Fudge Bars: Step by Step Instructions
Step One: Preheat the oven and Prepare the Pan
Preheat the oven to 350 degrees Fahrenheit and grease the pan.
Step Two: Prepare the Cake Mix
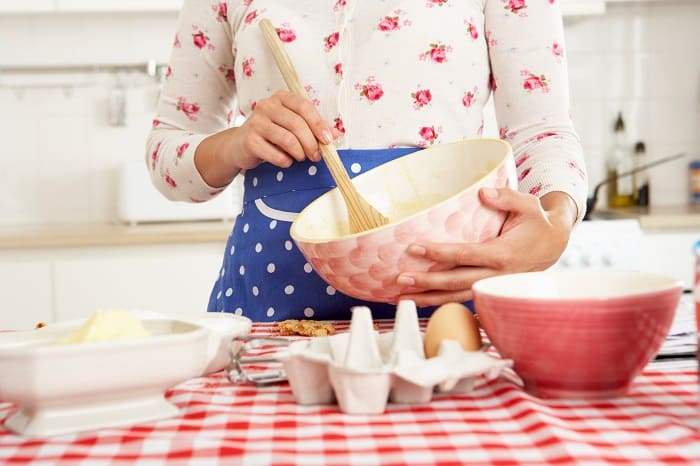
In a large bowl, combine cake mix, peanut butter, canola oil, and egg. Mix until the ingredients are fully combined.
Step Three: Bake the Mix
Add two-thirds of the peanut butter mix to the pan. Bake for ten minutes and allow to cool for five minutes on a wire rack.
Step Four: Prepare the Fudge
On low heat, combine the sweetened condensed milk, semi-sweet chocolate chips, and butter in a heavy saucepan. Stir until smooth, then pour over the peanut butter mixture and sprinkle with the remaining peanut butter mixture. Be careful while pouring the fudge, as it will be hot.
Step Five: Bake the Mix
Bake for 20-25 minutes, until golden brown. Allow to cool on a wire rack and then cut into bars.
These peanut butter bars are great treats for bake sales, games, parties and any sort of occasion. Both kids and adults will love the perfect combination of chocolate and peanut butter.
Tips and Tricks
When making these peanut butter fudge bars, it is best to avoid using reduced-fat peanut butter. Using reduced-fat peanut butter won’t give the bars as rich of a flavor as regular creamy peanut butter does. You can use crunchy peanut butter if you want to add more texture to the bars.
If you prefer, you can also use milk or dark chocolate instead of semi-sweet. You can also use baking bars or melting wafers instead of chocolate chips.
Though it’s recommended to use a yellow cake mix, you can also try it with another flavor. Both white and chocolate cake mixes go well with peanut butter and fudge.
When making the fudge portion, make sure you use sweetened condensed milk and not evaporated milk. Evaporated milk is essentially the same thing as sweetened condensed milk, but the thing that sets them apart is that evaporated milk does not contain sugar but sweetened condensed milk does. If you were to use evaporated milk, it would affect the flavor of the fudge and not give it classic sweet taste fudge has.
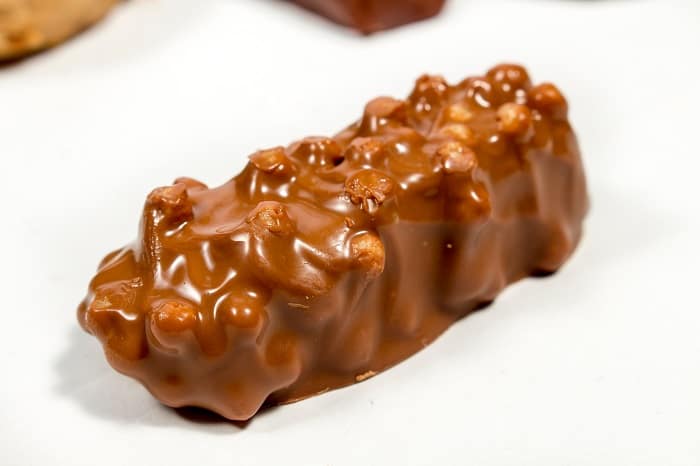
Be sure to only use regular butter when making the fudge. Using low-fat butter or a butter substitute may affect both the taste and texture of the fudge. Real butter will give the fudge a smooth and creamy taste.
You can also garnish these bars with your favorite toppings, such as peanuts, chocolate drizzle, caramel or marshmallows. You can even vary the toppings for each bar, so everyone can have something they like.
The peanut butter fudge bars can be stored in an airtight container for up to a week. You can store them in the fridge for two weeks and also freeze them for up to three months. If you do freeze them, be sure to allow them to thaw at room temperature for two to three hours before serving.
When making the fudge, it is important to follow the directions and keep it at low heat. This will allow the fudge to achieve the proper consistency and evenly cook. It is also important that you regularly stir it to make sure all the ingredients are combined, which will allow for a smooth fudge.
Delicious Peanut Butter Fudge Bars
Equipment
- A heavy saucepan
- A 13 x 9-in baking pan
- A wire rack
Ingredients
- 1 package yellow cake mix regular size
- 1 cup creamy peanut butter
- 1 egg
- 1 14 ounce can sweetened condensed milk
- 1 cup semisweet chocolate chips 6 ounces
- 2 tablespoons butter
- ½ cup canola oil
Instructions
- Preheat the oven and Prepare the Pan - Preheat the oven to 350 degrees Fahrenheit and grease the pan.
- Prepare the Cake Mix - In a large bowl, combine cake mix, peanut butter, canola oil, and egg. Mix until the ingredients are fully combined.
- Bake the Mix - Add two-thirds of the peanut butter mix to the pan. Bake for ten minutes and allow to cool for five minutes on a wire rack.
- Prepare the Fudge - On low heat, combine the sweetened condensed milk, semi-sweet chocolate chips, and butter in a heavy saucepan. Stir until smooth, then pour over the peanut butter mixture and sprinkle with the remaining peanut butter mixture. Be careful while pouring the fudge, as it will be hot.
- Bake the Mix - Bake for 20-25 minutes, until golden brown. Allow to cool on a wire rack and then cut into bars.
- These peanut butter bars are great treats for bake sales, games, parties and any sort of occasion. Both kids and adults will love the perfect combination of chocolate and peanut butter.
Notes
- When making these peanut butter fudge bars, it is best to avoid using reduced-fat peanut butter. Using reduced-fat peanut butter won’t give the bars as rich of a flavor as regular creamy peanut butter does. You can use crunchy peanut butter if you want to add more texture to the bars.
- If you prefer, you can also use milk or dark chocolate instead of semi-sweet. You can also use baking bars or melting wafers instead of chocolate chips.
- Though it’s recommended to use a yellow cake mix, you can also try it with another flavor. Both white and chocolate cake mixes go well with peanut butter and fudge.
- When making the fudge portion, make sure you use sweetened condensed milk and not evaporated milk. Evaporated milk is essentially the same thing as sweetened condensed milk, but the thing that sets them apart is that evaporated milk does not contain sugar but sweetened condensed milk does. If you were to use evaporated milk, it would affect the flavor of the fudge and not give it classic sweet taste fudge has.
A Tasty Fudgy Peanut Butter Treat
These peanut butter fudge bars are sure to be a hit for any occasion. They are great for sharing with others, as long as you don’t eat them all first. They are a simple recipe that anyone can make.
You can add your favorite toppings or keep them how they are, either way, they will be delicious. These bars are sure to meet your sweet tooth cravings.

No matter the occasion, these peanut butter fudge bars make for a great treat. The smooth taste of peanut butter and the rich taste of fudge come together to create a perfect pairing. If you tried these peanut butter fudge bars, please share your experience making them.
Please comment if you have any questions or remarks regarding this recipe!

Karen is a passionate pastry chef who loves to create delicious baked goods. She has been in the culinary arts for over 10 years, honing her skills and perfecting her craft. Karen is known for her creativity and attention to detail, creating unique desserts that bring a smile to everyone’s face. She is always looking for ways to challenge herself and come up with new recipes that are both tasty and visually appealing. Karen loves to experiment with different flavors and textures, and she is committed to providing the highest quality of products to her customers.

