Last Updated on March 27, 2022
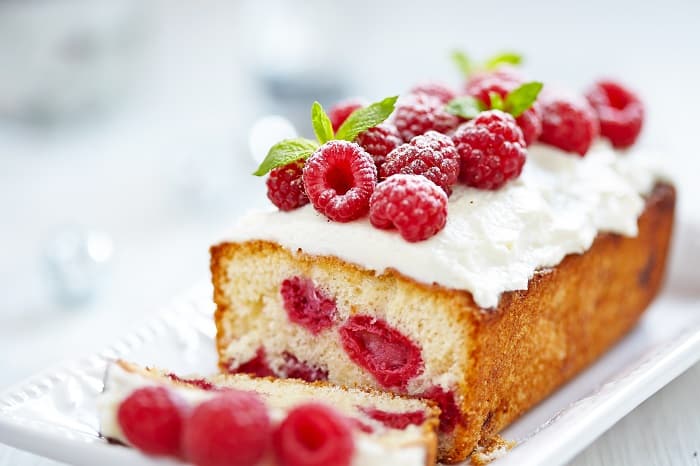
Even though I love baking, fruit flavors are usually my favorite. For Summer or any other season, I love to incorporate them into my recipes. My fruits of choice are any type of berry: strawberry, boysenberry, raspberry, blueberry… I could eat them all they long! So tiny and delicious, they combine the perfect balance of sweetness and acidity that works especially well with, for example, buttercream! Today I have raspberry cake with buttercream frosting recipe that will absolutely blow your mind!
This recipe will yield 16 servings. You will need 3 9 inch round cake pans. Baking the three layers separately will make it easier to assemble and it will also cook faster, but you can always bake it in a larger pan or a taller pan. You can even bake 3 cakes in the same pan if you have the patience! But this is the way that has worked best for us always, so we recommend you try it out and see if it cuts back on your baking time.
From start to finish it will take you about 3 hours to complete. Remember cakes need to cool down before we can decorate them! You could also make the sponge the day before and then assemble the next day.
What You Will Need For This Raspberry Cake Recipe
Ingredients
For the Cake (Vanilla Sponge Cake)
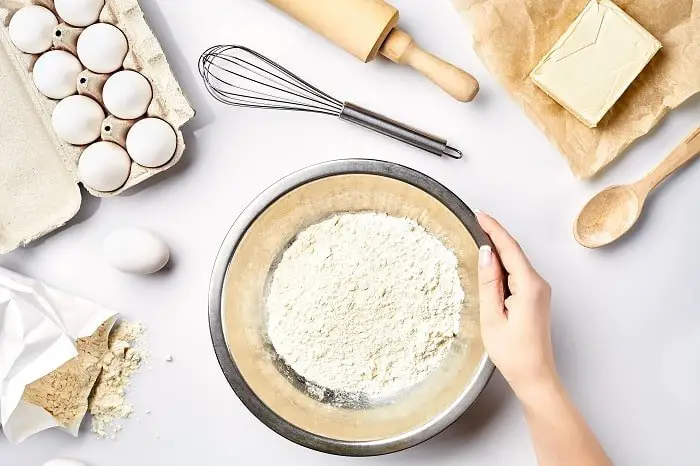
- 2 ⅔ cups of all-purpose flour
- 3 teaspoons of baking powder
- ½ teaspoon of salt
- ¼ teaspoons of baking soda
- 1 ½ cups of softened, unsalted butter
- ⅔ cups of milk
- 1 ¼ cups of granulated sugar
- 1 ½ teaspoon of vanilla
- 4 eggs
For the Filling and Decoration (Raspberry Cake Buttercream and Fresh Raspberries)
- 1 cup of seedless raspberry jam
- 1 cup of clean, fresh raspberries
- 1 cup of softened butter
- 3 cups of powdered sugar
- ½ cup of raspberry liqueur or raspberry syrup
- ½ teaspoon of vanilla
How to Make It
Step 1
First, preheat oven to 350°F. Afterward, grease bottom and sides of all the pans you are going to use with butter or shortening. Do not forget to add a little flour as well. You can also use cooking spray with four in it, which we love!
Step 2
In a small bowl, mix all dry ingredients for the raspberry cake batter: flour, baking soda, baking powder, and salt. Set it aside.
Step 3
Grab your stand mixer and put the butter and granulated sugar inside the bowl. You could also use a hand mixer, or you could even do it by hand but it will take forever! Beat it well until it becomes a fluffy mixture of goodness.
Step 4
In a small container, mix the milk and vanilla extract together.
Step 5
Stop the mixer a moment and sift in a ⅓ of your dry ingredients, followed by a ⅓ of your liquids and an egg at a time. Incorporate in between on medium speed. Do not forget to add the final fourth egg!
Step 6
Once everything is well incorporated, beat two more minutes on high and pour the same amount into all pans. You could measure this to make it as accurate as possible.
Step 7
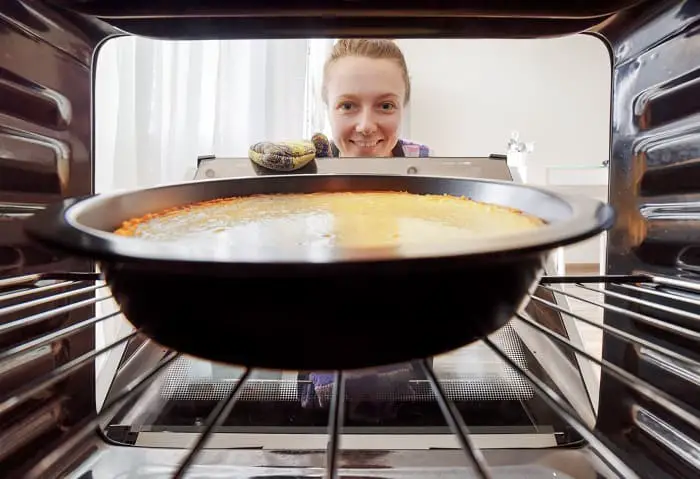
Bake for 25 minutes and check the center with a toothpick. If it comes out clean, then they are done! Take them out before they burn! But if not, leave them for another 5 to 10 minutes.
Allow 10 minutes for them to cool outside the oven and take them out of the mold to place them into cooling racks. Leave them be for a good full hour before attempting assembly. If they are still warm, your cake will not be as stable.
To speed this up, you could place them inside the fridge!
Step 8
Meanwhile, we can focus on the buttercream. Wash your stand mixer container and once dry put in the butter and powdered sugar. Beat them together on medium until they are nicely combined and fluffy.
This buttercream will not be spreadable and it will melt quite easily. If you would like your buttercream to crust, try using ½ cup of butter and ½ cup of shortening instead. This will help it keep its shape if you are planning on doing some pipework.
We also recommend that if the weather is really hot. Butter melts more easily. You will also want a thicker cream, so you will need to add a little more powdered sugar. Check the consistency before using it!
Step 9
Gradually beat in the liqueur and the vanilla. You are adding extra moisture here, so if you live in a warmer climate be careful about your consistency. Do not overdo it, if not you will have to add some powdered sugar.
Step 10
Once cool, cut each cake horizontally to make two layers. To do this, mark the side of the cake with toothpicks and use a thin serrated knife, you will get even layers that way. If they have a dome, you should also make them even.
Place a bottom layer and fill it with a ⅓ of the jam. Place a second layer on top and fill with a ⅓ of the buttercream. Place a few fresh raspberries in the buttercream. Repeat for the rest of the layers.
Step 11
Place the cake into the fridge for 15 minutes. When you take it out, crumb coat it and place it in the fridge for 10 minutes again. Once they are up, frost it with the remaining buttercream.
Step 12
Use the remaining fresh raspberries to decorate it. You could also use some chocolate leaves, it is totally up to you! Piping some decorations is also encouraged.
Remember that you can also play around with flavors. How about instead of a vanilla sponge you try coconut or pineapple flavored one? It is just a thought!
Delicious Fresh Raspberry and Vanilla Cake
Equipment
- 3 round cake pans (9 inch)
- Oven
Ingredients
For the Cake - Vanilla Sponge Cake
- 2 ⅔ cups of all-purpose flour
- 3 teaspoons of baking powder
- ½ teaspoon of salt
- ¼ teaspoons of baking soda
- 1 ½ cups of softened unsalted butter
- ⅔ cups of milk
- 1 ¼ cups of granulated sugar
- 1 ½ teaspoon of vanilla
- 4 eggs
For the Filling and Decoration - Raspberry Buttercream and Fresh Raspberries
- 1 cup of seedless raspberry jam
- 1 cup of clean fresh raspberries
- 1 cup of softened butter
- 3 cups of powdered sugar
- ½ cup of raspberry liqueur or raspberry syrup
- ½ teaspoon of vanilla
Instructions
Step 1 - Vanilla Sponge Cake
- First, preheat oven to 350°F. Afterward, grease bottom and sides of all the pans you are going to use with butter or shortening. Do not forget to add a little flour as well. You can also use cooking spray with four in it, which we love!
- In a small bowl, mix all dry ingredients for the cake batter: flour, baking soda, baking powder, and salt. Set it aside.
- Grab your stand mixer and put the butter and granulated sugar inside the bowl. You could also use a hand mixer, or you could even do it by hand but it will take forever! Beat it well until it becomes a fluffy mixture of goodness.
- In a small container, mix the milk and vanilla extract together.
- Stop the mixer a moment and sift in a ⅓ of your dry ingredients, followed by a ⅓ of your liquids and an egg at a time. Incorporate in between on medium speed. Do not forget to add the final fourth egg!
- Once everything is well incorporated, beat two more minutes on high and pour the same amount into all pans. You could measure this in order to make it as accurate as possible.
- Bake for 25 minutes and check the center with a toothpick. If it comes out clean, then they are done! Take them out before they burn! But if not, leave them for another 5 to 10 minutes.
- Allow 10 minutes for them to cool outside the oven and take them out of the mold to place them into cooling racks. Leave them be for a good full hour before attempting assembly. If they are still warm, your cake will not be as stable.
- To speed this up, you could place them inside the fridge!
Step 2 - Raspberry Buttercream and Fresh Raspberries
- Meanwhile, we can focus on the buttercream. Wash your stand mixer container and once dry put in the butter and powdered sugar. Beat them together on medium until they are nicely combined and fluffy.
- This buttercream will not be spreadable and it will melt quite easily. If you would like your buttercream to crust, try using ½ cup of butter and ½ cup of shortening instead. This will help it keep its shape if you are planning on doing some pipework.
- We also recommend that if the weather is really hot. Butter melts more easily. You will also want a thicker cream, so you will need to add a little more powdered sugar. Check the consistency before using it!
- Gradually beat in the liqueur and the vanilla. You are adding extra moisture here, so if you live in a warmer climate be careful about your consistency. Do not overdo it, if not you will have to add some powdered sugar.
- Once cool, cut each cake horizontally to make two layers. To do this, mark the side of the cake with toothpicks and use a thin serrated knife, you will get even layers that way. If they have a dome, you should also make them even.
- Place a bottom layer and fill it with a ⅓ of the jam. Place a second layer on top and fill with a ⅓ of the buttercream. Place a few fresh raspberries in the buttercream. Repeat for the rest of the layers.
- Place the cake into the fridge for 15 minutes. When you take it out, crumb coat it and place it in the fridge for 10 minutes again. Once they are up, frost it with the remaining buttercream.
- Use the remaining fresh raspberries to decorate it. You could also use some chocolate leaves, it is totally up to you! Piping some decorations is also encouraged.
Notes
- Remember that you can also play around with flavors. How about instead of a vanilla sponge you try coconut or pineapple flavored one? It is just a thought!
So, what do you think? Are you going to try out this amazing recipe? We absolutely loved it! The cake did not last more than a day. It is a clever way of incorporating fresh fruit into your kid’s diet and expanding their palate. Comment with your creations down below!

Karen is a passionate pastry chef who loves to create delicious baked goods. She has been in the culinary arts for over 10 years, honing her skills and perfecting her craft. Karen is known for her creativity and attention to detail, creating unique desserts that bring a smile to everyone’s face. She is always looking for ways to challenge herself and come up with new recipes that are both tasty and visually appealing. Karen loves to experiment with different flavors and textures, and she is committed to providing the highest quality of products to her customers.

