Last Updated on May 11, 2021
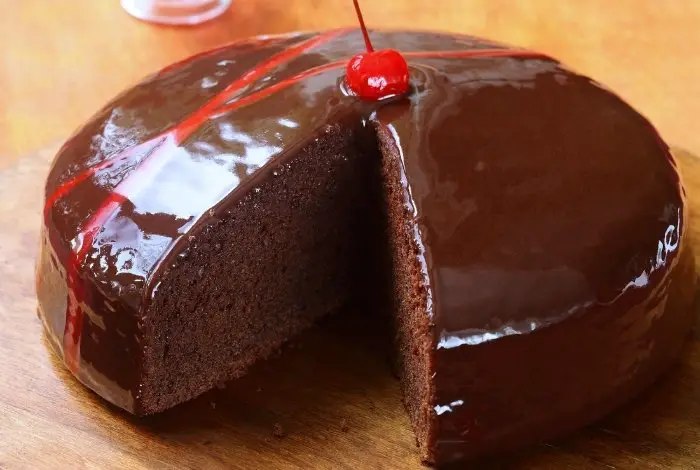
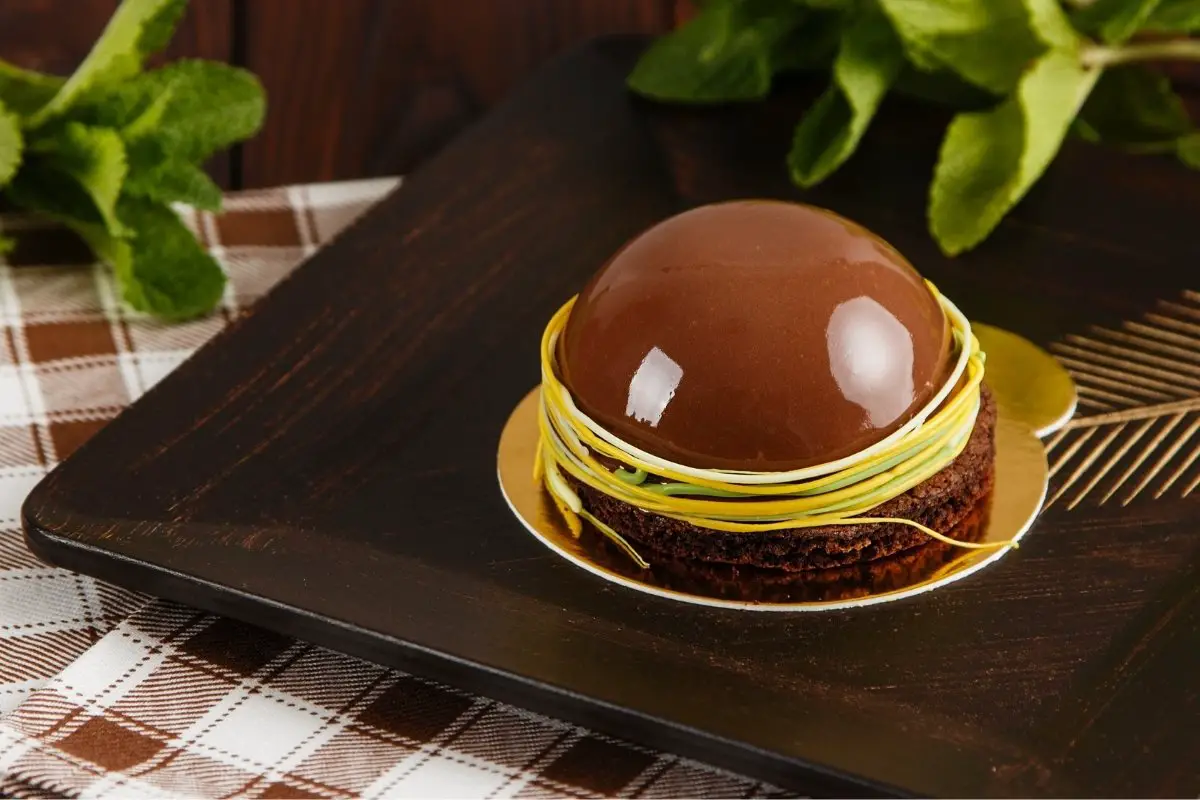
Indulge in the most exquisite of all cake glazes, which is the mouthwatering chocolate mirror glaze recipe with condensed milk. It is a shiny coating made with chocolate, condensed milk, gelatin, and cocoa powder. I guarantee you will not regret making it, especially once you pour it over frozen desserts. Also, you will indeed be satisfied with how it sets up an incredibly shiny reflective glaze to the extent that you can check your reflection on the surface. In addition to that, mirror glaze is not hard to pull off. However, it does take several step-by-step instructions that you should not skip. Please follow every step to achieve the flawlessly shiny chocolate mirror glaze cake recipe.
Can I Reuse Leftover Chocolate Mirror Glaze?
Yes, you absolutely can; all you have to do is reheat it in the microwave. After that, let it cool to 90 degrees Fahrenheit before pouring. Moreover, it would be best to glaze multiple cakes because it lessens the amount of time.
What Makes Chocolate Mirror Glaze Recipe With Condensed Milk Shiny?
Gelatin is the ingredient that makes chocolate mirror glazes shiny. Also, it helps the glaze set into a thin and glossy layer if prepared well. In addition to that, gelatin liquefies when heated. As a result, the warmth of your mouth causes the chocolate mirror glaze to melt in the mouth when you eat it immediately. Not only that, but also it functions as a thin layer of soft jelly covering a mousse or frosting underneath. So with that, do not be surprised if you find yourself tasting a somewhat jelly texture.

What You Will Need To Make A Chocolate Mirror Glaze Recipe With Condensed Milk
Ingredients
- 2 1/2 tsp of gelatin
- 2 cups of cold water
- 1 1/2 cup dark chocolate compound
- 1/2 cup cocoa powder
- 1/2 cup water
- 1 cup sugar
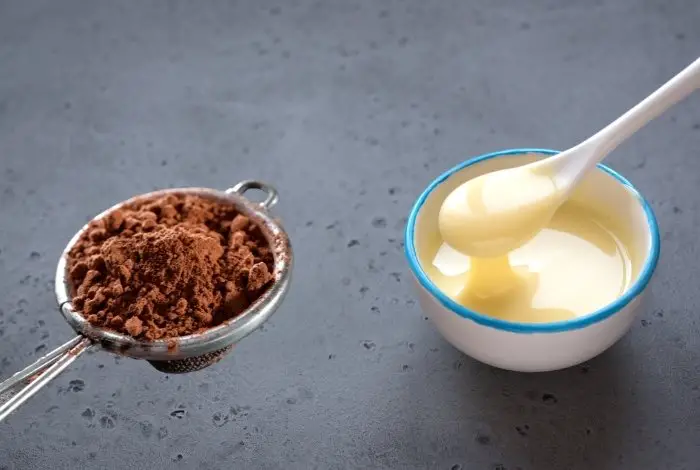
- 2/3 cup condensed milk
- 1 tbsp of vanilla extract
Equipment
- Mixing bowl
- Measuring cups
- Measuring jug
- Whisk
- Measuring spoon
- Rubber spatula
- Strainer/ Filter
- Pastry thermometer
- Immersion blender
- Hand or stand mixer
- Saucepan
Mueller Austria Ultra-Stick 500 Watt 9-Speed Immersion Multi-Purpose Hand Blender
Step By Step Instructions On How To Make a Mirror Glaze
Step 1
Before anything else, gently sprinkle the gelatin powder over the surface of the cold water. Then, allow it to bloom for about five minutes. After that, set it aside.
Step 2
Afterward, in a large heat-proof bowl, mix in the dark chocolate compound and cocoa powder.
Step 3
Then, place in a saucepan the water, 1/2 cup of sugar, and condensed milk. After that, let it simmer over medium heat.
Step 4
Gradually pour in the condensed milk and stir in to incorporate the cocoa mixture. Then, add the remaining 1/2 cup of sugar and stir in until thoroughly mixed. After that, allow it to boil until all the sugar dissolves.

Step 5
Afterward, remove from heat. Then, drop the gelatin in and gently stir vigorously without creating bubbles until the solidified gelatine dissolves.
Step 6
Then, grab your filter and pour over the contents into a heat-proof bowl. Seal by covering plastic wrap over the bowl to prevent skinning. After that, set aside and allow to cool down for two hours. Next, dip your pastry thermometer and check if it is cool enough as it reaches 86 degrees Fahrenheit.
Step 7
Finally, before pouring the glaze into the cake, strain the glaze again into the measuring jug for final straining.
Servings and Preparation Time

Tips and Tricks For Glazing Cakes
Make sure to sprinkle the gelatin powder evenly. Likewise, do not pile the granules in the middle because they will not bloom properly. Also, do not boil gelatin because high heat can make gelatin lose its structure. In addition to that, please do not use a whisk when stirring the gelatin. The main reason is that it can create a bubble that will ruin the glaze. Furthermore, do not hesitate to use a sprinkle of gold dust or a strawberry leaf to cover up any blemishes.
Moreover, make sure not to pour too far when transferring the glaze, as pouring too high would result in bubbles. Additionally, do a bubble check by twisting the bowl side to side, making any bubble rise in the center. If by chance, a bubble does arise, it is caused by over-stirring or too-solidified gelatin. Because of that, prick the bubble by lightly passing a blow torch. It is indeed unpreventable that there will be a little amount of chocolate mirror glaze that you cannot use, so it would help to reuse it.
Chocolate Mirror Glaze Recipe With Condensed Milk
Equipment
- Measuring cups
- Measuring jug
- Measuring spoon
- Strainer/ Filter
- Pastry thermometer
- Immersion blender
- Saucepan
Ingredients
- 2 1/2 tsp of gelatin
- 2 cups of cold water
- 1 1/2 cup dark chocolate compound
- 1/2 cup cocoa powder
- 1/2 cup water
- 1 cup sugar
- 2/3 cup condensed milk
- 1 tbsp of vanilla extract
Instructions
- Before anything else, gently sprinkle the gelatin powder over the surface of the cold water. Then, allow it to bloom for about five minutes. After that, set it aside.
- Afterward, in a large heat-proof bowl, mix in the dark chocolate compound and cocoa powder.
- Then, place in a saucepan the water, 1/2 cup of sugar, and condensed milk. After that, let it simmer over medium heat.
- Gradually pour in the condensed milk and stir in to incorporate the cocoa mixture. Then, add the remaining 1/2 cup of sugar and stir in until thoroughly mixed. After that, allow it to boil until all the sugar dissolves.
- Afterward, remove from heat. Then, drop the gelatin in and gently stir vigorously without creating bubbles until the solidified gelatine dissolves.
- Then, grab your filter and pour over the contents into a heat-proof bowl. Seal by covering plastic wrap over the bowl to prevent skinning. After that, set aside and allow to cool down for two hours. Next, dip your pastry thermometer and check if it is cool enough as it reaches 86 degrees Fahrenheit.
- Finally, before pouring the glaze into the cake, strain the glaze again into the measuring jug for final straining.
Notes

Zarah is an experienced pastry chef whose creations have delighted countless customers. With a passion for baking, Zarah has developed a unique style that combines classic techniques with modern flavors. Her desserts are consistently crafted with the finest ingredients, and her attention to detail is evident in the stunning and delectable results. Zarah has a wealth of experience in the pastry kitchen, and loves to share her knowledge with others. Whether it is teaching a class or creating a custom cake for a special occasion, Zarah is committed to making sure every customer is satisfied.


