
Last Updated on January 25, 2023
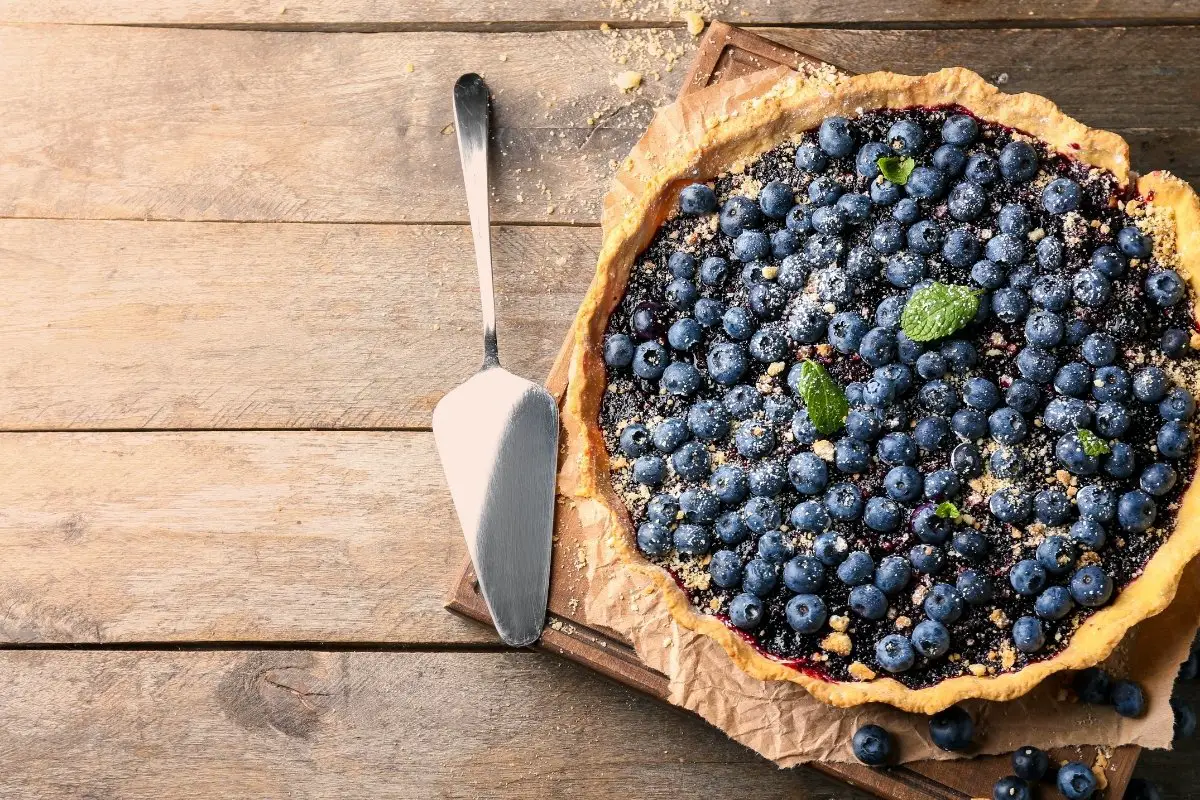
How about a perfect and fresh blueberry pie recipe that is not runny? We assume that all of you have at least once encountered a dessert that didn’t turn out exactly as it should have. However, we have a solution for you. This recipe uses a combination of thickeners and carefully calibrated cooking time to create a perfectly thick and luscious filling. So, if you’re in favor, let’s get into the details!
How to Avoid a Runny Blueberry Pie?
To best avoid this, cover it with aluminum foil, then place the pie back in the oven at 425 degrees Fahrenheit for about 12 minutes. Afterward, don’t slice a piece until it has been set for about 2 hours at room temperature, or else you will end up with a messy, wet, and runny blueberry pie.
You can also use the crumble topping method since it is a particular way of re-baking the bottom crust, reheating the pie filling and making a crumble topping. Start by scooping out the pie filling. Afterward, place the pie back on the bottom rack to let it cook properly. Heat the pie filling on the stove at a low simmer till the juice lessens, then let it cool. By the time the crust is well-cooked, reinsert the pie filling. Then, cover it with a crumble topping.
Check the Best Bramble Berry Fruit Cobbler Recipe Ever
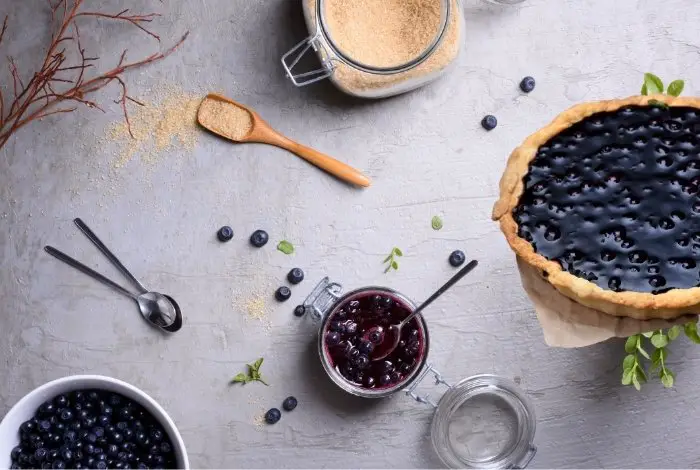
What You Will Need for the Best Blueberry Pie Recipe
Ingredients for Pie Crust
- crust of pie
- 1½ cups all-purpose flour
- ½ teaspoon salt
- 3 tbsp of water
- ½ cup butter
Ingredients for Blueberry pie filling
- 1 cup of sugar
- 5 tbsp cornstarch
- 1/4 tsp cinnamon
- 5 tbsp finely grated lemon zest
- 5 cups fresh blueberries
Egg Wash
- 1 Egg
Equipment
- Measuring cups
- Mixing bowls
- Measuring spoons
- Rubber Spatula
- Whisk
- Rolling pin
- Pastry brush
- 9-inch pie pan
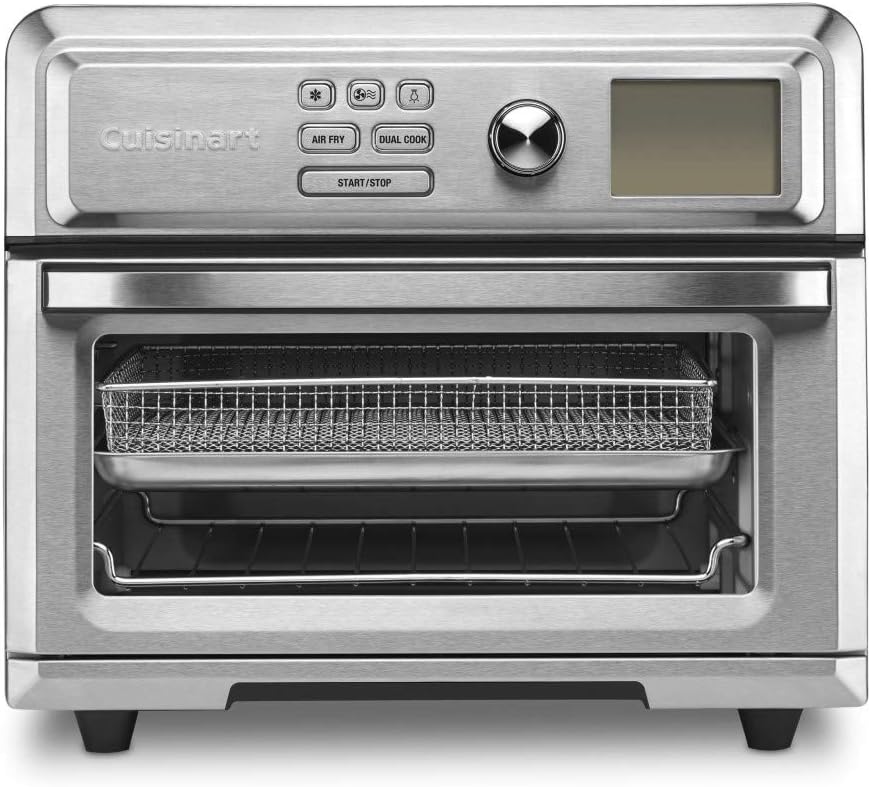
Cuisinart TOA-65 Digital Convection Toaster Oven Airfryer
Step by Step Instructions to Make Blueberry Pie that is not Runny
Making Pie Crust
Step 1
Heat oven to 392 °F.
Step 2
Next, add the flour and salt in a large bowl, then cut the butter into the flour mixture.
Step 3
Afterward, gently add a tablespoon of cold water to the mixture. Knead until the dough is soft and smooth.
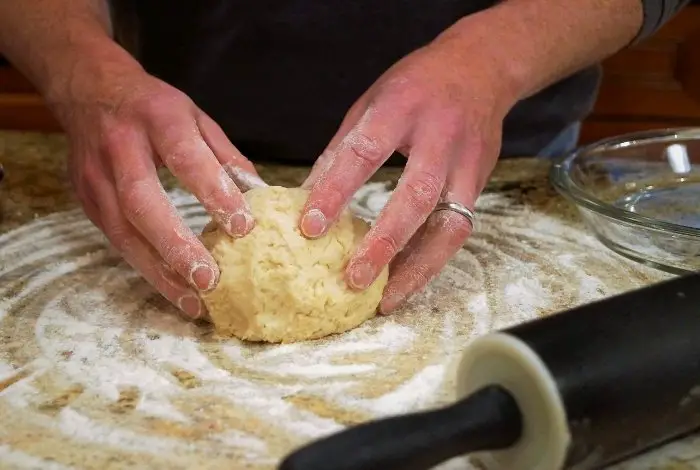
Step 4
Form it into a ball after kneading the dough on a floured bench. Afterward, roll the dough out to about 1/8-inch thickness using a rolling pin. Grab the 9-inch pie pan and turn it upside down on top of the dough. Trace it, and cut it 2 inches bigger than the pie pan using a sharp knife.
Making Pie Filling
Step 1
Grab a bowl, add the sugar, salt, cornstarch, cinnamon, and lemon zest, then whisk together the ingredients.
Step 2
Carefully stir in the blueberries, making sure to coat them evenly. Pour the mixture into the pie crust. Brush the edges of the bottom crust gently with the egg wash prepared using a pastry brush.
Step 3
Get your remaining pie dough in a circle, and cut out at least 1″ strip of dough. Then, place the strips on top of the blueberry pie horizontally, then perpendicularly to form an X, and repeat the process until a lattice pie crust is formed.
Step 4
Clean the edges by trimming and crimping the pie crust, then gently brush the top with egg wash.
Step 5
Place the pie on a sheet tray, and bake for 55 minutes until the juices in the middle of the pie are bubbling. Make sure the liquid in the middle is bubbling. The fluid needs to boil to activate the starch. Otherwise, the filling will be runny.
Step 6
To finish it off, take out the pie from the oven, and let it cool on a rack. Serve and enjoy!
Tips and Tricks
Creating holes in the crust helps it to avoid inflating. Supposing you do not want to use cornstarch, you add flour instead. If you don’t have fresh blueberries, you can use frozen blueberries and increase the baking time by 15 minutes.
Avoid adding too many blueberries than what is required in the recipe. If you did put plenty of it, it would not go well with the quantity of cornstarch. Likewise, always follow the exact amount that is needed in the recipe. It is important to know that a lattice crust serves as vents for the liquid while it bakes. Also, it allows you to see when the pie filling is bubbling to check if the pie is finished. That is why lattice crust is commonly used for berry pies rather than solid top crust.
If your conventional oven’s dial is not precise, use an oven thermometer to guarantee the correct oven temperature. Also, utilize a toaster oven when your conventional oven has fluctuating temperatures and hot spots.
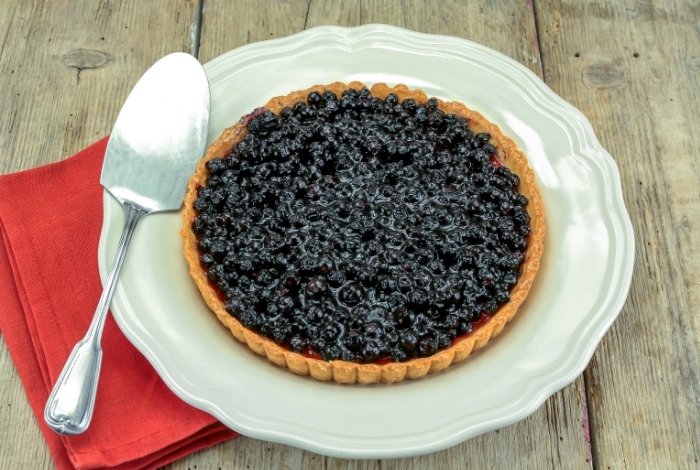
Blueberry Pie Recipe That Is Not Runny (Divinely Delicious)
Equipment
- Measuring cups
- Mixing bowls
- Measuring Spoons
- Rolling Pin
- Pastry brush
- 9-inch pie pan
Ingredients
Pie Crust
- crust of pie
- 1½ cup all-purpose flour
- ½ teaspoon salt
- 3 tbs of water
- ½ cup butter
Blueberry pie filling
- 1 cup of sugar
- 5 tbs corn starch
- 1/4 tsp cinnamon
- 5 tbs finely grated lemon zest
- 5 cups fresh blueberries
Egg Wash
- 1 Egg
Instructions
Making Pie Crust
- Heat oven to 392 °F.
- Next, add the flour and salt in a large bowl, then cut the butter into the flour mixture.
- Afterward, gently add a tablespoon of cold water into the mixture. Knead until the dough is soft and smooth.
- Form it into a ball after kneading the dough on a floured bench. Afterward, roll the dough out to about 1/8-inch thickness using a rolling pin. Grab the 9-inch pie pan and turn it upside down on top of the dough. Trace it, and cut it 2 inches bigger than the pie pan using a sharp knife.
Making Pie Filling
- Grab a bowl, add the sugar, salt, cornstarch, cinnamon, and lemon zest, then whisk together the ingredients.
- Carefully stir in the blueberries, making sure to coat them evenly. Pour the mixture into the pie crust. Brush the edges of the bottom crust gently with the egg wash prepared using a pastry brush.
- Get your remaining pie dough in a circle, and cut out at least 1″ strips of dough. Then, place the strips on top of the blueberry pie horizontally, then perpendicularly to form an X, repeat the process until a lattice pie crust is formed.
- Clean the edges by trimming and crimping the pie crust, then gently brush the top with egg wash.
- Place the pie on a sheet tray, bake for 55 minutes until juices in the middle of the pie are bubbling. Make sure the liquid in the middle is bubbling. The fluid needs to boil to activate the starch. Otherwise, the filling will be runny.
- To finish it off, take out the pie from the oven, let it cool on a rack. Serve and enjoy!
Notes
Servings and Preparation Time

Now that you know everything about this blueberry pie recipe that is not runny, let us discuss a few additional points that may be of interest to you.
How to Thicken Blueberry Pie Filling?
There are several ways to thicken blueberry pie filling, and the one that best suits your needs depends on the recipe as well as on your personal preference. Here are proven effective options to try next time:
- Cornstarch
Cornstarch is one of the most commonly used thickening agents, especially when it comes to pie filling. To prepare a slurry using cornstarch, combine 2 tablespoons of cornstarch and 1/4 cup cold water. Then, combine the slurry with the blueberry filling and bring it to a boil. Remove the filling from the heat after it has reached the desired consistency.
- Flour
Although it might not be your first choice in most cases, you can also use flour to thicken the filling. Generally speaking, 1 tablespoon of flour to 1/4 cup of liquid is a good starting point. Just like the case with cornstarch that we talked about, you will need to mix the flour with a small amount of cold water to make a slurry, and then stir it into the filling.
- Tapioca
Tapioca is one of the alternatives that you simply want to give a chance. It is a fantastic gluten-free option for those who want to avoid gluten. The general ratio is 1 tablespoon of instant tapioca to 1 cup of liquid, but it is extremely important to let it sit for at least 5 minutes because this will allow the tapioca to absorb moisture and swell. Finally, boil and whisk the mixture until it reaches that thick texture.
- Combination
You may also try combining thickeners like cornstarch and tapioca or flour and cornstarch all together to make sure that you will have a blueberry pie recipe that is not runny.
- Give It Enough Time to Cook
As you can guess, blueberries will release a lot of juice when cooking. Fortunately, this doesn’t have to be a problem if you extend the cooking time by a few minutes. In this way, you will reduce the amount of liquid and at the same time thicken the filling.
Finally, it is critical to remember to always add the thickening agent slowly with continuous whisking, adjusting as needed for the ideal consistency. Also, you should always let the pie filling cool before doing anything else, as the filling will continue to thicken as it cools.
Does Blueberry Pie Need To Be Refrigerated?
Blueberry pie doesn’t need to be refrigerated right away as long as it will be consumed within a few hours of coming out of the oven. Feel free to let it cool to room temperature before serving, or serve it warm with a scoop of ice cream, whichever you prefer.
When it comes to leftovers, though, the scenario changes. If you have leftovers or aren’t planning to eat the pie within a few hours, the best thing would be to refrigerate it. Namely, due to the high moisture content of the filling and the fact that blueberries are very perishable fruits, they should be refrigerated rather than stored at room temperature.
If you decide to store it in the refrigerator, cover it loosely with plastic wrap or aluminum foil to prevent the crust from drying out, it should be good for the next 2 or 3 days. When storing and managing perishable goods like pies, it’s always vital to keep food safety in mind.
How to Make a Blueberry Pie with Canned Filling?
Making a blueberry pie using canned filling is a quick and easy method to experience the taste of fresh blueberries whenever you feel like it. Here’s a basic recipe you may use to get started:
Here is a basic, canned filling blueberry pie recipe that is not runny that you can use as a starting point:
Ingredients:
- 1 (9-inch) store-bought pie crust
- 1 (21-ounce) can of blueberry pie filling
- 1 tablespoon of cornstarch
- 1 tablespoon of butter (optional but preferable)
Instructions:
- Preheat your oven to about 375°F.
- Roll out the pie dough and line a 9-inch pie plate with it and don’t forget to press the crust to the dish’s bottom and sides.
- Combine the cornstarch and canned filling. You may use a fork or whisk to break up any large lumps.
- Pour the filling into the prepared crust.
- If you want a deeper flavor, it would be preferable to dot the filling with butter.
- Bake the pie for at least 45-50 minutes, or until you notice that the filling is bubbling and the crust takes on a nice golden brown color. It’s also worth noting that you should constantly check on the pie after 20-25 minutes to ensure the crust doesn’t become too brown. Feel free to cover it with foil if necessary.
- Remove the pie from the oven and let it cool to room temperature before serving.
This recipe is a basic and easy way to make a blueberry pie using a canned filling. However, keep in mind that you can modify it to your preference, and here’s how to do it. For extra taste, you can add a teaspoon of lemon zest, or top the pie with a streusel topping for more texture. If you like, you can make a lattice top or a whole top crust. There are really many options, let your imagination run wild, only the sky is the limit.
Blueberry Pie Using Frozen Blueberries?
Although you might think otherwise at first, frozen blueberries are a great option for making pie for many reasons, and these are worth mentioning:
- They tend to release more juice when cooked, which can make the filling more moist and flavorful. Just give them enough time to cook to make sure your blueberry pie recipe that is not runny works.
- Frozen blueberries are readily available all year round, so you can make a blueberry pie any time without annoyingly waiting for their season to begin.
- They can last several months in the freezer, so you can buy more at once and use them as needed while avoiding the wastage that could happen when buying fresh blueberries.

Zarah is an experienced pastry chef whose creations have delighted countless customers. With a passion for baking, Zarah has developed a unique style that combines classic techniques with modern flavors. Her desserts are consistently crafted with the finest ingredients, and her attention to detail is evident in the stunning and delectable results. Zarah has a wealth of experience in the pastry kitchen, and loves to share her knowledge with others. Whether it is teaching a class or creating a custom cake for a special occasion, Zarah is committed to making sure every customer is satisfied.