
Last Updated on March 3, 2023
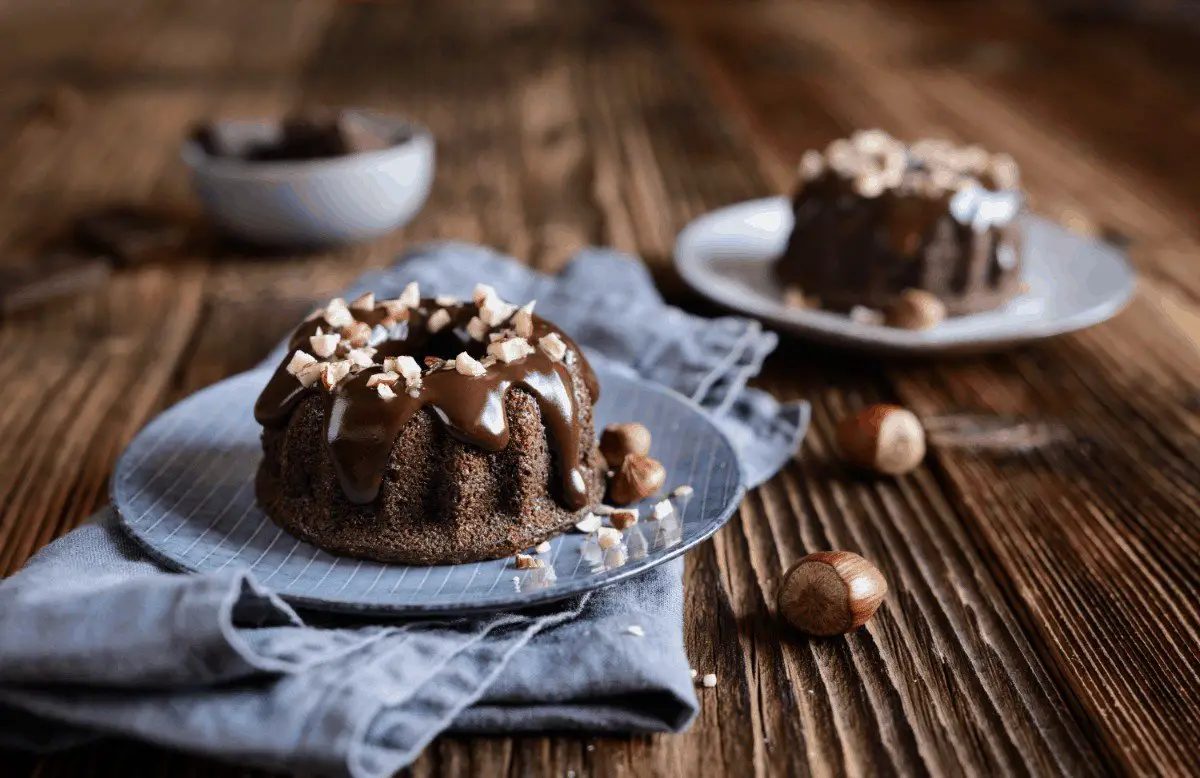
If you live in the Detroit area, you have definitely heard about Sander’s. It has been a staple of the city since it was founded in 1875. With its years of tradition, there are many iconic recipes that we could choose to recreate. Our personal favorite is their classic yellow cake topped with two bumps of Sanders Bumpy Cake colonial buttercream, popularly known as “bumpy cake”. We are crazy about it! Learn how to make it here!
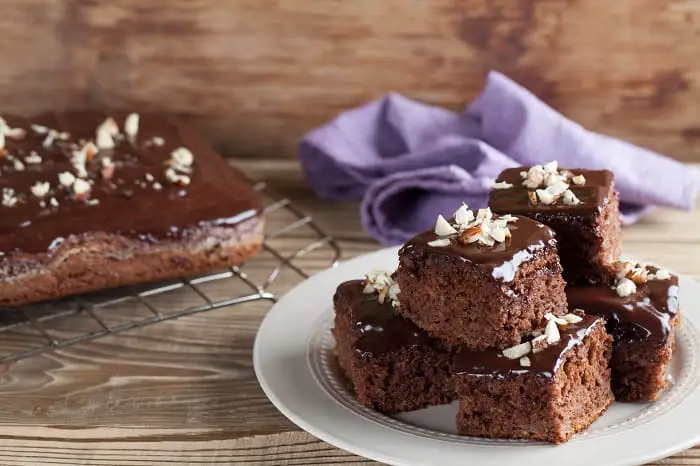
The bumpy cake is a yellow sponge covered by two lines – “bumps” – of incredible vanilla buttercream. It is a favorite of many. If you have not tried it before or are too far away from Detroit to actually get some, you should definitely try to make it. It is really simple!
Sanders Bumpy Cake: Yield, Prep Time and Baking Time
This recipe will yield 10-12 portions of the cake, depending on how thick you cut them.
It will only take you 15 minutes of preparation time and 1 ½ of cooking time, between the cake and frosting.
Yellow Cake
Ingredients
- ¾ cup of sweet or unsalted butter at room temperature
- 1 ½ cups of sifted granulated sugar
- One tsp of vanilla extract
- 1 tsp of lemon juice
- Two large eggs
- 2 ½ cups of sifted cake flour
- 2 ½ tsp of baking powder
- 1 tsp of salt
- 1 cup of whole milk at room temperature
Equipment
You will need 2 9-inch cake pans, which will give you the traditional look. Also, you can use a 19-inch by 13-inch pan. You will also need a broad striped piping tip, although that is optional – you only need it for decorating it the classical way.
Sanders Bumpy Cake: Step by Step Instructions
Step 1
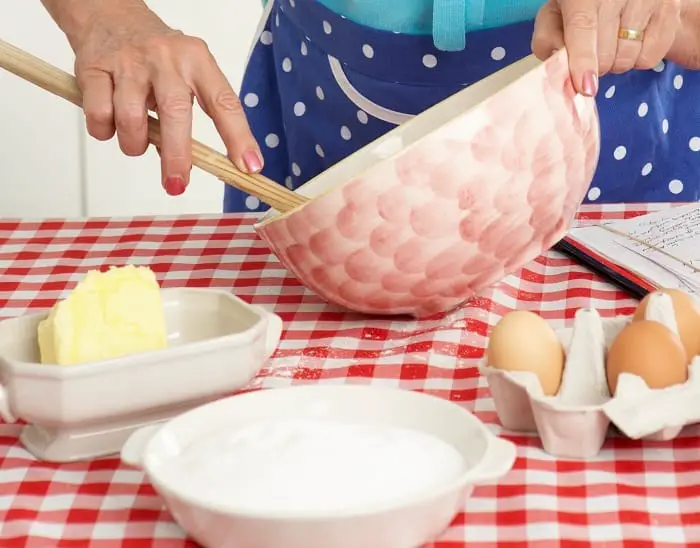
Using a handheld or stand mixer, cream the butter on high speed until it is light and fluffy. This cake is very moist and feathery, so this is crucial!
Step 2
Add the 2 eggs one at a time. Keep mixing until it is well blended.
Step 3
Grab the sifted granulated sugar and add it slowly. Let it rain like a mist over the eggs and butter so that it gets incorporated but you do not turn off the mixer. Continue for 4 minutes or until everything is well incorporated. Do not forget to scrape and rotate the bowl.
Be careful of overbeating the batter as it can lose some of its fluffy quality.
Step 4
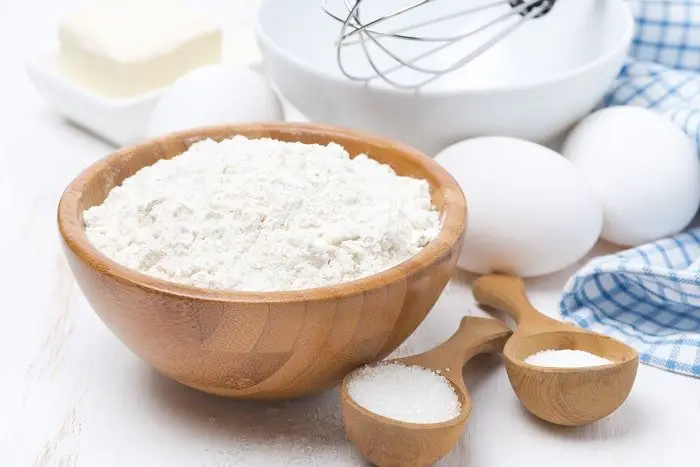
In a separate bowl, combine the dry ingredients together (salt, baking powder, and flour). Do the same with the rest of the wet ingredients (milk, lemon juice, and vanilla extract) in another bowl.
Step 5
Add both wet and dry ingredients alternately to the butter, eggs and sugar mixture. Do this in 3 or 4 times, so that everything gets a chance to blend together well, without forming any lumps.
To do this, use the mixer at low speed. Once you have poured everything in the bowl, beat for an extra 3 to 4 minutes.
More Process for Sanders Bumpy Cake
Step 6
Pour batter into the cake pans or pan. Make sure you grease them beforehand with either baking spray (cooking spray that has some flour mixed into it, it is amazing! You can find some from the brand Pam over here) or with some butter and flour, whatever is easiest for you.
Step 7
Bake at 350ºF for 30 minutes. You can check if it is already done by poking a skewer in the center. If it comes out clean, then the cake is done! Also, if the cake pulls away from the edges, it is also time to take it out of the oven.
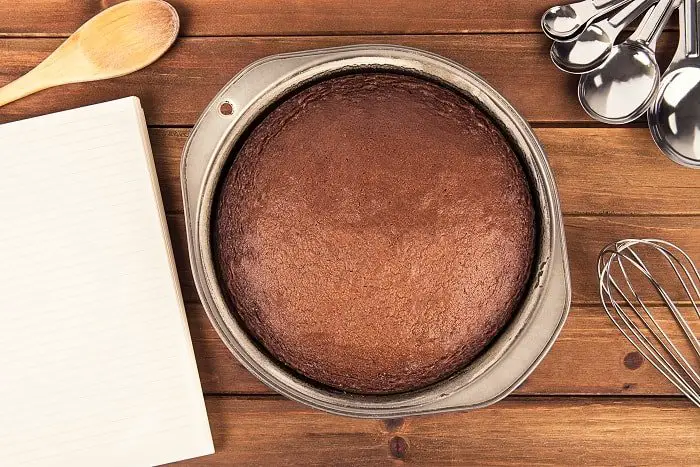
Step 8
Wait for 30 minutes more -at least!- before unmolding it so that it does not fall apart.
Once they are unmolded and at room temperature, cut the top part of the cakes so that you are left with a flat surface. This is called leveling and it is just an aesthetic choice, you can totally skip this if your cake is level enough for you!
You will also need to cut the sides of the cake so that you are only left with the bottom crust. But do not worry, there is no need of wasting the leftovers! Also, you can always use them to make some cake pops and who does not love that!
You should be left with two blocks of yellow cake without any crust on the bottom and sides. Set this aside and prepare the frosting and topping.
Sanders Bumpy Cake: Colonial Buttercream and Hazelnut Topping
Ingredients
- ¾ cup of soft, unsalted butter
- ¼ cup of solid shortening
- ¾ cup of whole milk
- 1 cup of granulated sugar
- A large egg white
- 1 tsp of vanilla extract
- 1 cup of chopped hazelnuts
Step by Step Instructions
Step 1
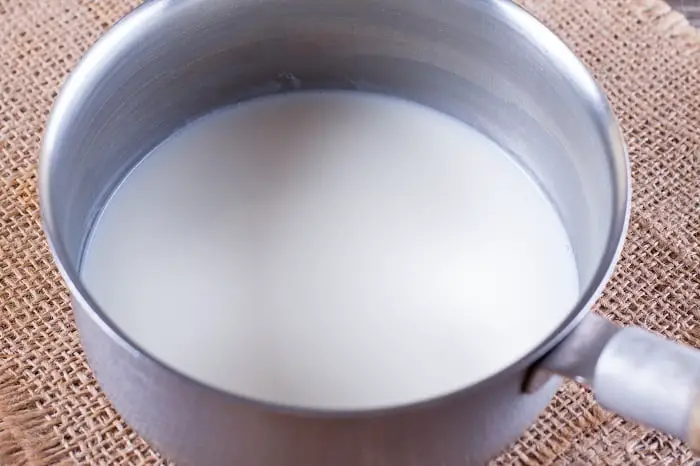
Scald milk (that is, warm it up without boiling it) on a small saucepan over medium heat. Add the sugar and mix until it is dissolved. Take it off the fire and let it cool down.
Step 2
While that cools, beat the egg white until it is stiff.
Step 3
Slowly add the sugary milk and mix until everything is well combined.
Step 4
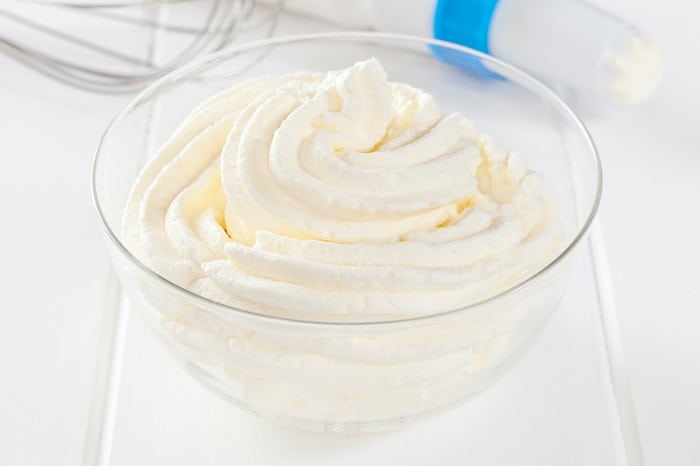
In another bowl, soften butter and Crisco together with the help of the electric mixer. Once it is creamy and soft, continue.
Step 5
On low speed, add the whipped egg white and sugary milk mixture to the butter and shortening. Be careful not to overbeat it, it should not take longer than 5 minutes.
Step 6
Once that is done, fold in the vanilla extract with the help of a spatula. Cover with some plastic wrap and set it in the fridge for 30 minutes to cool down.
Step 7
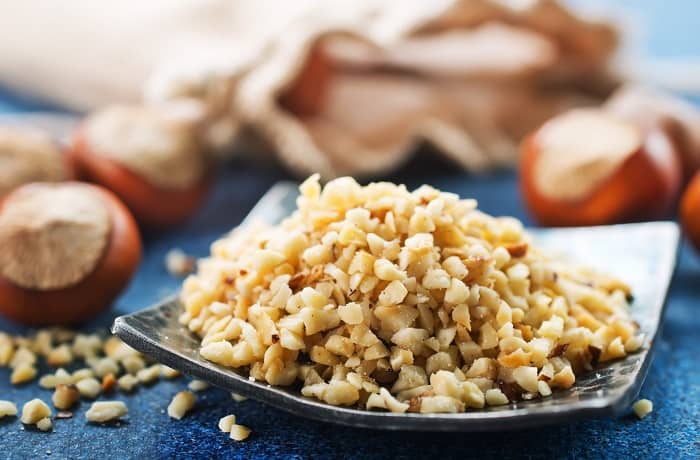
Chop the hazelnuts. You can also use candied hazelnuts – our personal favorite! This will give crunch to the outer layer of the cake.
Step 8
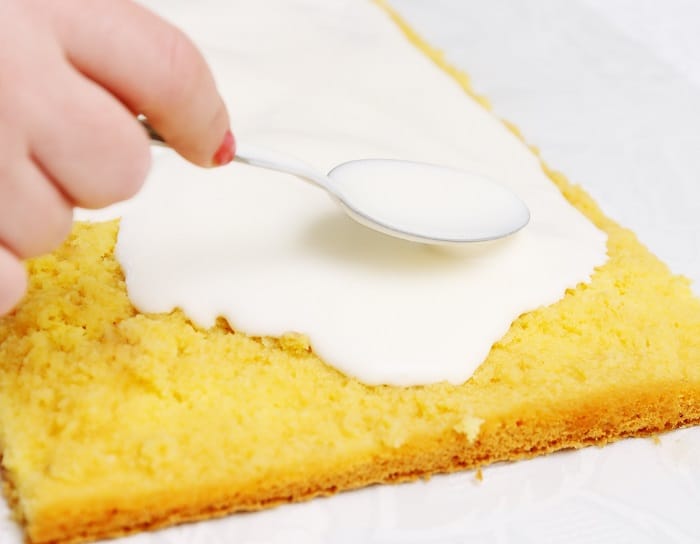
Once the frosting is cool and the cakes are ready, load up your piping bag and pipe two long and thick lines of buttercream over the cake blocks. It should look like two rigged bumps on top of the sponge.
Step 9
Distribute chopped hazelnuts on top.
Traditional Sander’s Bumpy Cake Made Easy
Equipment
- 2 9-inch cake pans
- 19-inch by 13-inch pan
- 1 broad striped piping tip (optional)
Ingredients
Yellow Cake
- ¾ cup of sweet or unsalted butter at room temperature
- 1 ½ cups of sifted granulated sugar
- 1 tsp of vanilla extract
- 1 tsp of lemon juice
- 2 large eggs
- 2 ½ cups of sifted cake flour
- 2 ½ tsp of baking powder
- 1 tsp of salt
- 1 cup of whole milk at room temperature
Colonial Buttercream and Hazelnut Topping
- ¾ cup of soft unsalted butter
- ¼ cup of solid shortening
- ¾ cup of whole milk
- 1 cup of granulated sugar
- 1 large egg white
- 1 tsp of vanilla extract
- 1 cup of chopped hazelnuts
Instructions
Yellow Cake
- Step 1
- Using a handheld or stand mixer, cream the butter on high speed until it is light and fluffy. This cake is very moist and feathery, so this is crucial!
- Step 2
- Add the 2 eggs one at a time. Keep mixing until it is well blended.
- Step 3
- Grab the sifted granulated sugar and add it slowly. Let it rain like a mist over the eggs and butter so that it gets incorporated but you do not turn off the mixer. Continue for 4 minutes or until everything is well incorporated. Do not forget to scrape and rotate the bowl.
- Be careful of overbeating the batter as it can lose some of its fluffy quality.
- Step 4
- In a separate bowl, combine the dry ingredients together (salt, baking powder, and flour). Do the same with the rest of the wet ingredients (milk, lemon juice, and vanilla extracin another bowl.
- Step 5
- Add both wet and dry ingredients alternately to the butter, eggs and sugar mixture. Do this in 3 or 4 times, so that everything gets a chance to blend together well, without forming any lumps. To do this, use the mixer at low speed. Once you have poured everything in the bowl, beat for an extra 3 to 4 minutes.
- Step 6
- Pour batter into the cake pans or pan. Make sure you grease them beforehand with either baking spray (cooking spray that has some flour mixed into it, it is amazing! You can find some from the brand Pam over heror with some butter and flour, whatever is easiest for you.
- Step 7
- Bake at 350ºF for 30 minutes. You can check if it is already done by poking a skewer in the center. If it comes out clean, then the cake is done! Also, if the cake pulls away from the edges, it is also time to take it out of the oven.
- Step 8
- Wait for 30 minutes more -at least!- before unmolding it so that it does not fall apart.
- Once they are unmolded and at room temperature, cut the top part of the cakes so that you are left with a flat surface. This is called leveling and it is just an aesthetic choice, you can totally skip this if your cake is level enough for you!
Colonial Buttercream and Hazelnut Topping
- Step 1
- Scald milk (that is, warm it up without boiling ion a small saucepan over medium heat. Add the sugar and mix until it is dissolved. Take it off the fire and let it cool down.
- Step 2
- While that cools, beat the egg white until it is stiff.
- Step 3
- Slowly add the sugary milk and mix until everything is well combined.
- Step 4
- In another bowl, soften butter and Crisco together with the help of the electric mixer. Once it is creamy and soft, continue.
- Step 5
- On low speed, add the whipped egg white and sugary milk mixture to the butter and shortening. Be careful not to overbeat it, it should not take longer than 5 minutes.
- Step 6
- Once that is done, fold in the vanilla extract with the help of a spatula. Cover with some plastic wrap and set it in the fridge for 30 minutes to cool down.
- Step 7
- Chop the hazelnuts. You can also use candied hazelnuts – our personal favorite! This will give crunch to the outer layer of the cake.
- Step 8
- Once the frosting is cool and the cakes are ready, load up your piping bag and pipe two long and thick lines of buttercream over the cake blocks. It should look like two rigged bumps on top of the sponge.
- Step 9
- Distribute chopped hazelnuts on top.
What do you think? Does it taste and look like the original? Leave a comment below!

Karen is a passionate pastry chef who loves to create delicious baked goods. She has been in the culinary arts for over 10 years, honing her skills and perfecting her craft. Karen is known for her creativity and attention to detail, creating unique desserts that bring a smile to everyone’s face. She is always looking for ways to challenge herself and come up with new recipes that are both tasty and visually appealing. Karen loves to experiment with different flavors and textures, and she is committed to providing the highest quality of products to her customers.