
Last Updated on January 22, 2023
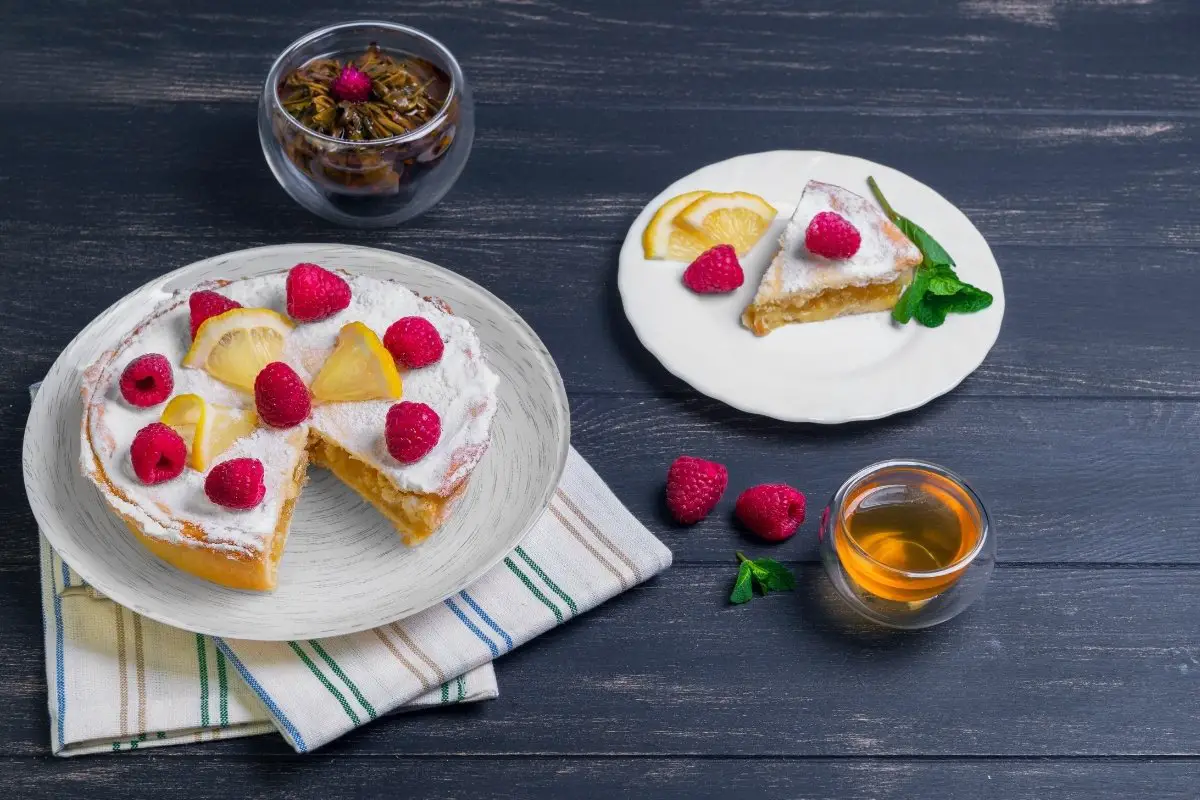
If you are looking for new recipes to try, these lemon cake with raspberry filling recipes is a must-have for your next party. The combination of raspberry and lemon in both of these cakes creates an incredible blend of flavors. There are two options to choose from, vegan or traditional lemon cake with raspberry filling.
Though these recipes do require some baking experience, the result is well worth the work. Both recipes produce a light and fluffy lemon cake with the sweet and fruity raspberry filling combined with the buttercream frosting that makes for a wonderful dessert. Whether for an anniversary or birthday, these cakes will be something your friends and family will love.
What You Will Need to Make this Lemon Cake with Raspberry Filling
For the Custard
- 3 large eggs
- 3/4 cup sugar
- 1/2 cup lemon juice
- 1/4 cup butter, cubed
- 1 tablespoon grated lemon zest
For the Cake
- 1 package lemon gelatin (3 ounces)
- 1/2 cup boiling water
- 1/2 cup butter, softened
- 4 large eggs, room temperature
- 1/2 cup canola oil
- 1 3/4 cups sugar, divided
- 4 teaspoons grated lemon zest
- 1/2 cup lemon juice
- 2 1/2 cups all-purpose flour
- 1 teaspoon lemon extract
- 1 teaspoon vanilla extract
- 2 1/2 teaspoons baking powder
- 1/2 teaspoon salt
- 1/2 cup evaporated milk
- 3/4 cup thawed lemonade concentrate
For the Frosting
- 6 ounces of cream cheese, softened
- 6 tablespoons butter, softened
- 3 3/4 to 4 cups confectioners’ sugar
- 4 1/2 teaspoons lemon juice
- 1 1/2 teaspoons grated lemon zest
- 3/4 teaspoon vanilla extract
- 3/4 cup seedless raspberry jam
- Fresh raspberries, optional
Equipment
- Saucepan
- Candy Thermometer
- Medium bowl
- Small bowl
- Large bowl
- Electric mixer
- Three 9-inch cake pans
- Microwave safe bowl
- Wire racks
- Serving plate
- Offset spatula
Godinger 6 in 1 Cake Stand and Serving Plate Platter with Dome Cover

Step by Step Instructions: Lemon Cake With Raspberry Filling
Step One: Make the Lemon Curd
In a saucepan, beat the eggs and sugar, then stir in the lemon juice, butter, and lemon zest. Cook the mixture over medium-low heat for 15 minutes or until the mixture is thickened and reaches 160 degrees Fahrenheit, stirring regularly. Allow the lemon curd to cool for 10 minutes, then cover and chill for 1-1/2 hours or until it is thick.
Step Two: Preheat the Oven, Prepare Pans and Make Gelatin
Preheat the oven to 350 degrees Fahrenheit. Grease and flour the three 9-inch round cake pans. Next, dissolve the gelatin in boiling water, then set it aside to cool.
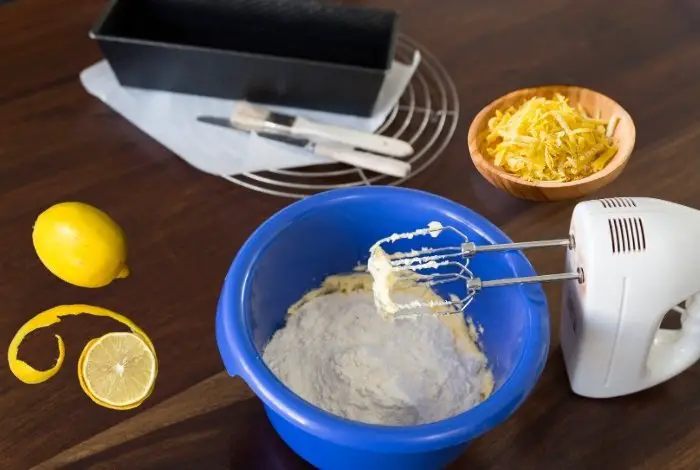
Step Three: Cream the Butter, Oil, and Sugar
In a large bowl with an electric mixer, cream the butter, oil, and 1 1/2 cups of sugar. Beat the mixture until smooth, approximately five minutes. After, add the eggs one at a time, beating well after each addition. Then, beat in the gelatin mixture, lemon juice, lemon zest, lemon extract, and vanilla extract into the mixture until smooth.
Step Four: Combine the Dry Ingredients
Мix the flour, baking powder, and salt иn a medium bowl. Add to the butter mixture, alternating with adding the milk, beating after each addition.
Step Five: Bake the Cake
Pour the batter equally into the three prepared cake pans. Bake the cakes for 20-25 minutes, or until a toothpick inserted into the middle comes out clean.
Step Six: Add the Lemonade Mix
In a microwave-safe bowl, add the lemonade concentrate and remaining sugar. Microwave for two minutes on high, uncovered, or until the sugar dissolves, stirring occasionally. Use a fork to poke holes into the cakes and pour the lemonade mixture over the cakes.
Cool the cakes in the pans for 10 minutes. Then, move them to the wire racks to cool.
Step Seven: Make the Buttercream Frosting
Beat the cream cheese and butter until fluffy in a large bowl with an electric mixer. Next, add the confectioners’ sugar, lemon juice, lemon zest, and vanilla. Beat the mixture until well combined.
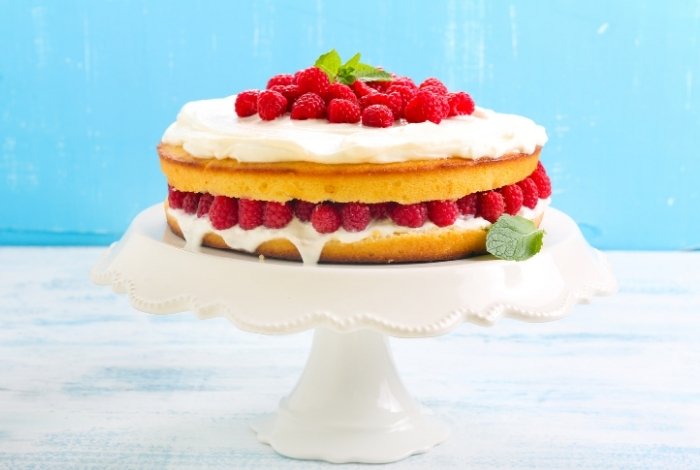
Step Eight: Assemble the Cake
Place one layer of cake on a serving plate and add 6 tablespoons of raspberry jam, spreading evenly. Add the next layer followed by more raspberry jam. Then, add the final layer and top with 1/2 cup of lemon curd.
Decorate the rest of the cake with buttercream frosting. If desired, add raspberries to the top. Chill for one hour before serving.
Servings and Preparation Time

Tips and Tricks
This cake should be kept in an airtight container in the fridge, as the lemon curd and raspberry jam are perishable. Lemon cake with raspberry filling can last in the fridge for 3-4 days.
You can also freeze lemon cake with raspberry filling for up to 3-6 months. Ideally, you want to freeze it unfrosted, wrapping each layer in plastic wrap, however, you can also use an airtight container to freeze the whole cake. When ready to eat, allow the cake to cool at room temperature for two hours or overnight in the fridge.
What Filling Goes With Lemon Cake?
While raspberry filling makes a delicious addition to your lemon cake, there are also many other great fillings you can add to the lemon cake. Other great fillings include blueberry compote, strawberry jam, and lemon curd.
You also don’t have to use a fruit filling for your lemon cake. You can also fill it with buttercream, whipped cream, cream cheese frosting, or Swiss meringue buttercream. These flavors will add a nice compliment to your lemon cake and you can even add lemon juice to these frostings to boost the lemon flavor in your cake.
Vegan Lemon Raspberry Cake Recipe
To make this vegan lemon raspberry cake recipe, you will need:
Ingredients
For the cake:
- 2 cups all-purpose flour
- 1 teaspoon baking powder
- 1 teaspoon baking soda
- 1⁄2 teaspoon salt
- 1⁄2 cup cane sugar
- Zest one lemon
- 1⁄2 cup olive oil
- 1 1⁄2 tablespoons water
- 1 cup vegan yogurt
- 2 teaspoons vanilla extract
- 1⁄4 cup lemon juice
- 1⁄4 cup vegan butter, melted
- 1 cup raspberries
For the frosting:
- 1 cup vegetable shortening
- 1 teaspoon vanilla extract
- 4 cups powdered sugar
- 2 tablespoons non-dairy milk
For the raspberry filling:
- 1 cup granulated sugar
- 1 cup water
- 3 tablespoons cornstarch
- 1 tablespoon lemon juice
- 1 package (12 ounces) of frozen raspberries, thawed and drained
- 1/2 teaspoon almond extract
Equipment
- 9-inch round cake pan
- Cooking spray
- Large mixing bowl
- Medium mixing bowl
- Electric mixer
- Medium saucepan
- Strainer
- Wire rack
- Offset spatula
- Whisk
- Rubber spatula
- Serrated knife
Step By Step Instructions
Step One: Prepare Cake Pan and Preheat the Oven
Preheat the oven to 325 degrees Fahrenheit and spray your 9-inch round cake pan with cooking spray.
Step Two: Combine the Dry Ingredients
In a large bowl, mix the flour, baking powder, baking soda, salt, lemon zest, and sugar.
Step Three: Combine Wet Ingredients and Add to Dry Ingredients
In a medium bowl, mix the water, olive oil, vegan yogurt, vanilla extract, lemon juice, and melted vegan butter. Pour the wet ingredients into the dry ingredients, mix until combined, and then fold in the raspberries.
Step Four: Bake the Cake
Pour your cake batter into your prepared cake pan and bake for 35 to 40 minutes. Once cool, allow the cake to cool on a wire rack.
Step Five: Make the Buttercream
In a large bowl, beat the shortening and vanilla extract until the mixture becomes light and fluffy. With the mixer on medium speed, gradually add the powdered sugar one cup at a time. Gradually add in the plant-based milk until the frosting becomes smooth and creamy.
Step Six: Make the Raspberry Filling
Thaw and strain the frozen raspberries by using a strainer. In a medium saucepan, heat the sugar, water, cornstarch, and lemon juice on medium heat. Continue heating the mixture, whisking constantly, until it comes to a boil.
Once the mixture has thickened, remove it from the heat and let it cool. Stir in the thawed raspberries and almond extract then let the raspberry filling chill for four hours in the fridge.
Step Seven: Assemble the Cake
Once the cake is cool and the raspberry filling is set, you can assemble the cake. Use a serrated knife to carefully cut the cake in half. Spread a layer of frosting then spread the raspberry filling onto your cake. Add the top piece of the cake and frost the cake with an offset spatula.
Servings and Preparation Time
|
Bake Time |
Preparation Time |
Servings |
|
35-40 minutes |
30 minutes (plus four hours to chill filling) |
10-12 |
Amazing Lemon Cake with Raspberry Filling From Scratch
Equipment
- Saucepan
- Candy thermometer
- Medium bowl
- Small bowl
- Three 9-inch cake pans
- Wire racks
- Serving plate
Ingredients
For the Custard
- 3 large eggs
- 3/4 cup sugar
- 1/2 cup lemon juice
- 1/4 cup butter cubed
- 1 tablespoon grated lemon zest
For the Cake
- 1 package lemon gelatin 3 ounces
- 1/2 cup boiling water
- 1/2 cup butter softened
- 4 large eggs room temperature
- 1/2 cup canola oil
- 1 3/4 cups sugar divided
- 4 teaspoons grated lemon zest
- 1/2 cup lemon juice
- 2 1/2 cups all-purpose flour
- 1 teaspoon lemon extract
- 1 teaspoon vanilla extract
- 2 1/2 teaspoons baking powder
- 1/2 teaspoon salt
- 1/2 cup evaporated milk
- 3/4 cup thawed lemonade concentrate
For the Frosting
- 6 ounces cream cheese softened
- 6 tablespoons butter softened
- 3 3/4 to 4 cups confectioners’ sugar
- 4 1/2 teaspoons lemon juice
- 1 1/2 teaspoons grated lemon zest
- 3/4 teaspoon vanilla extract
- 3/4 cup seedless raspberry jam
- Fresh raspberries optional
Instructions
- Make the Lemon Curd - In a saucepan, beat the eggs and sugar, then stir in the lemon juice, butter, and lemon zest. Cook the mixture over medium-low heat for 15 minutes or until the mixture is thickened and reaches 160 degrees Fahrenheit, stirring regularly. Allow the lemon curd to cool for 10 minutes, then cover and chill for 1-1/2 hours or until it is thick.
- Preheat Oven, Prepare Pans, and Make Gelatin - Preheat the oven to 350 degrees Fahrenheit. Grease and flour the three 9-inch round cake pans. Next, dissolve the gelatin in boiling water, then set it aside to cool.
- Cream the Butter, Oil, and Sugar - In a large bowl with an electric mixer, cream the butter, oil, and 1 1/2 cups of sugar. Beat the mixture until smooth, approximately five minutes. After, add the eggs in one at a time, beating well after each addition. Then, beat in gelatin mixture, lemon juice, lemon zest, lemon extract, and vanilla extract into the mixture until smooth.
- Combine the Dry Ingredients - Мix together the flour, baking powder, and salt иn a medium bowl. Add to the butter mixture, alternating with adding the milk, beating after each addition.
- Bake the Cake - Pour the batter equally into the three prepared cake pans. Bake the cakes for 20-25 minutes, or until a toothpick inserted into the middle comes out clean.
- Add the Lemonade Mix - In a microwave-safe bowl, add the lemonade concentrate and remaining sugar. Microwave for two minutes on high, uncovered, or until the sugar dissolves, stirring occasionally. Use a fork to poke holes into the cakes and pour the lemonade mixture over the cakes.
- Cool the cakes in the pans for 10 minutes. Then, move them to the wire racks to cool.
- Make the Buttercream Frosting - Beat the cream cheese and butter until fluffy in a large bowl with an electric mixer. Next, add the confectioners’ sugar, lemon juice, lemon zest, and vanilla. Beat the mixture until well combined.
- Assemble the Cake - Place one layer of cake on a serving plate and add 6 tablespoons of raspberry jam, spreading evenly. Add the next layer followed by more raspberry jam. Then, add the final layer and top with 1/2 cup of lemon curd.
- Decorate the rest of the cake with buttercream frosting. If desired, add raspberries to the top. Chill for one hour before serving.
Notes
A Delicious Lemon Cake with Raspberry Filling from Scratch
These delicious lemon cake with raspberry filling recipes do require some baking experience, as there are many steps involved. However, by carefully following the directions, you will have a delicious cake perfect for any occasion.
Did you enjoy these lemon cake with raspberry filling recipes? If you do so, please share it with your friends and family.

Ever since she was a young girl, Anna has been a lover of desserts. As an adult, she enjoys
baking a variety of desserts from cakes, cookies, brownies, bread, and more from scratch. She
enjoys sharing her passion for baking with others who also have a sweet tooth. From properly
measuring ingredients to making sure they are the correct temperature, Anna knows the
importance small details can make in baking. She wants to share her experience with others in
hopes they can make the most delicious baked goods. When she’s not busy blogging, Anna
enjoys trying new recipes in the kitchen.