Last Updated on March 27, 2022
If you have ever tried cake decorating, you may have noticed how hard it is to achieve the simplest of things if you do not have the right tools or knowledge. Today we are going to try and help you create your dream cake by showing you how to make flames on cake with icing. We are going to explore different techniques and try and work out what will be best for the vision you have of your final cake.
Flames on Cake: Decide the Type of Cake
You need to define what look you prefer for your decorating. If you want it to look super neat, we would recommend you use fondant. If you like the cartoonish look, you can always pipe.
There are pros and cons to both approaches and they both have their difficulties, but it all depends on how you want your cake to look like. Remember, they will still look like cake unless you are super skilled at this, in which case you do not need this tutorial.
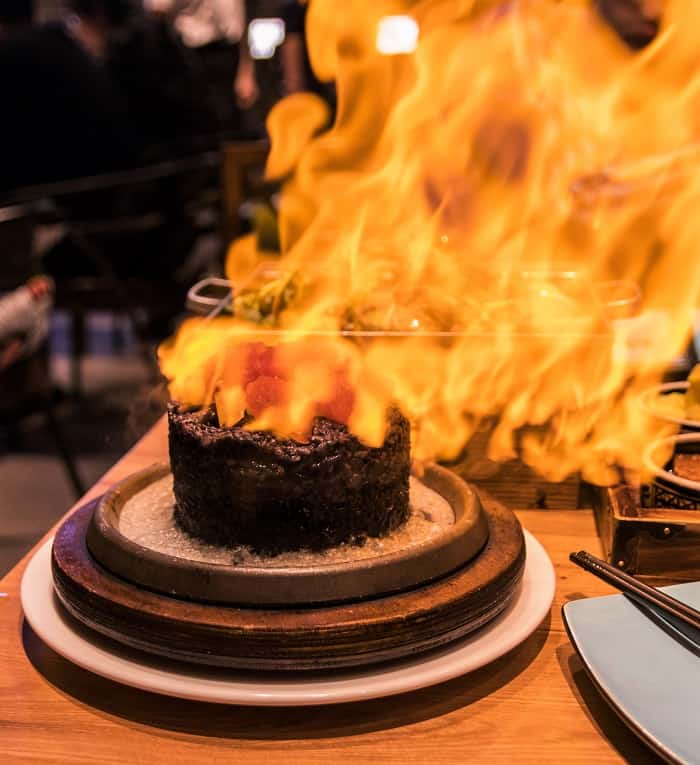
We recommend you sketch out your ideas into a piece of paper and color the drawing in to know how you are going to place the decorations. As a rule of thumb, for the fire, you will need yellow, orange and red, or just yellow and red.
Flames on Cake: Making Stripes Using Piping
Type of Frosting
The first thing you need to know is that in order for this to work you will need a piping frosting that is still stiff enough to hold its shape even if left upright on its own. We recommend traditional American buttercream because it crusts and stays put.
You can always experiment with different types of icing, while always keeping in mind to leave them a little bit stiffer than you normally would.
Tools
Of course, you will need a piping bag and piping tips to achieve the look. It will not be enough with just cutting a hole on the corner of a Ziploc bag as you would if you were just frosting a cake. This calls for special tools.
There are several tips you can use. For example, a large leaf tip will leave you with flames that lick up to the sky or the sides of your cake. Using a flower tip can make it look like there are flames bunching up in your design.

It all depends on what you sketched out your cake to be. The flames on a campfire do not look the same as the ones coming from a building that is on fire. Take this into account when choosing the tools you are going to use.
In order to pipe correctly, remember to twist the end of the bag and always apply pressure from the bottom up to get a regular stream of frosting out the tip.
Colors
In order to achieve the colors you need, you will want to use gel food coloring. We recommend it over liquid food coloring because it will not change the texture of your frosting, especially now that we need it to be stiffer.
There are several ways you can use color here. One of them is to just use different piping bags and go around the cake decorating with either yellow, orange or red as you see fit.
This gives you more control but it will not look as organic as other methods and it also dirties more utensils.
Another option is to place half yellow and half red into a single piping bag. This will give the effect of stronger and weaker flames mixing in.
Finally, my favorite option is to stripe your piping bag. To make fire, I usually just make yellow icing and then stripe my bag with gel orange and red food coloring. This gives the impression that the flames are much more natural.
Using Fondant to Make Flames on Cake
This is another way of achieving the fire effect. You will need some fondant that has been pre-colored red, orange and yellow and also some gel food coloring in red and brown.
You can also color the fondant yourself, but it takes time and I prefer to buy it already colored for convenience.
Step 1
The first thing you will want to do is to grab a piece of paper and draw out some flames into it. Make sure to make enough variety so that it does not look as though you just copied and pasted the same image onto the cake.
Step 2
Make larger and smaller ones. Have fun with this! Once you are done, cut the pieces of paper out to use them as templates.
Step 3
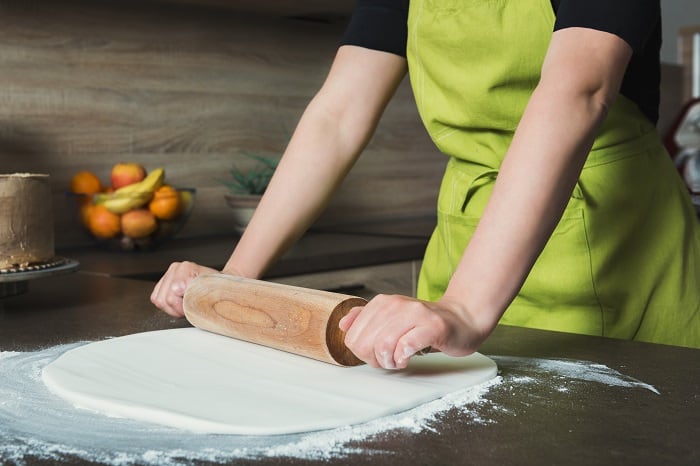
Next, you will want to roll out the fondant in sheets. Remember to use powdered sugar so that the fondant does not stick to your fingers or the table.
Step 4
Using the templates and a knife, cut out the shapes from the fondant sheets and set them aside.
Once you have all the shapes you need, it is time to decorate! You can use a fire flame fondant cutter.
Step 5
If your cake is covered in fondant, you can use a bit of water to attach the flames however you want. If not, you can use some frosting. Place them as you see fit, one over the other in random order.
Step 6
When you are happy with the way it looks, you can add more detail with the red and brown food coloring. Add a bit of vodka to the gel to make it watery enough so that you can use a small brush to paint details.
You will want to age the flames a little bit so that they look more realistic. Brush it on the sides and bottoms to give a 3D effect.
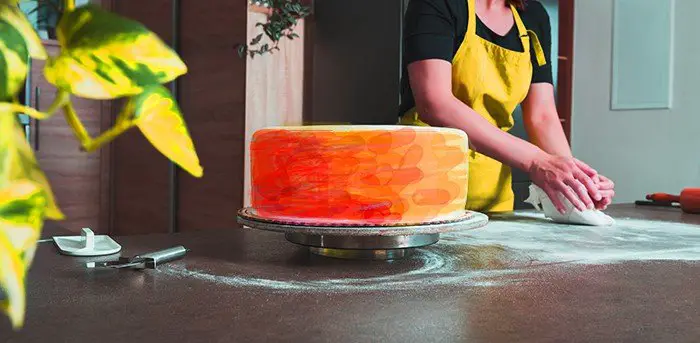
You could always leave the flames as they are, but brushing some details on always looks amazing, in my opinion. Also remember that these decorations are flat, as opposed to piping some frosting. That is something to take into account.
How to Decorate Your Cake with Flames
Ingredients
- Fondant - Red color
- Fondant - Yellow color
- Fondant - Orange color
- Gel food coloring - Red and brown
Instructions
Using Fondant to Make Flames
- The first thing you will want to do is to grab a piece of paper and draw out some flames into it. Make sure to make enough variety so that it does not look as though you just copied and pasted the same image onto the cake.
- Make larger and smaller ones. Have fun with this! Once you are done, cut the pieces of paper out to use them as templates.
- Next, you will want to roll out the fondant in sheets. Remember to use powdered sugar so that the fondant does not stick to your fingers or the table.
- Using the templates and a knife, cut out the shapes from the fondant sheets and set them aside.
- Once you have all the shapes you need, it is time to decorate!
- If your cake is covered in fondant, you can use a bit of water to attach the flames however you want. If not, you can use some frosting. Place them as you see fit, one over the other in random order.
- When you are happy with the way it looks, you can add more detail with the red and brown food coloring. Add a bit of vodka to the gel to make it watery enough so that you can use a small brush to paint details.
- You will want to age the flames a little bit so that they look more realistic. Brush it on the sides and bottoms to give a 3D effect.
Notes
Have you ever tried to decorate your cakes with flames? Tell us about your experience in the comments below! We would love to see pictures of your amazing creations!

Karen is a passionate pastry chef who loves to create delicious baked goods. She has been in the culinary arts for over 10 years, honing her skills and perfecting her craft. Karen is known for her creativity and attention to detail, creating unique desserts that bring a smile to everyone’s face. She is always looking for ways to challenge herself and come up with new recipes that are both tasty and visually appealing. Karen loves to experiment with different flavors and textures, and she is committed to providing the highest quality of products to her customers.

