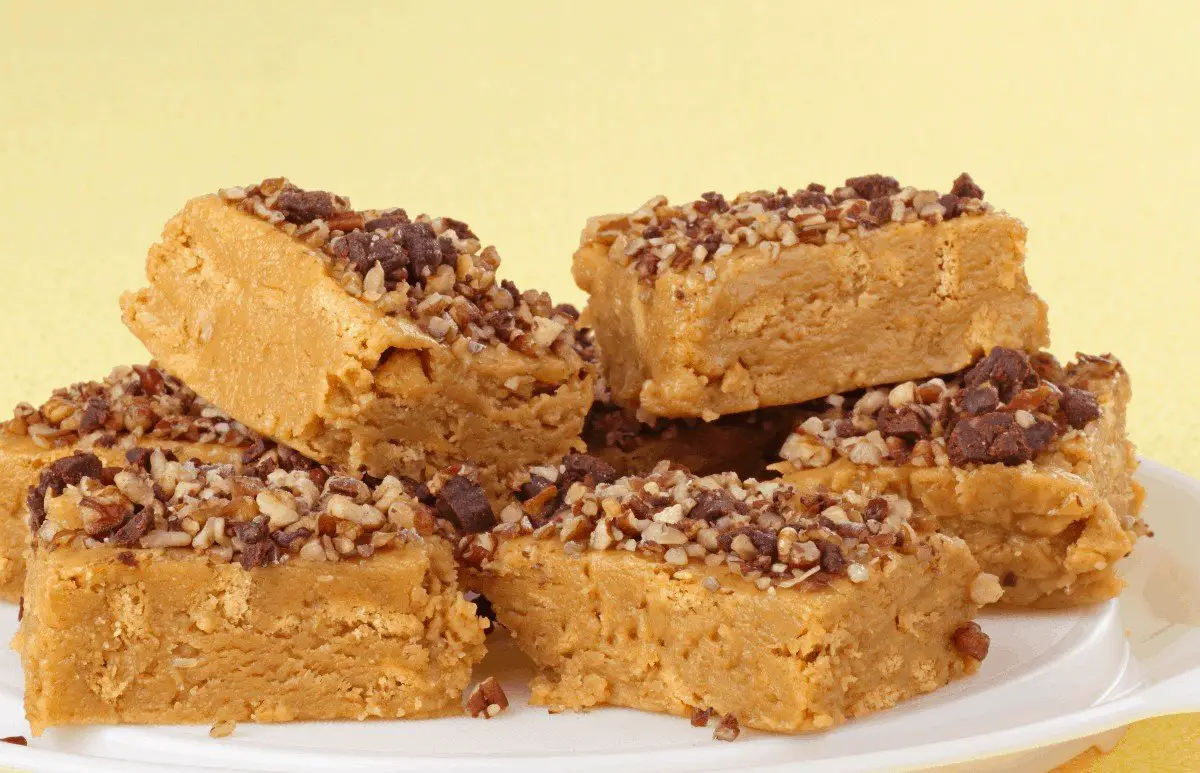
Delicious Peanut Butter Bars Without Graham Crackers
Whether you are enjoying it in a savory dish or sweet dish, peanut butter is guaranteed to make a delicious treat. Peanut butter is loved by many thanks to how many different ways it can be enjoyed. These delicious peanut butter bars without graham crackers are sure to be one of your new favorite snacks.
Servings: 16
Equipment
- 8-inch baking pan
- Parchment paper
- Saucepan
- Small bowl
- Toothpick or wooden skewer
Ingredients
- 16 ounces 1 ¾ cup creamy peanut butter
- Vegetable oil cooking spray
- 14 tablespoons unsalted butter melted
- 2 cups confectioners’ sugar
- 1 teaspoon vanilla extract
- 6 ounces 1 cup semi-sweet or bittersweet chocolate, chopped
Instructions
- Step One: Prepare the Pan
- Spray the 8-inch baking pan with cooking spray. Line the bottom and two of the sides with parchment paper, leaving a two-inch overhang.
- Step Two: Combine Butter, Peanut Butter, and Vanilla.
- Melt one stick (8 tablespoons) of butter. Mix butter in a large bowl with 1 ½ cups of peanut butter and vanilla. Mix until fully combined.
- Step Three: Add in Confectioners’ Sugar
- Stir the confectioners’ sugar into the mix, adding ½ cup at a time. Mix until fully combined.
- Step Four: Add Peanut Butter Mixture to Pan
- Using your hands, transfer the peanut butter to the pan. Press it flat to smooth out the top.
- Step Five: Combine Chocolate and Butter
- Combine four tablespoons of butter and chocolate in a metal or heatproof bowl. Set the bowl over a saucepan with two inches of simmering water. Stir with a rubber spatula until fully melted.
- Step Six: Pour Chocolate onto Peanut Butter Bars
- Remove the chocolate from the heat and allow it to cool for about three minutes, stirring regularly. Pour the chocolate over the peanut butter bars, tilting the pan to ensure the chocolate is evenly spread.
- Step Seven: Combine Remaining Butter and Peanut Butter
- In a small bowl, combine two tablespoons of melted butter with ¼ cup peanut butter until smooth. Let stand for around five minutes, to allow the mixture to thicken up. Gently pour the mixture on the bars, a small amount at a time, and use a toothpick or wooden skewer to create designs.
- Step Eight: Refrigerate Bars
- Refrigerate bars for at least four hours or until firm. Cut bars into two-inch squares and serve cold.
- These peanut butter bars are so tasty and easy to make, it will be hard to keep your hands off them. When you are ready to serve them, run a paring knife along the edges without parchment paper. Use the parchment that overhangs to lift the bars out of the pan and then cut them into two-inch squares.
Notes
- These peanut butter bars make for a simple and delicious snack. You can also add in some toppings on top or mix them in, such as peanuts, pretzels, oatmeal, wafers, caramel chips or chocolate chips. This will add some extra crunch and flavor to the bars.
- These peanut butter bars can be kept in the fridge for up to a week, loosely covered. You can also store them in the freezer for up to four months. Allow the bars to thaw in the fridge overnight after freezing.
- These peanut butter bars are best served cold. Not only do they taste great served cold but serving them cold also helps prevent them from melting in your hands.
- You want to make sure to avoid keeping the peanut butter bars out in the heat, as they will not hold up well in warm temperatures. It is best to keep these bars in the fridge for as long as possible before serving.
- Though this recipe calls for semi-sweet or bittersweet chocolate, you can use your favorite type of chocolate. Milk, dark and white chocolate all pair nicely with peanut butter.
- It is recommended to use creamy peanut butter in this recipe for smoothness, however, you can use your favorite kind. If you like a bit of a crunch, you can use your favorite crunchy peanut butter.
- If you don’t want to melt the butter and chocolate over a saucepan, you can melt it in the microwave. Place the butter and chocolate in a microwave-safe bowl and microwave for 10-15 second intervals, stirring each time, until melted.
Want more recipes?Check out Our YouTube Channel!