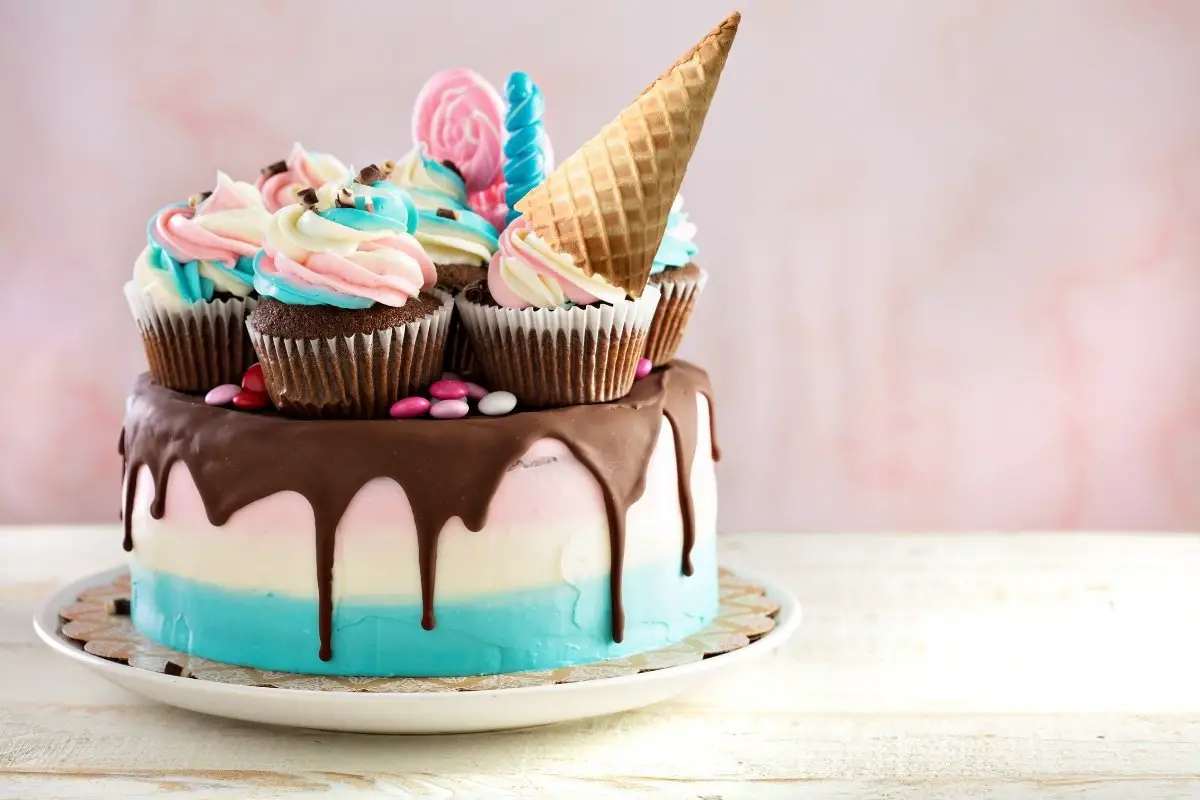
Cake With Ice Cream Cone On Top
Do you desire to amaze your guests? or surprise your kids with an amazing cake? Then this cake with an ice cream cone on top is for you. The moist vanilla cake and buttercream frosting with an amazing cake design will surely leave your guests with awe.
Equipment
- 3 pcs 6-inch round cake pans
- Bench scraper
- Lazy susan or revolving cake stand turntable
- Mixing bowls
- Cake board
- Measuring cups
- Measuring Spoons
- Non-stick cooking spray or shortening (for greasing the pan)
- Parchment paper
- Cooling wire rack
- Long serrated knife
- Microwave
- Cookie sheet
Ingredients
For The Cake
- White cake mix
- 1 cup of all-purpose flour
- 1 cup of granulated sugar
- 3/4 tsp of salt
- 3 pcs of large eggs kept at room temperature
- 1 1/3 cups of water
- 2 tbsp of vegetable oil
- 8 ounces of sour cream at room temperature
- 2 tsp of pure vanilla extract
- 1/2 to 1 teaspoon of almond extract depending on the amount of almond flavor you want
For The Frosting
- 1 cup about two sticks of unsalted butter, softened to room temperature
- 4 cups of powdered sugar about 16 ounces
- 1/4 cup of heavy cream
- 1 tsp of vanilla
- Blue and green food coloring
For The Decoration
- 2 cups of pink candy melts
- 2-3 tbsp of vegetable oil
- 1/2 cup of white chocolate chips
- 1/2 cup sprinkles
- Ice cream cone
- 3 pcs lollipop sticks
Instructions
For The Cake
- Essentially, preheat your oven to 350 degrees Fahrenheit.
- Then, grease three pieces 6-inch round cake pan and line the pans with parchment paper. After that, grease again using a shortening or non-stick cooking spray. Afterward, set them aside.
- After that, place the white cake mix, all-purpose flour, granulated sugar, salt in a large mixing bowl and combine.
- Afterward, add sour cream, eggs, vegetable oil, vanilla extract, and almond extract in a separate bowl and mix well. Then, add the sour cream mixture with the white cake mix mixture. After that, stir at low speed using an electric mixer for 30 seconds to combine.
- Then, turn the speed of the electric mixer to medium and beat the mixture for another 2 minutes.
- Once the cake batter combines well, divide it evenly between three 6-inch cake pans.
- Afterward, place the 6-inch cake pans in the preheated oven and bake for about 40 to 50 minutes. Or until the cakes cook thoroughly. Likewise, you can use a toothpick to check if it is okay. Or you can press it, and if the cake bounces back, it is ready.
- Once the cakes completely cook, take the cake pans out in the oven. And cool them in a cooling wire rack for 20 minutes. After 20 minutes, turn them in the cooling rack removing the cake pans and the parchment paper at the bottom.
- Then, let the cakes cool completely.
- Afterward, level or cut the cakes horizontally, removing the domed part using a long serrated knife. Please do not throw the scraps away. Instead, please put them in a bowl and save them for later.
For The Frosting
- First and foremost, cream the softened butter at medium speed using an electric mixer or stand mixer, whichever you prefer. After that, beat the butter for 3 minutes until it becomes smooth and creamy.
- When you achieve the desired texture, add the sugar, heavy cream, and vanilla extract. Afterward, set your mixer at low speed, and mix on low.
- Afterward, gradually increase the speed of the mixer to high and beat the mixture for about 3 minutes. If you observe that the frosting is too thick, add more cream. With that, add a tablespoon at a time. And mix it properly until you can achieve the consistency and texture you desire.
- After that, put a tiny amount of blue and green gel food coloring into the mixture. Then, stir well to achieve the blue-green color. (You may use any color you want).
- Afterward, add about 1/2 cup of uncolored frosting into the saved cake scraps. Then, stir the frosting into the cake crumbs and combine. Make sure to create 2 to 3 large cake balls the size of a scoop of ice cream. After that, place the cake balls in the refrigerator and let them chill for an hour.
Cake Assembly
- First of all, take a cake board, put a small amount of frosting in the center. And place the first layer of the cake. Next, put some frosting on top of the first layer and use an offset spatula.
- Then, add another layer of cake, frost the top, and even it out. Afterward, place the final layer of the cake.
- Ensure to crumb coat the cake and refrigerate it for an hour. Afterward, take the cake, frost the cake, and smoothen the sides and top using a bench scraper. Then, add sprinkles at the bottom sides of the cake and refrigerate again for another 30 minutes.
- Afterward, melt the white chocolate using a microwave. Please do not overheat. For that reason, microwave for 20 seconds and stir. Then, microwave for another 10 seconds until it becomes smooth. Add a teaspoon of vegetable oil. Stir and dip the ice cream cone in the melted chocolate mixture and add sprinkles.
- Place the cone in a cookie sheet lined with parchment paper and put it inside the refrigerator to harden it. Take one lollipop stick and dip it into the melted chocolate. The stick should be about 1/4 inch down. Stick the lollipop stick in the middle of the cake ball. Make sure to repeat the process with the remaining cake balls. You will only need one but prepare an extra if ever you mess up. Then, set aside.
- Afterward, melt the pink candy melts. Follow the instructions on the package. Then, make sure to put two tablespoons of vegetable oil and stir until it becomes smooth. Keep in mind that it should be runny. You can add more oil if needed. Stick the cake ball into the center of the frosted cake. Pour the pink melted candy melts over the cake ball and stick the prepared ice cream cone on top.
- Remember, working faster, drizzle the cake's side to create a drip effect, and fill the top part of the cake. Finally, let the cake set, and you can serve it and enjoy.
Want more recipes?Check out Our YouTube Channel!