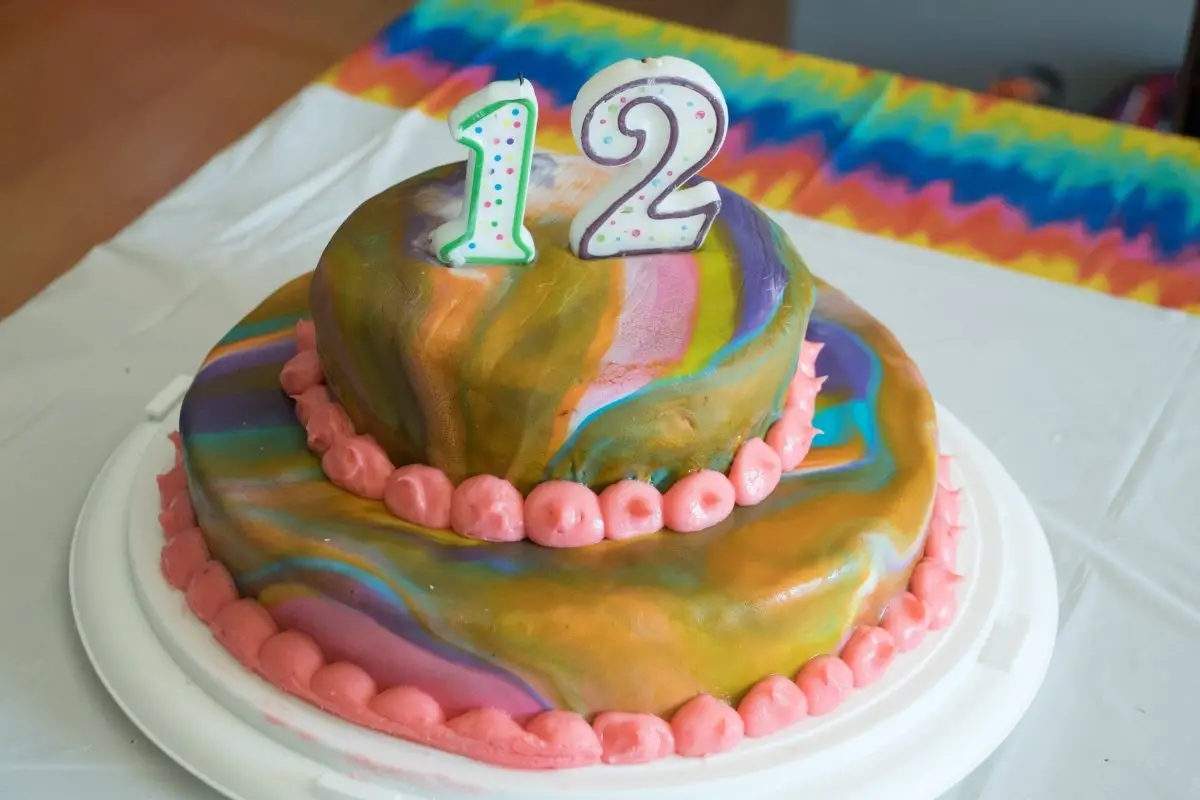
Tie Dye Cake Icing: Amazing Recipe
If you want an exciting cake that looks super creative, then try this amazing tie dye cake icing recipe. Imagine a super moist chocolate cake - and all you need are simple ingredients. Not only that, but also you can decorate it with a tie dye cake icing design. Because of that, this super fun design will surely impress anyone who is a fan of tie-dyes. That is why I guarantee that this recipe is best for the summer and spring months. Let's take a closer look at how to make tie dye cake icing.
Equipment
- Mixing bowls
- Measuring Spoons
- Measuring cups
- 2 cake pans (9 inch round)
- Gel food coloring, white, neon pink, yellow, blue, and green
Ingredients
For The Chocolate Cake
- 2 large eggs
- 1/2 cup of vegetable oil
- 2 tsp of whole milk
- 1 1/2 teaspoon of baking powder
- 2 cups of all-purpose flour
- 1 cup of strong brewed coffee
- 3/4 cups of cocoa powder
- 1 1/2 teaspoon of baking soda
- 2 cups of granulated sugar
- 1/4 teaspoon of cinnamon powder
- 1 tsp of salt
- 1 tbsp of sprinkles optional
For Tie Dye Cake Icing
- 2 cups of unsalted butter
- 2 tbsp of vanilla extract
- 8 cups of powdered sugar
- 6-8 tablespoons of milk
Instructions
For the Chocolate Cake
- First, ensure to preheat your oven to 350 degrees Fahrenheit. Next, grease your two 9-inch round cake pans. And line them with parchment paper. After that, make sure to set aside.
- Using a large mixing bowl, combine eggs, oil, milk, vanilla. Then, mix using an electric mixer. Ensure to do this until the mixture becomes smooth.
- Afterward, add the flour to the mixture. You follow it with the cocoa powder, sugar, cinnamon powder, salt, baking powder, and baking soda. Then, beat until it combines partially.
- After that, stir in the coffee until the cake batter becomes smooth and creamy. Because of this, expect the batter to be thin.
- Next, pour the chocolate cake batter into the prepared cake pans. After that, bake the chocolate cakes in the oven for 35 minutes. Or until the cakes cook thoroughly.
- Lastly, when the cakes cook completely, allow the cakes to cool. And set them aside for later.
For the Tie Dye Icing
- First of all, using a mixing bowl, combine the butter and vanilla extract. Make sure to use an electric mixer.
- Then, gradually add the powdered sugar; about half a cup at a time while mixing. Afterward, add one tablespoon of milk at a time (still mixing). Make sure to do this until you can achieve your desired consistency.
- Afterward, place a small amount of the icing and put it in a bowl for the crumb coat and filling. Then, divide the remaining icing equally into four bowls. And color them with neon pink, yellow, blue, and green.
- After that, place the colored icing into separate piping bags and set aside.
Notes
Before frosting and filling, allow the cakes to cool down completely. Remember, frosting and icing a warm cake will melt the icing. In addition to that, the cake will be unstable.
Keep in mind that the icing should not be very thin, just thin enough to pipe. Moreover, the icing should spread enough when you are piping; this will allow the toothpick to run better when dragged.
Furthermore, you can use gel colors and liquid colors. Additionally, lining the cake with parchment paper will make it easier for you to remove the cake from the pan.
Also, you can store leftover icing in the refrigerator in a sealed container. Because of this, it will last up to 3 days. In addition to that, you can make the cake a day beforehand and refrigerate it. So with that, it is ready for serving on the day of the party.
Also, adding strong brewed coffee can enhance and deepen the flavor of the cocoa powder and chocolate. Remember, do not overbake your cake. Over baking your cake can evaporate moisture in your cake resulting in a dry and crumbly cake. To avoid having a dense cake, refrain from over mixing your cake batter. Also, avoid adding too much sugar and other liquids.
If your cake sinks and deflates in the middle, the main reason is too much baking powder and baking soda. Too much of these can cause the cake to rise too quickly than the rest of the cake when baking. For that reason, it causes the center of the cake to deflate and sink later.
Want more recipes?Check out Our YouTube Channel!